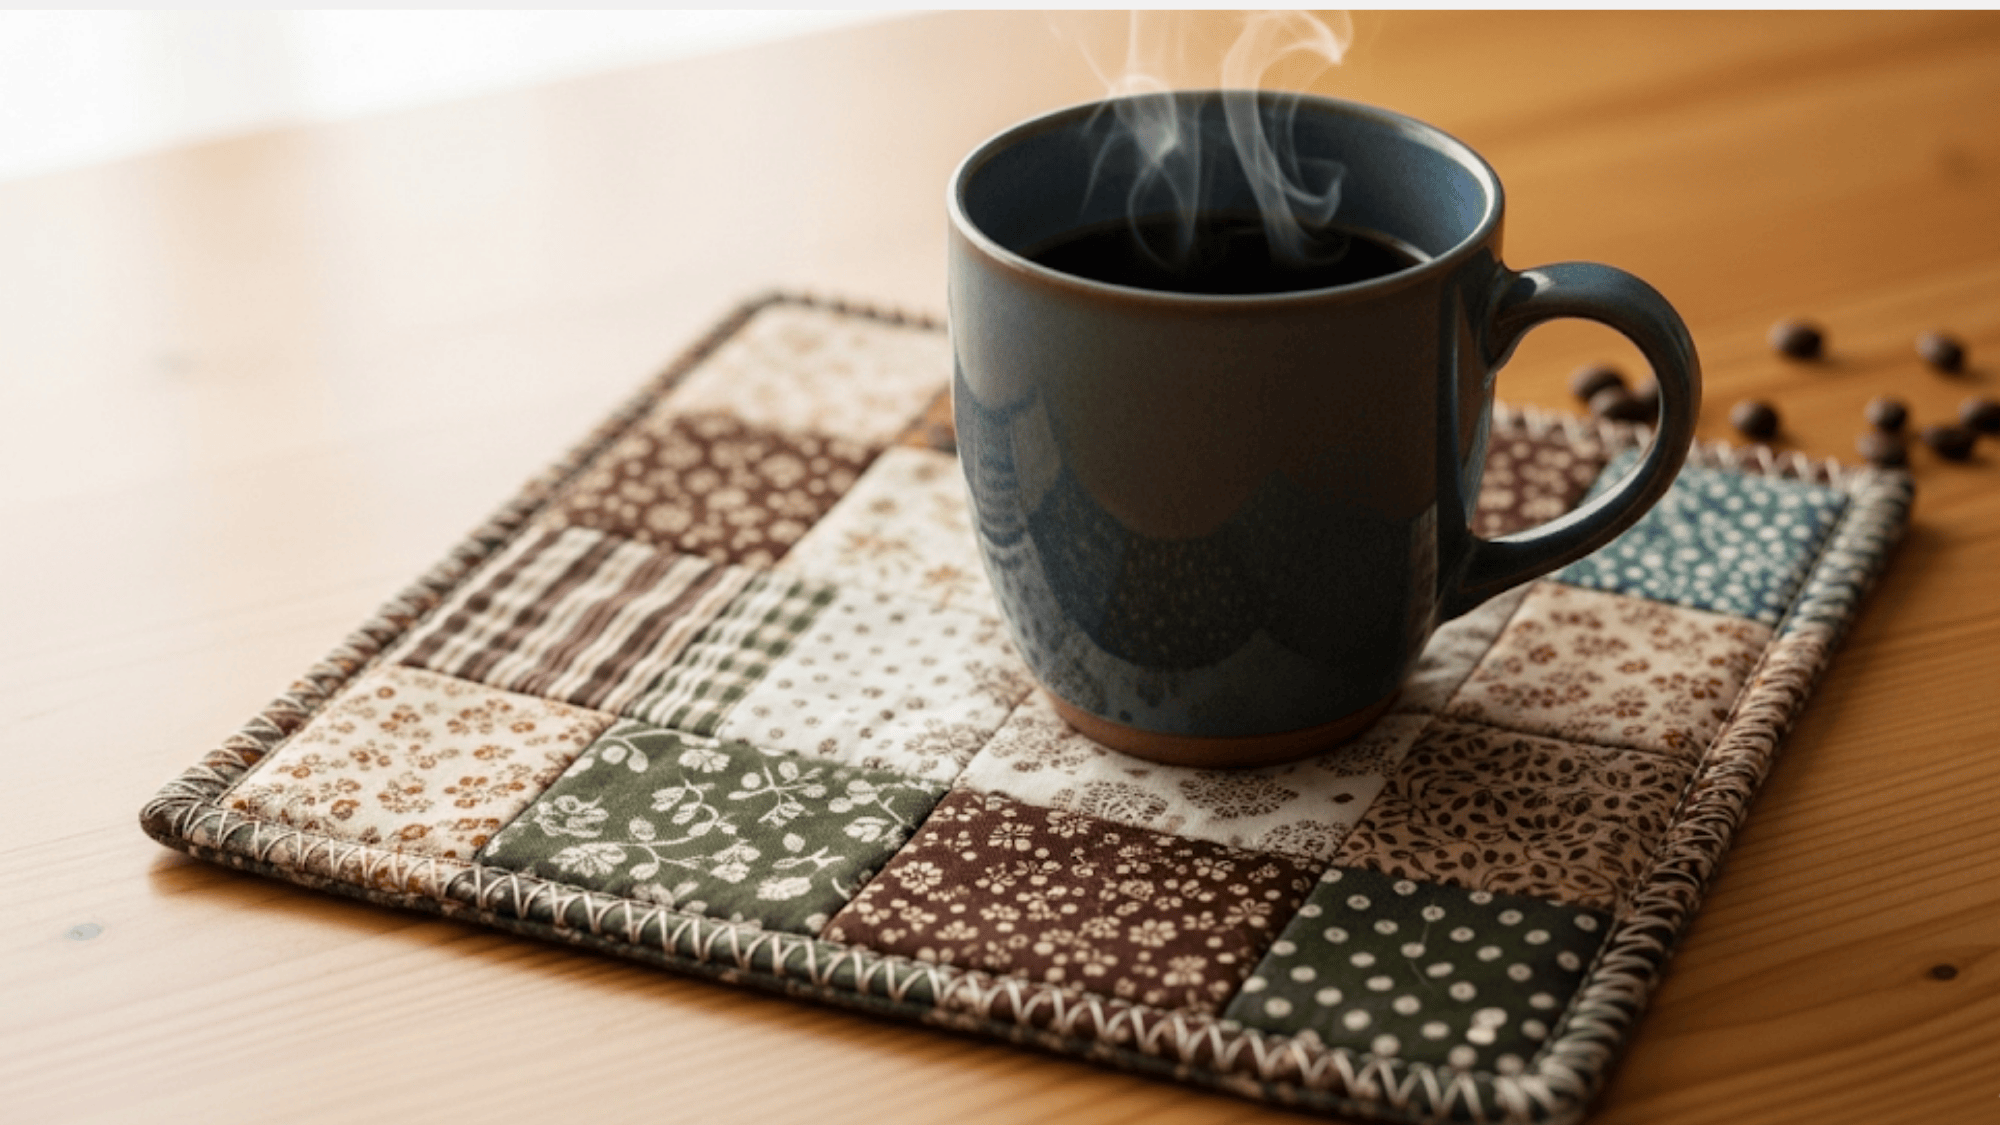
If you’ve ever caught yourself wishing your coaster was just a little bigger, big enough to hold not only your mug but also that cookie you like to sneak in, then what you’re really dreaming of is a mug rug.
I absolutely love these little cuties because they’re the perfect mix of a mini quilt and an oversized coaster.
They’re fun, functional, and extremely beginner-friendly, especially if you’re just dipping your toes into sewing or quilting, as I once was.
And the best part? Mug rugs make the sweetest gifts. I’ve stitched them up in under an hour, and honestly, it’s hard not to get hooked once you start.
What is a Mug Rug?
A mug rug is essentially a small quilt that’s big enough to hold a drink and a snack. Unlike a coaster, which is usually about 4 inches square, a mug rug is larger, typically between 5×7 and 7×10 inches.
That extra space makes it more practical and a lot more fun to design.
Think of it as a mini canvas for quilting practice. You can use mug rugs to test out colors, try new stitch patterns, or experiment with patchwork, without committing to a full quilt.
They’re also a great way to use up fabric scraps hiding in your sewing bin.
Popular uses include:
- Gifting (teachers, coworkers, or housewarming presents).
- Seasonal décor (Christmas, Valentine’s Day, fall themes).
- A practice project for beginner quilters.
Standard Mug Rug Sizes & Materials
A mug rug is a small quilted mat that combines the function of a coaster with space for snacks. These popular craft projects offer both practicality and a quick creative outlet for quilters and sewers.
| Size | Dimensions | Best For | Top Fabric | Batting | Backing |
|---|---|---|---|---|---|
| Mini | 4″ × 6″ | Single mug only | Cotton quilting fabric | Thin cotton batting | Cotton or flannel |
| Standard | 6″ × 8″ | Mug + small snacks | Cotton, linen blend | Cotton or wool batting | Cotton, coordinating print |
| Large | 8″ × 10″ | Mug + full snack plate | Heavy cotton, canvas | Medium batting | Durable cotton, denim |
| Jumbo | 10″ × 14″ | Multiple items | Canvas, upholstery fabric | Thick batting | Heavy-duty fabric |
Note: The 6″ × 8″ standard size is most popular as it accommodates a coffee mug and cookies perfectly. Always pre-wash cotton fabrics to prevent shrinkage after the first laundering.
How to Make a Mug Rug?
This quick and creative project is perfect for beginners and a fun way to use up fabric scraps.
Tools and Materials You Will Need
Before diving into the fun part, let’s make sure you have all the right tools and materials on hand.
Fabrics & Supplies
- Fabric scraps (variety of colors/patterns for the scrappy section)
- QAYG (Quilt-As-You-Go) panel – 5.5″ x 10.5″
- Backing fabric – 5.5″ x 10.5″
- Cotton batting – 5.5″ x 10.5″
- Binding strip – 2.25″ x 40″
Tools & Equipment
- Sewing machine
- Rotary cutter
- Acrylic ruler
- Basting spray (light mist for holding layers together)
- Erasable fabric pen or chalk marker
- Basic sewing supplies (thread, scissors, pins, seam ripper, etc.)
- Iron and ironing board (for pressing seams and binding)
Here’s a simple step-by-step guide:
Step 1: Gather Materials
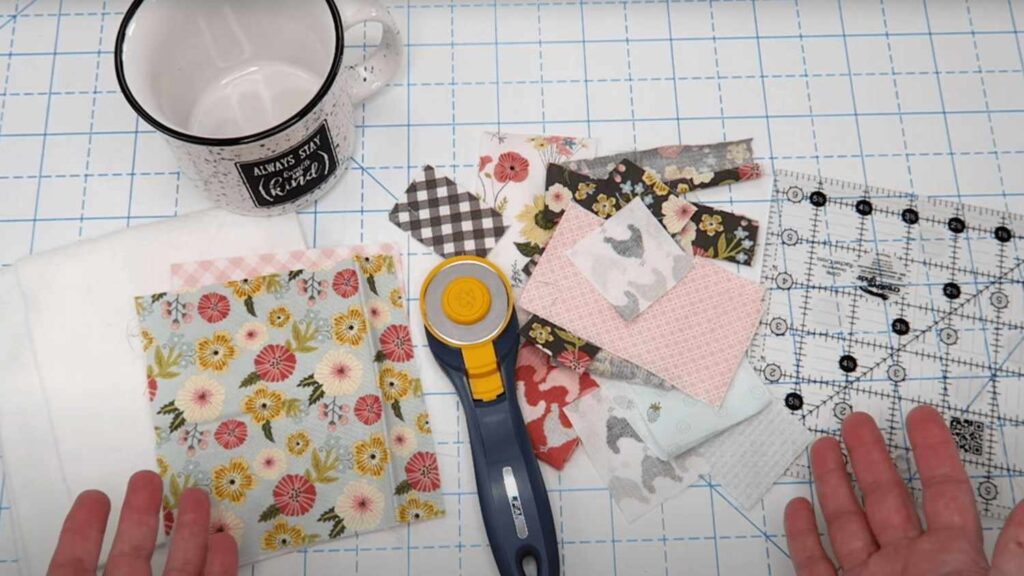
Collect fun fabric scraps, a QAYG panel (5.5″ x 10.5″), backing fabric (5.5″ x 10.5″), cotton batting (5.5″ x 10.5″), and a binding strip (2.25″ x 40″).
Other recommended items include a rotary cutter, acrylic ruler, sewing machine, basting spray, and basic sewing supplies.
Step 2: Prepare Quilt Sandwich
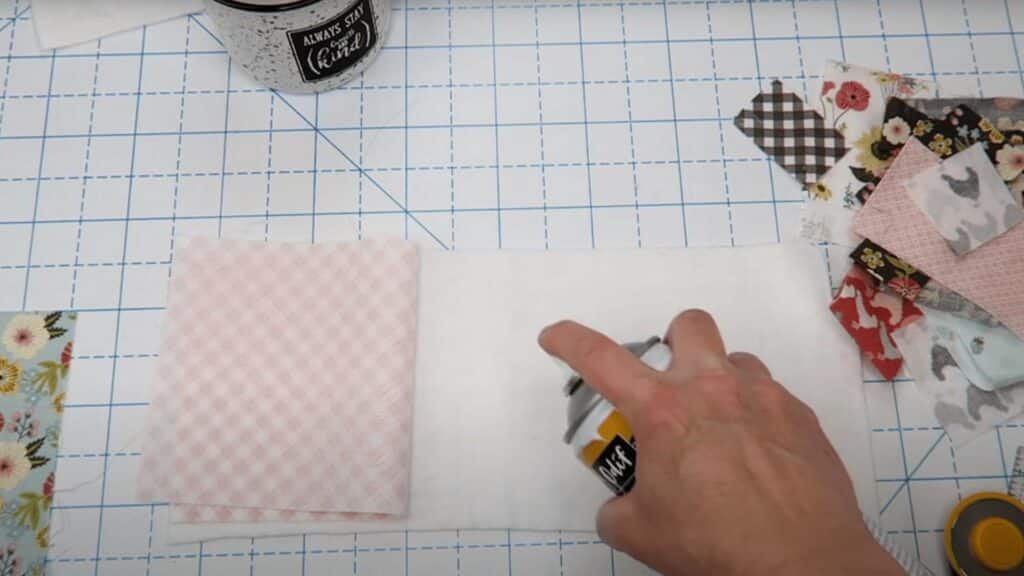
Lay the backing fabric right side down. Place the cotton batting on top. Use a light mist of basting spray to hold layers together, ensuring they’re flat and secure.
Trim edges if needed, maintaining the 5.5″ x 10.5″ size, so it’s even and ready to work on.
Step 3: Mark Scrappy Section

Using an erasable pen and ruler, mark a line at either 5″ or 5.25″ from one edge to divide the area for scraps from the area for the larger solid piece.
This guideline ensures the larger side overlaps neatly with your scrappy section for a polished look.
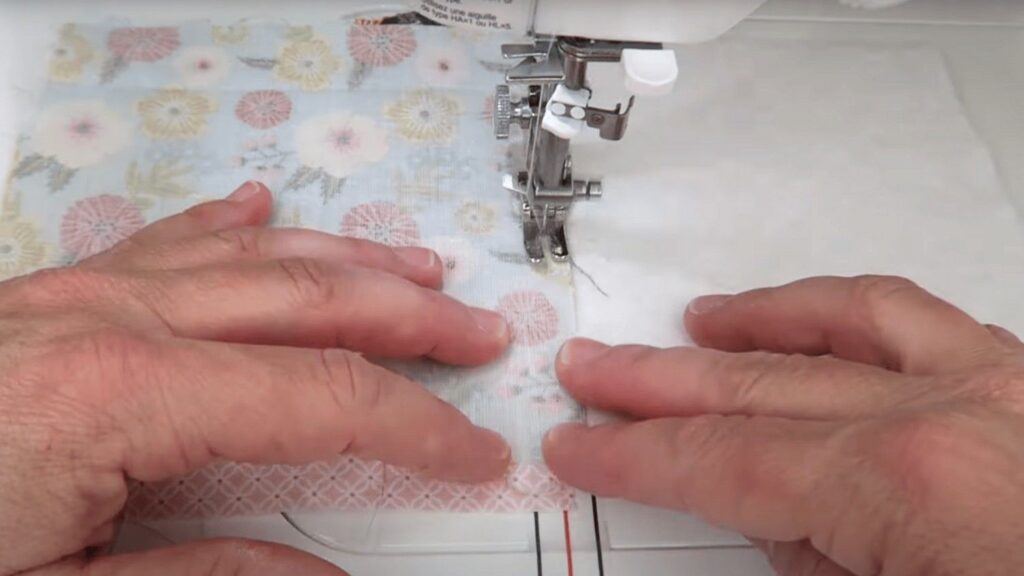
Step 4: Quilt as You Go – Add Scraps

Begin placing fabric scraps on the marked section. Lay the first scrap piece right side up and sew it directly onto the batting and backing.
Place the next scrap, right sides together with the first, sew along the edge, then finger-press open. Continue building up scraps this way.
Step 5: Add a Larger Solid Piece
Once the scrappy side is covered, take your larger piece of fabric (5.5″ x about 5.25″) and position it over the unquilted section, overlapping slightly on the scrappy side.
Stitch it in place, sealing that side and completing the “quilt as you go” panel construction.
Step 6: Trim and Square Up
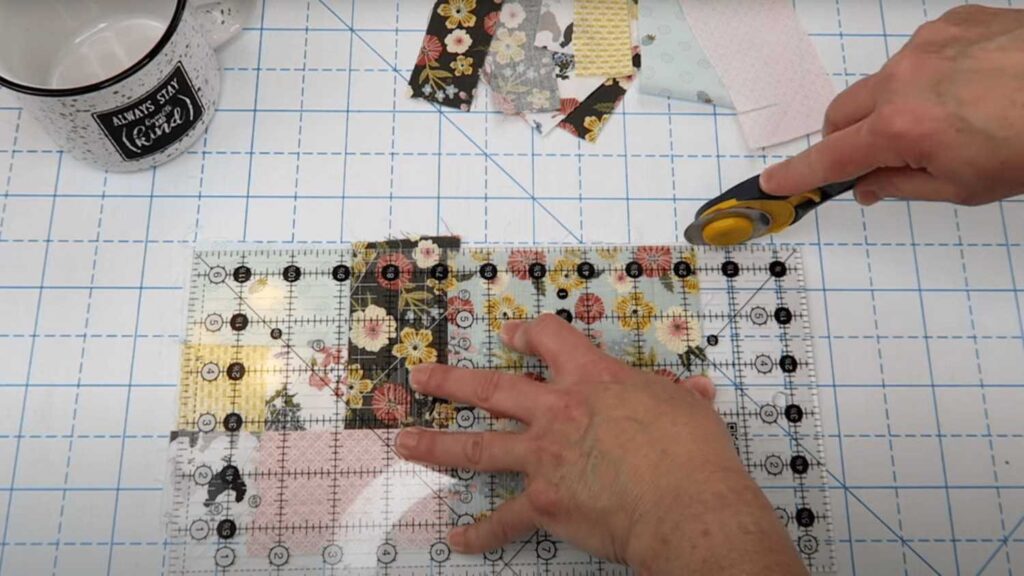
After all fabric is sewn down, square up your mug rug by trimming any excess batting or fabric. Ensure straight edges and sharp corners for a professional finish.
Adjust to the final size (about 5.5″ x 10.5″), making it neat and ready for binding attachment.
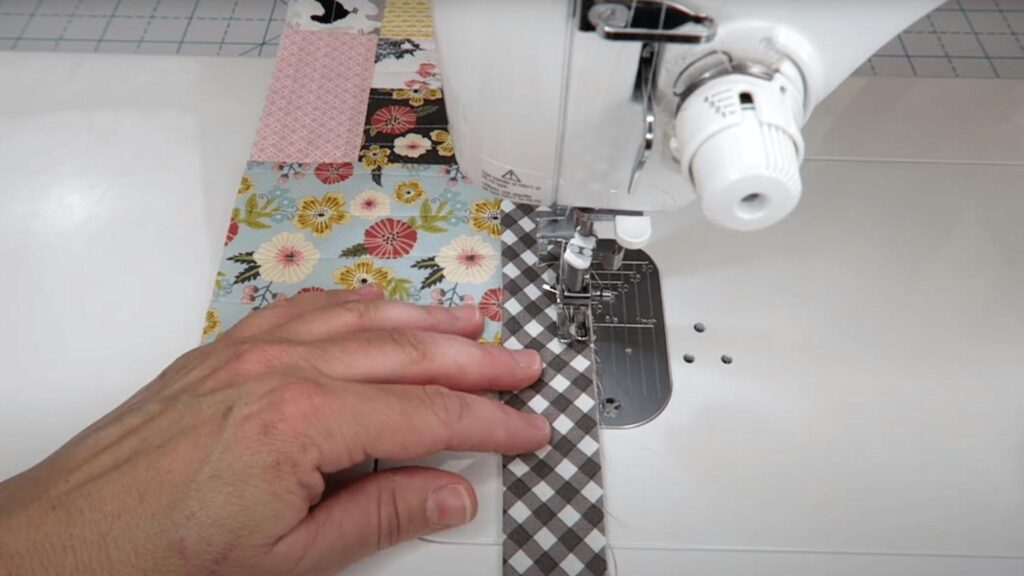
Step 7: Prepare and Attach Binding
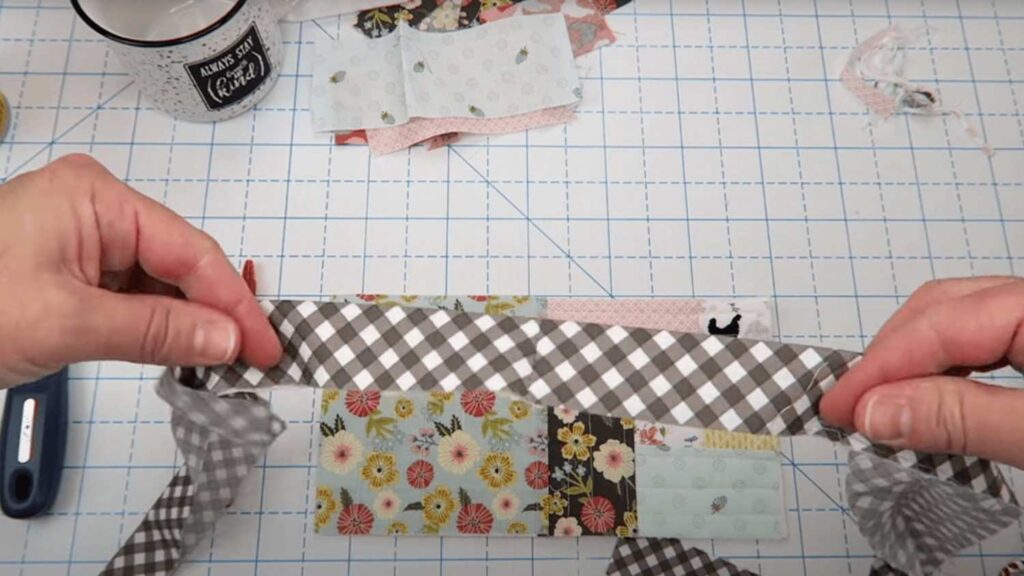
Cut binding strips (2.25″ wide optional for smaller projects), sew the strips together, and press in half lengthwise. Place the binding, raw edges lined up with the mug rug, and stitch around with a 1/4″ seam.
On corners, stop 1/4″ before each edge, fold, and turn to create neat miters.
Step 8: Finish Binding
Join the binding ends by overlapping 1/4″, trimming, then sewing together. Fold binding to the back side and finish with machine or hand stitching.
Pay special attention to folding corners evenly for a tidy look on both sides. This final step secures your mug rug and gives it a polished edge.
Step 9: Enjoy Your Mug Rug
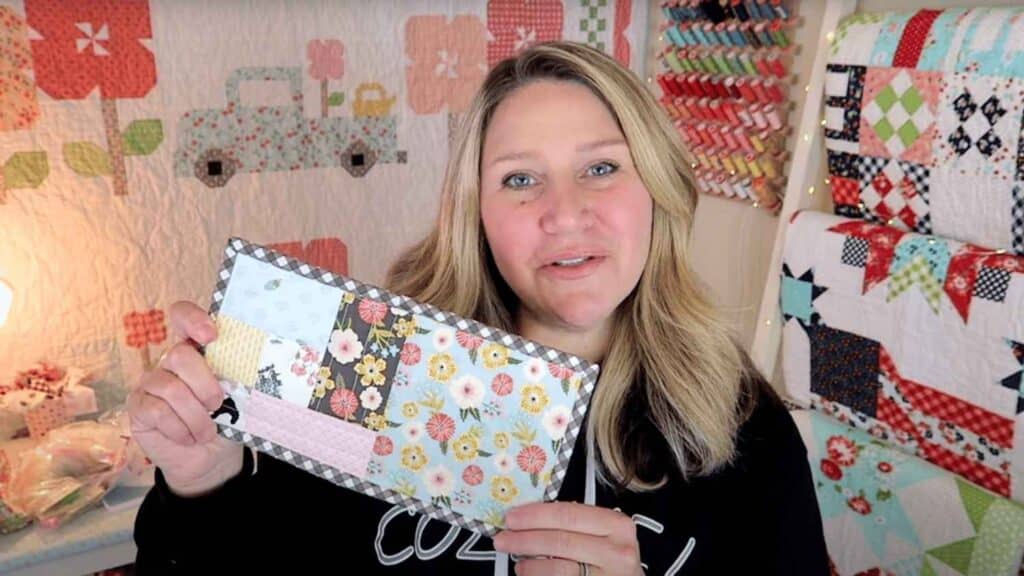
Admire the finished mug rug, perfect for holding a mug and a small snack. Share your creation on social media or gift it to a loved one.
This quick sewing project is a fantastic way to use up fabric scraps while honing quilting skills with a beautiful, usable result.
Check out this tutorial by Erica Arndt for a deeper understanding of the process:
Popular Mug Rug Patterns
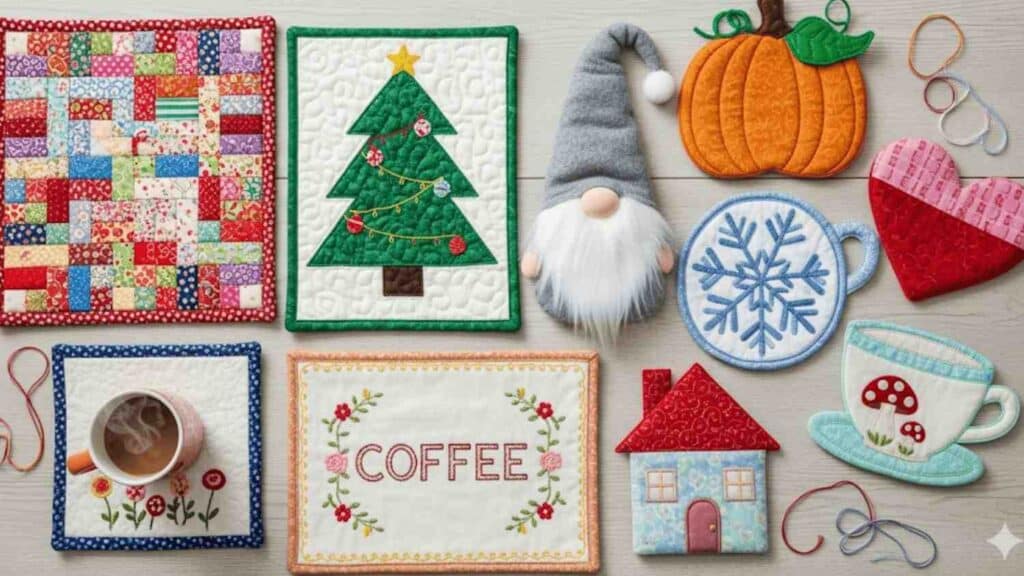
One of the best aspects of mug rugs is their customization options. Here are some fun pattern ideas:
- Scrappy Mug Rugs: Great for leftover fabric pieces.
- Quilted Styles: Patchwork or quilt-as-you-go.
- Seasonal Designs: Christmas trees, snowflakes, pumpkins, hearts, and more.
- Novelty Shapes: Try a gnome, a house, or even a teacup shape.
- Embroidered Mug Rugs: Add lettering, flowers, or fun motifs with embroidery.
Advanced Mug Rug Techniques
Master these advanced methods to create more sophisticated and efficient mug rug projects with professional results.
| Technique | Method | Skill Level | Advantage | Equipment |
|---|---|---|---|---|
| Quilt-as-you-go | Sew scraps directly onto batting/backing | Intermediate | Eliminates the quilting step | Standard machine |
| Embroidery Machine | Use “in-the-hoop” patterns | Beginner | Automated construction | Embroidery machine |
| Appliqué | Add fabric shapes (hearts, letters) | Intermediate | Personalization | Fusible web |
| Foundation Piecing | Sew to paper patterns | Advanced | Precise geometry | Paper patterns |
| Raw Edge | Leave edges unfinished | Beginner | Quick rustic look | Fray-check (optional) |
Note: Combine techniques for unique results; appliqué on quilt-as-you-go bases or add embroidery to foundation pieces. Start with one new method before attempting combinations.
Conclusion
Mug rugs are more than oversized coasters; they’re little canvases for creativity. With just fabric scraps and a few stitches, you can craft something charming, useful, and personal.
Their larger size, compared to coasters, makes them versatile for use with mugs, cookies, or even small plates. They’re both decorative and practical, making them perfect for everyday use or as gifts.
For beginners, mug rugs offer a low-pressure way to practice quilting, piecing, and binding. Each project builds confidence while producing something you’ll actually enjoy using.
From seasonal designs to scrappy experiments, mug rugs can reflect any style. Once you make one, it’s hard not to keep stitching more.