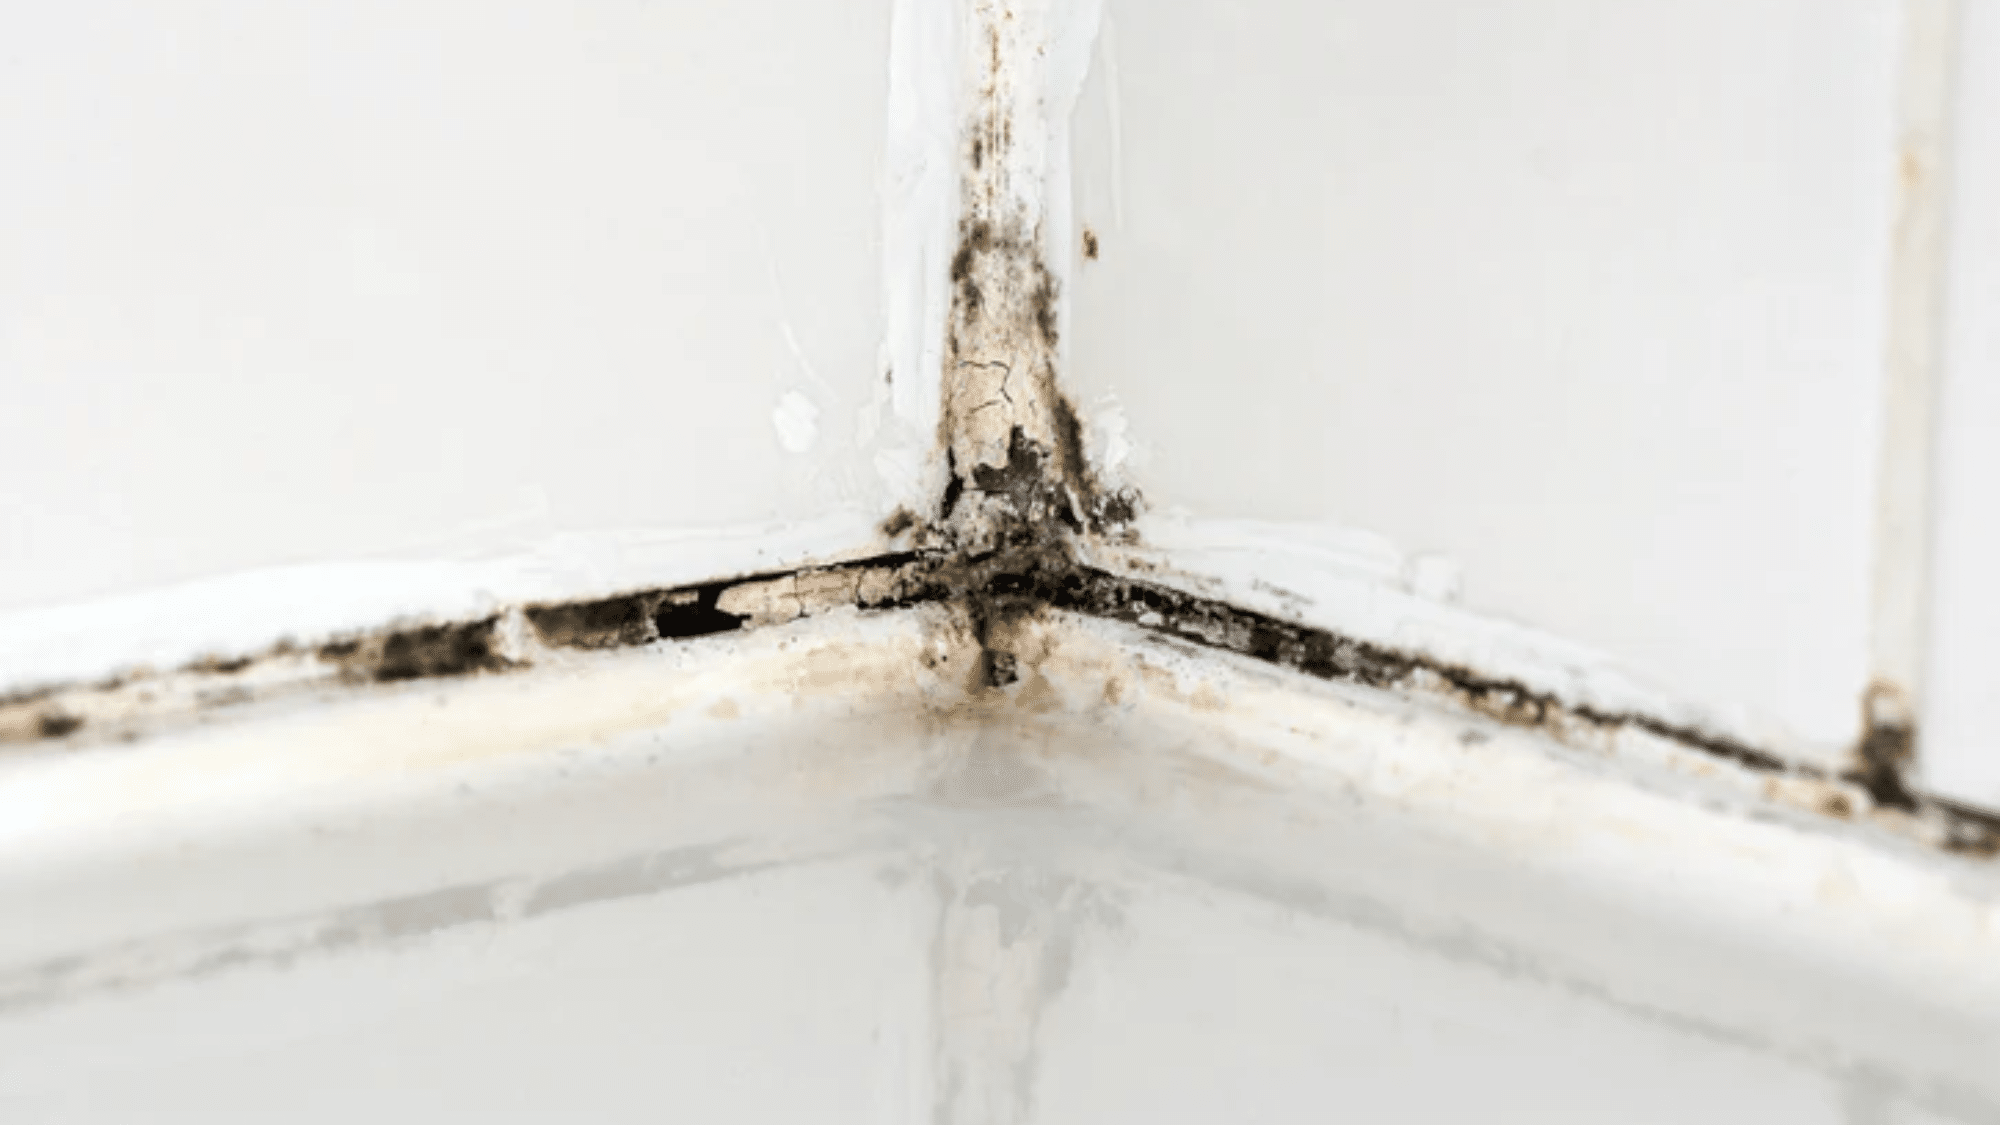
You know that moment when you step into the shower, ready to relax, and then bam, you notice those ugly black or green patches creeping along the grout? I’ve been there too, and it’s the worst.
That unwanted visitor? Yep, it’s black mold in your shower.
Not only does it look gross, but it can also mess with your health, causing sneezing, irritation, and even breathing issues if it gets bad.
But here’s the good news: you don’t need to stress. With the right approach, you can kick that mold out for good.
I’ll tell you how to remove mold from shower, the common types of mold usually found in showers, the health risks that come with it, when its time to call for help, and some pro tips.
Types of Mold Found in Showers Commonly
Not all mold is created equal, and understanding what you’re dealing with helps you choose the right removal strategy. Here are the three main categories you might encounter:
Allergenic molds are the most common type in bathrooms. While they’re not life-threatening for most people, they can trigger allergic reactions like sneezing, a runny nose, and itchy eyes. Think of them as nature’s way of telling you it’s time for a deep clean.
Pathogenic molds are a step up in the concern department. These can cause infections, especially if you have a compromised immune system or existing health conditions. They’re less common but definitely worth taking seriously.
Toxigenic molds are the heavy hitters; they produce toxic substances that can cause serious health problems. The infamous black mold falls into this category.
You’ll most often see black mold and green mold in showers because these varieties absolutely love moisture and poor ventilation.
Black mold tends to appear as dark, slimy patches, while green mold often looks fuzzy and can range from light green to dark forest green.
Step-by-Step Guide: How to Remove Black Mold in the Shower
Mold in the shower is a common problem, but with the right steps, you can clean it safely and keep it from coming back. Here’s a step-by-step guide to help you through the process:
Materials You’ll Need
- Rubber gloves
- Face mask or respirator
- Eye protection
- Scrub brush or old toothbrush
- Sponge or cloth
- Spray bottle
- Your chosen cleaning solution
- Toilet paper or paper towels
- Ventilation fan or open window
Step 1: Prep Your Space
Before you begin, let’s ensure the area is safe to work in. Mold cleaning can get messy, and you don’t want to breathe in spores or fumes.
Turn on your bathroom exhaust fan if you have one, or crack open a window to get some fresh air flowing. Now, gear up: gloves, goggles, and even a mask if you have one.
Think of it like putting on your superhero uniform before tackling the villain. Trust me, this is not a step to skip.
Step 2: Choose Your Cleaner
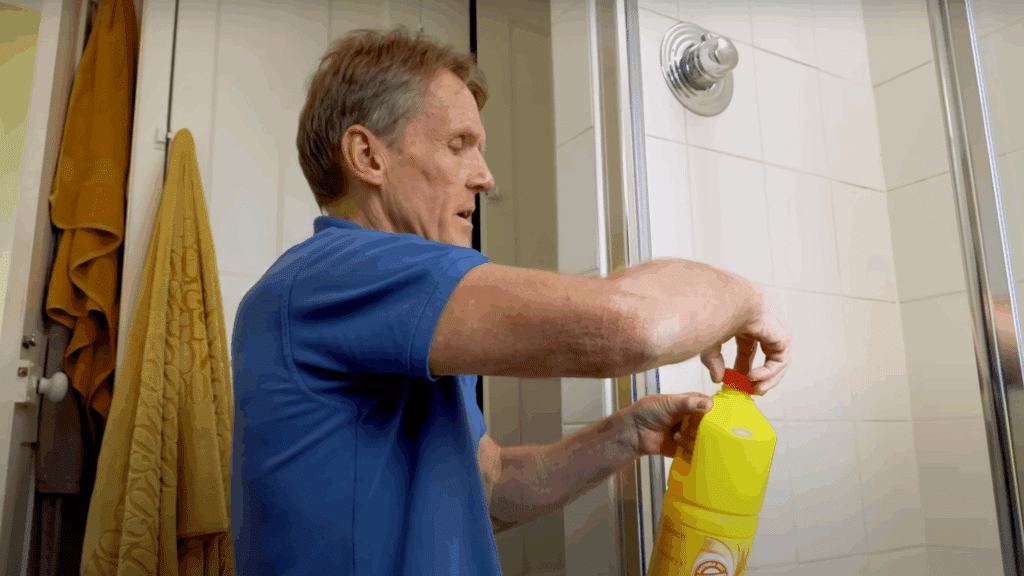
Here comes the fun part: deciding what you’ll use to battle the mold.
- Bleach solution: Super powerful and gets the job done fast, but it’s strong and a little harsh.
- Hydrogen peroxide: Use it straight from the bottle. It fizzes a bit, which feels oddly satisfying, and it’s less irritating than bleach.
- White vinegar: Another natural hero. Pour it into a spray bottle and use it undiluted. It might smell a little like salad dressing, but it’s a tough mold killer.
- Pick whichever works best for you: Bleach for heavy-duty or peroxide/vinegar if you’d rather keep things gentle on your lungs.
Step 3: Apply the Cleaner
Time to put your chosen cleaner to work. Spray it generously over the moldy spots; don’t just mist lightly. You want to make sure every inch of the mold is covered so it doesn’t stand a chance of surviving.
Once sprayed, step back and allow it to dry for 10–15 minutes. This waiting time is like letting your cleaner soak in and do its job; it loosens up the mold so you won’t have to fight as hard later.
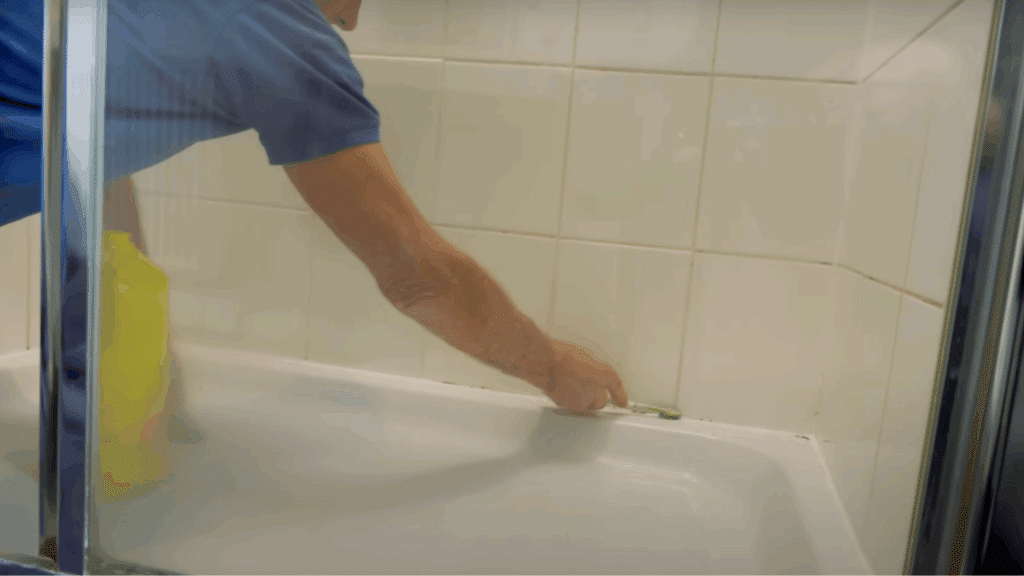
Step 4: Scrub Away
Grab your scrub brush, old toothbrush, or anything with firm bristles. Work the cleaner into the grout lines, corners, and any tiny spots where mold loves to hide.
Don’t be afraid to put some elbow grease into it; mold clings on tight and won’t go away with just a gentle wipe. Imagine you’re giving your bathroom a deep massage; it should feel like you’re really working those bristles in.
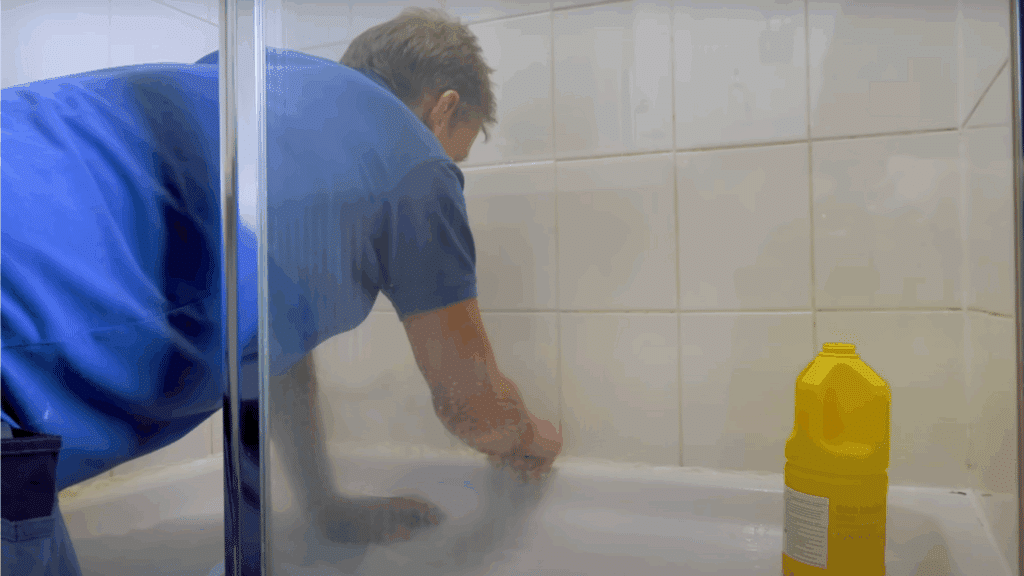
Step 5: Rinse Thoroughly
Once the scrubbing battle is over, rinse everything down with hot water. This step is just as important as cleaning, as it washes away both the dead mold and any remaining cleaning solution.
Perform at least two thorough rinses; you don’t want any chemical residue remaining, especially if it’s bleach. Think of this step as giving your bathroom a fresh shower of its own.
Step 6: Dry Completely
Mold thrives in dampness, so drying is the ultimate defense move. Grab a clean towel and wipe down every surface you’ve cleaned.
After that, let air circulation do the rest, leave the fan running or the window open. The key here is making sure no hidden moisture is left behind. Know that no moisture means no mold.
If you want to follow along visually, here’s a video tutorial for you:
Special Focus: Removing Mold from Shower Head
Your showerhead deserves special attention because it’s often overlooked during regular cleaning, yet it’s a prime spot for mold growth.
The overnight soaking method works wonders here. Fill a plastic bag with equal parts white vinegar and water, then secure it around your showerhead with a rubber band.
Make sure the showerhead is completely submerged in the solution. Let it soak overnight; the acid in the vinegar will break down mold and mineral deposits.
In the morning, remove the bag and run hot water through the showerhead for a few minutes. Use an old toothbrush to scrub away any remaining buildup, then rinse again. Your showerhead will look and function like new.
Health Risks of Mold in the Shower
Mold might seem like a minor annoyance, but it can pose serious health risks, especially if left untreated. Even small patches in your shower should be taken seriously, as all types of mold have the potential to affect your well-being.
Common symptoms of mold exposure include:
- Coughing, wheezing, and shortness of breath
- Itchy eyes, sneezing, and skin irritation
- Worsening of asthma or other respiratory conditions
Some people are more vulnerable to mold, including:
- Young children
- Elderly adults
- Pregnant women
- Anyone with a weakened immune system or chronic lung issues
For these groups, even low levels of mold exposure can lead to more severe complications.
The takeaway? Mold in your shower isn’t just a cosmetic issue; it’s a health concern. Tackling it early helps protect both your home and your health.
When to Call a Professional
Sometimes DIY just isn’t enough, and that’s okay. Here are the signs that it’s time to bring in the experts.
If you’re dealing with mold covering more than 10 square feet, that’s considered a large infestation and typically requires professional remediation.
You’ll also want to call in the pros if the mold keeps coming back despite your best efforts. This usually indicates a bigger moisture problem that needs to be addressed.
Black mold should always be handled by professionals due to its potential toxicity. If you’re experiencing persistent health symptoms that began after the mold appeared, don’t take chances; seek professional help.
Plumbers can fix underlying moisture issues like leaky pipes or poor ventilation, while mold remediation specialists have the tools and expertise to safely remove large infestations and prevent them from returning.
Do’s and Don’ts When Dealing with Shower Mold
When it comes to shower mold, a few smart moves can make all the difference, and a few mistakes can make things worse. Here’s a quick guide to keep you on the right track:
| Do’s | Don’ts |
|---|---|
| Address mold as soon as you notice it to stop it from spreading. | Don’t paint over mold or apply new caulk on top of moldy caulk. |
| Replace old, moldy caulking with mold-resistant versions. | Don’t mix cleaning products like bleach with ammonia or vinegar. |
| Test your cleaning solution on a small, hidden area before full use. | Don’t skip protective gear; mold spores and cleaners can harm skin/lungs. |
Following these simple dos and don’ts will help you tackle mold safely, effectively, and without creating bigger problems down the line.
Tips for Effective Mold Removal
Getting rid of mold isn’t just about scrubbing; it’s about doing it the right way so it stays gone. Keep these pro tips in mind as you clean:
- Use paper towels for vertical surfaces: After spraying your cleaner, press toilet paper or paper towels along grout lines or the tub rim. This keeps the solution in place longer, so it can really work instead of dripping away.
- Scrub with some muscle: Mold roots itself deep into porous surfaces. A quick wipe won’t cut it; you need firm, vigorous scrubbing to fully break it loose.
- Rinse more than once: Don’t stop at a single rinse. Wash everything down at least twice with hot water to remove every trace of mold and cleaning solution. Leftover residue can attract dirt and make future cleaning harder.
- Swap tools often: If your sponge, cloth, or brush starts to look grimy, switch it out. Reusing dirty tools can spread mold spores around instead of removing them.
- Use warm water for mixing solutions: If you’re making a bleach or vinegar solution, use warm water; it helps the cleaner mix evenly and stick better to surfaces.
These simple habits can make mold removal more effective and keep your shower fresher for longer. A little extra care now will save you from bigger problems later.
Wrapping It Up
I get it, scrubbing black mold in your shower isn’t exactly how you planned to spend your weekend. But trust me, tackling it now is way better than dealing with a bigger, nastier mess later. You’ve got all the tools and know-how to win this battle.
The real game-changer? Those prevention habits we talked about. A little daily maintenance goes a long way in keeping your shower mold-free.
Your family’s health is worth those few extra minutes of care. So grab your gloves, pick your cleaning solution, and clean that mold.
Ready to make your bathroom shine? Start with these steps today and enjoy a fresh, mold-free shower tomorrow. If this guide helped you, check other blogs on the website for more home improvement tips and guides!