Struggling with a doorknob that won’t budge can be really annoying, especially when you can’t see any screws holding it in place. I’ve run into this same problem, and I know how confusing it feels at first.
Sometimes you just want to swap out an old knob, fix a latch that’s stuck, or give your doors a new look.
That’s why I put together this simple guide. You’ll learn how to remove different styles of knobs, including ones with hidden screws or special fittings.
I’ll also share tips for dealing with tricky antique or glass knobs. By the end, you’ll know the steps and feel ready to tackle the project on your own. Let’s get started.
Why You Might Need to Remove a Door Knob
Removing a doorknob may seem like a minor task, but it often serves a crucial purpose. You may want to upgrade the look of your doors with a new finish, replace a worn or broken knob, or install a more secure lock for added protection.
Sometimes the latch stops working properly, leaving the door stuck or hard to open. Learning this simple skill not only helps you solve immediate problems but also prepares you for other DIY door projects.
With a few tools and clear steps, you can handle the job quickly and confidently.
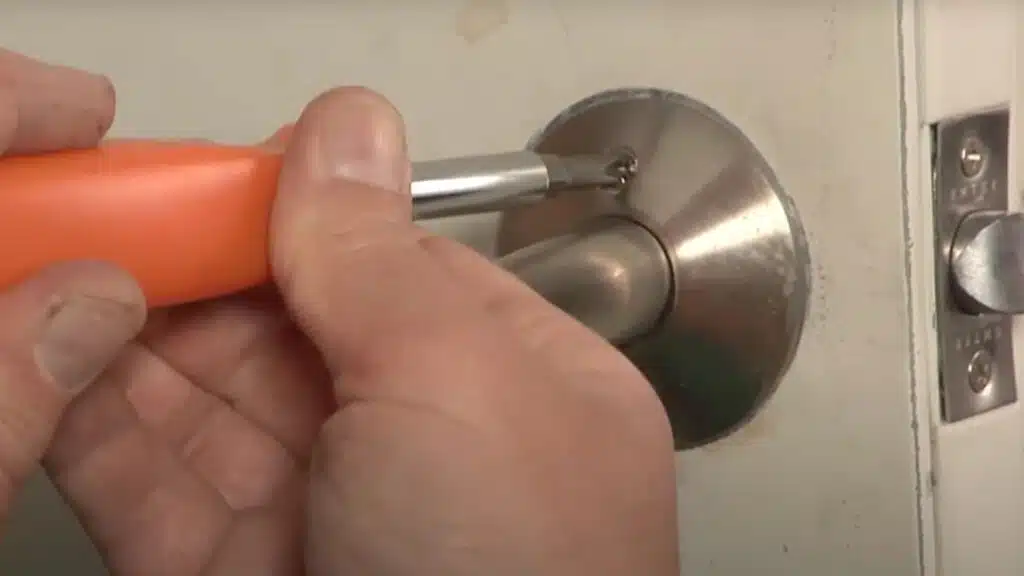
Quick Method for Knobs With No Visible Screws
If your doorknob has no visible screws, it likely uses a hidden-release design. Here’s the quick way to get it off:
- Insert a paperclip, pin, or release tool into the small hole at the knob’s base.
- Press firmly while pulling the knob free from the spindle.
- Pry off the rose plate gently with a flathead screwdriver.
- Remove the mounting screws and slide the latch out.
This method solves the most common problem users face. Once screws are visible, continue with the detailed steps below.
How to Remove a Door Knob
If the quick fixes don’t work out, consider these steps. Follow these clear steps to remove, measure, and replace a door knob safely, ensuring smooth operation and proper alignment:
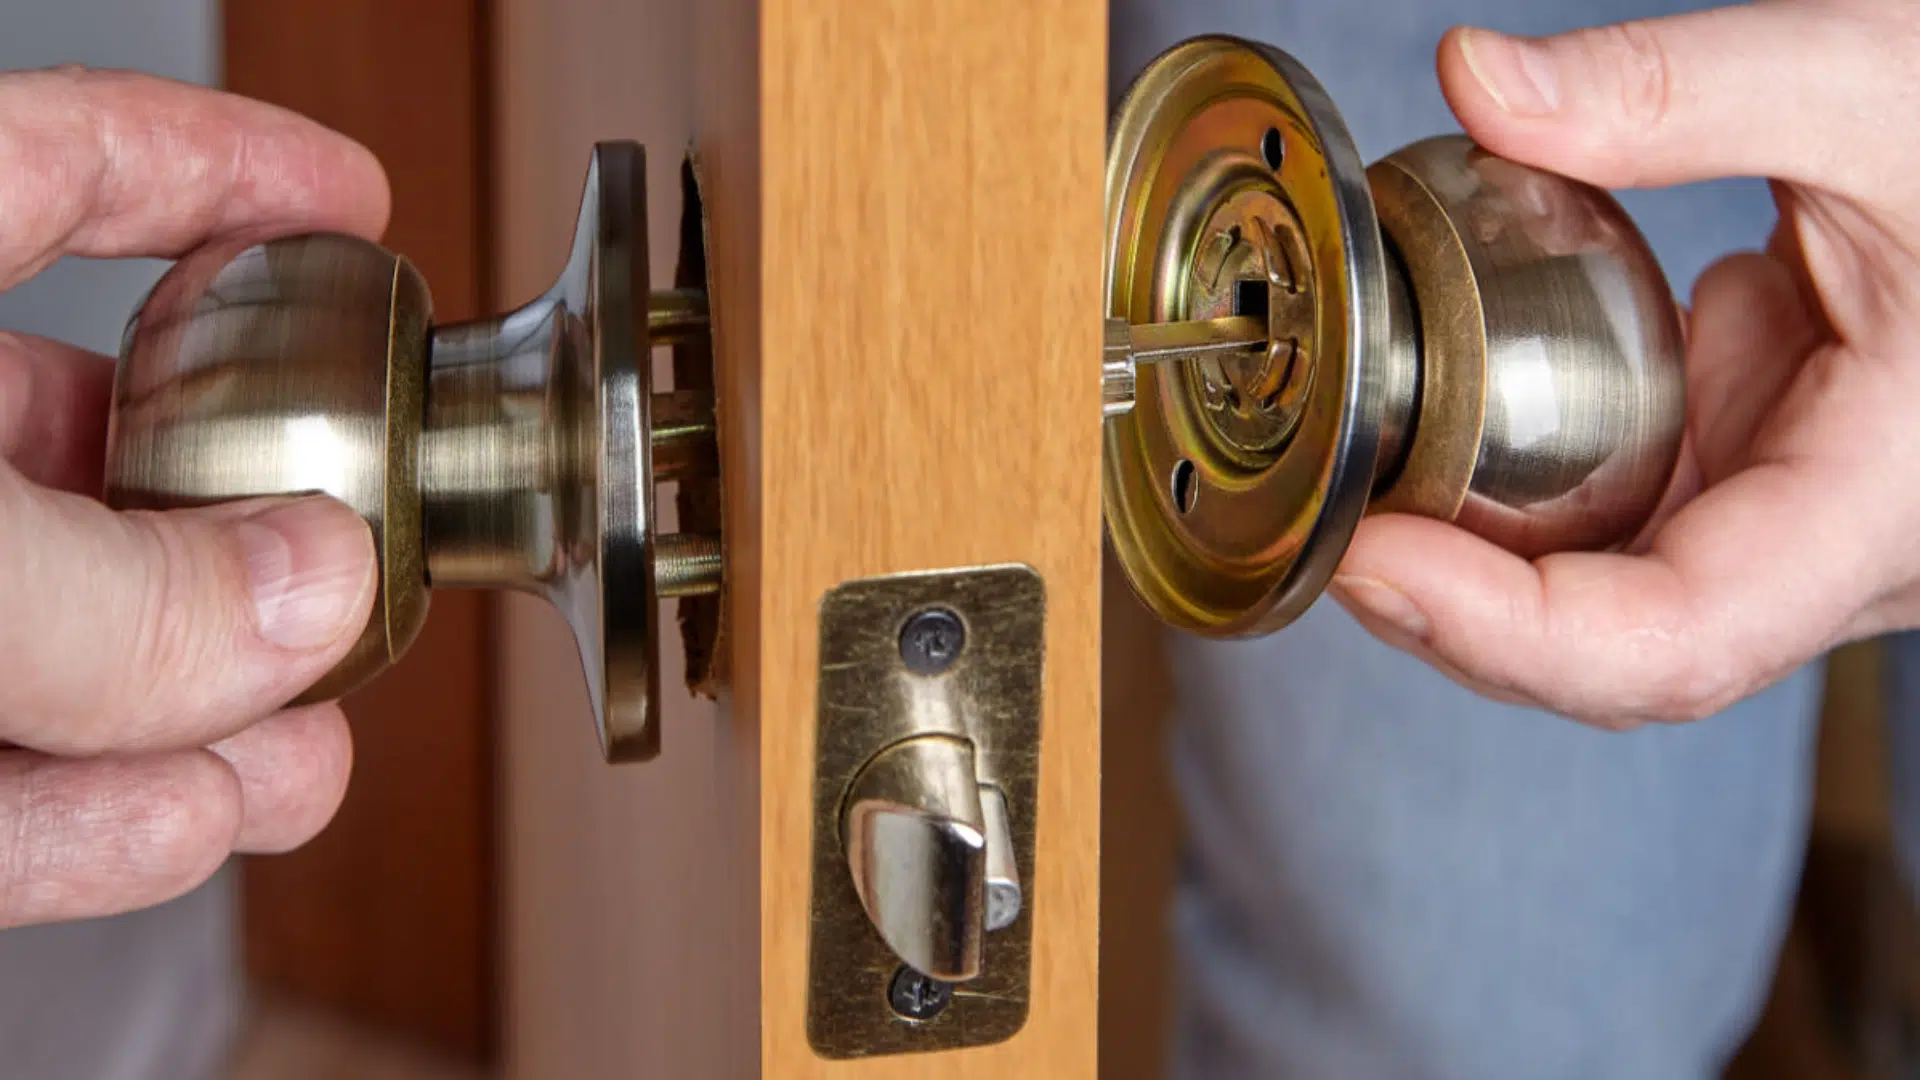
Step 1: Remove the Door Knob
Loosen the two face screws holding the interior knob. Back the bottom screw out first, then remove the top screw. Pull off the interior knob and trim plate. Slide the exterior knob out of the large hole.
Keep all screws and small parts together to prevent anything from going missing. This clears the door for latch removal and makes the opening accessible.
If the screws feel tight, keep steady pressure on the driver to avoid stripping the heads.
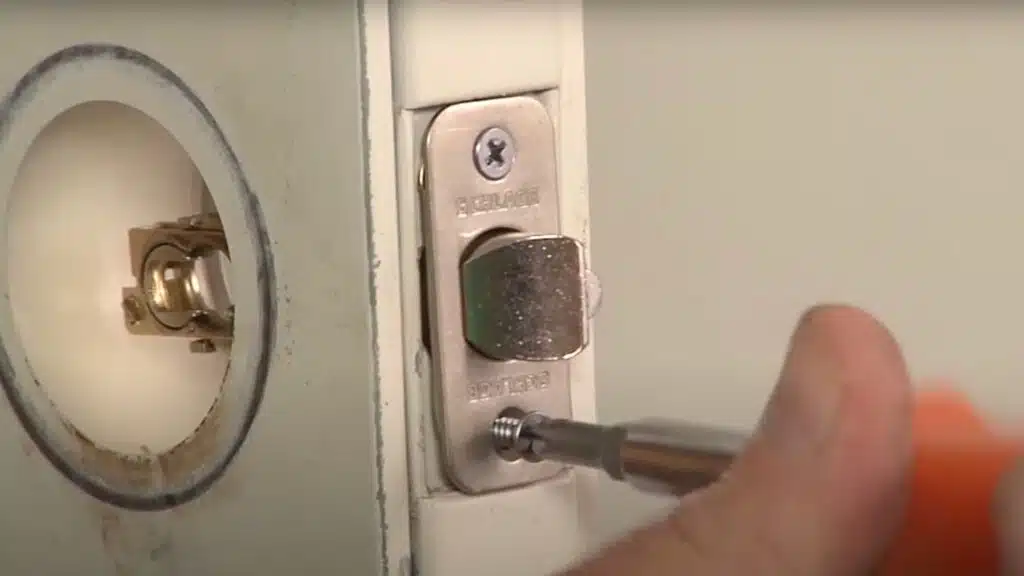
Step 2: Remove the Latch
Move to the door’s edge. Remove the two Phillips screws securing the latch face plate. Pull the latch straight out of the hole, keeping the bolt aligned so it doesn’t catch on wood fibers.
Note its orientation so you reinstall the sloped side toward the strike later. Set the latch and screws aside together.
If the latch sticks, wiggle gently while pulling. Avoid prying with force; you don’t want to chew up the edge.
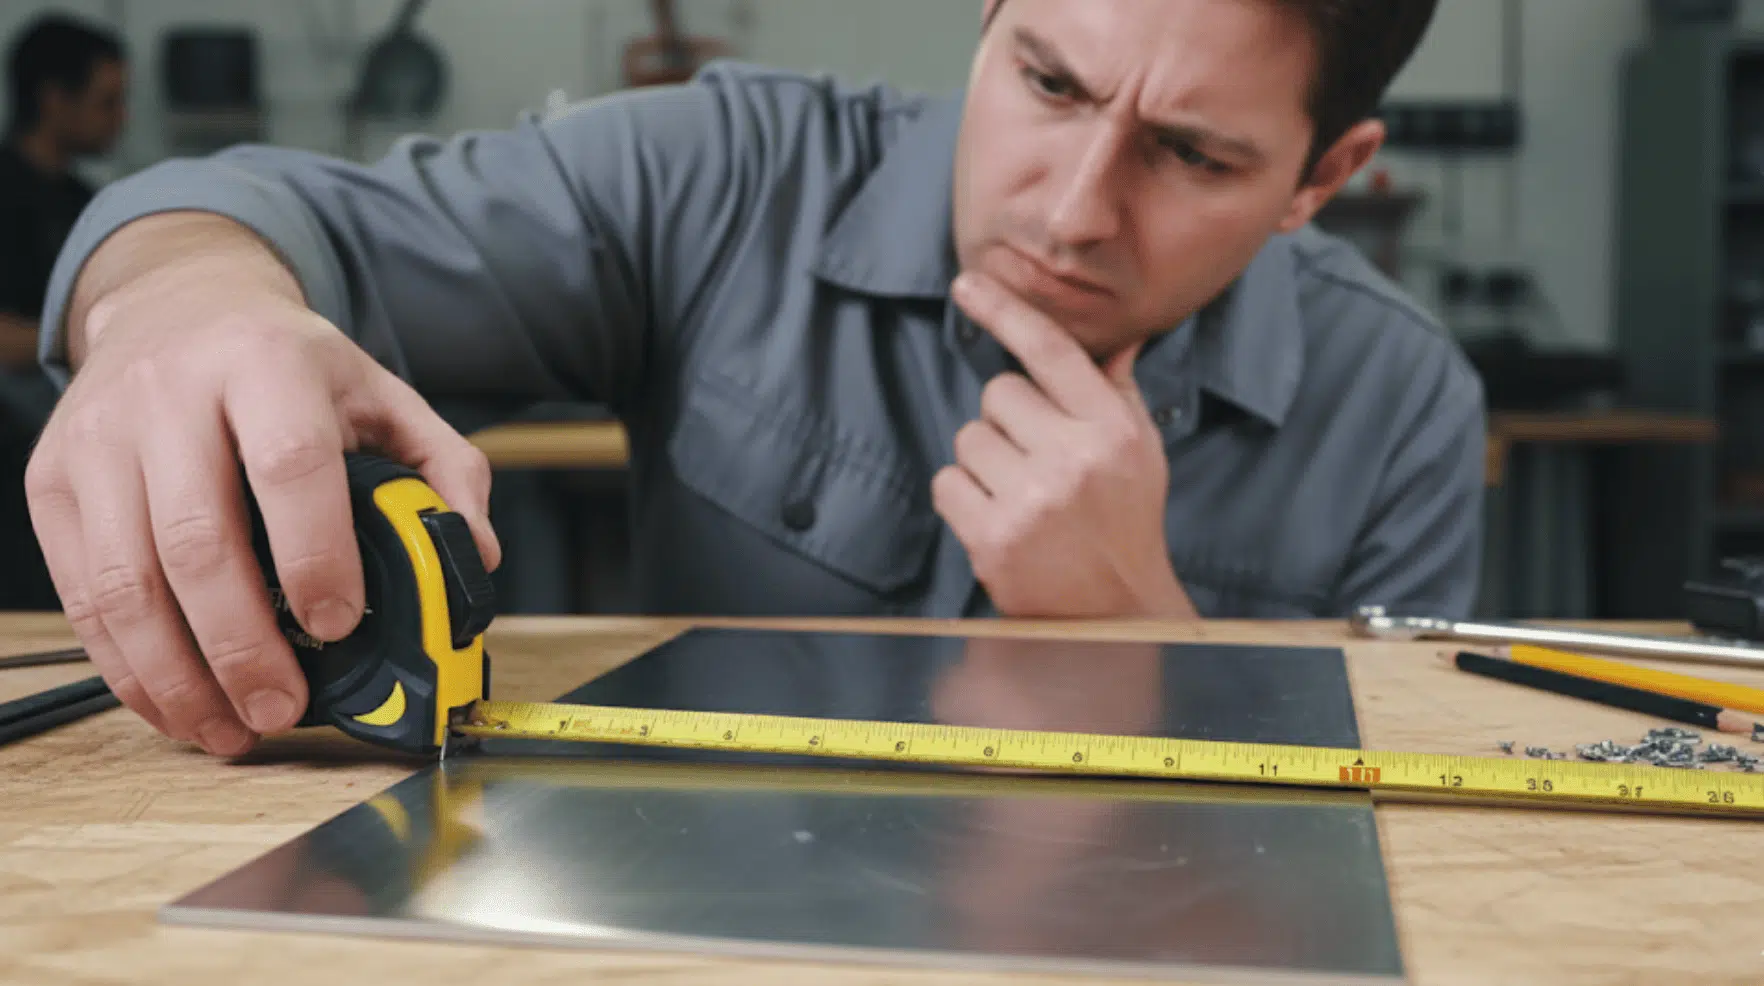
Step 3: Determine the Backset
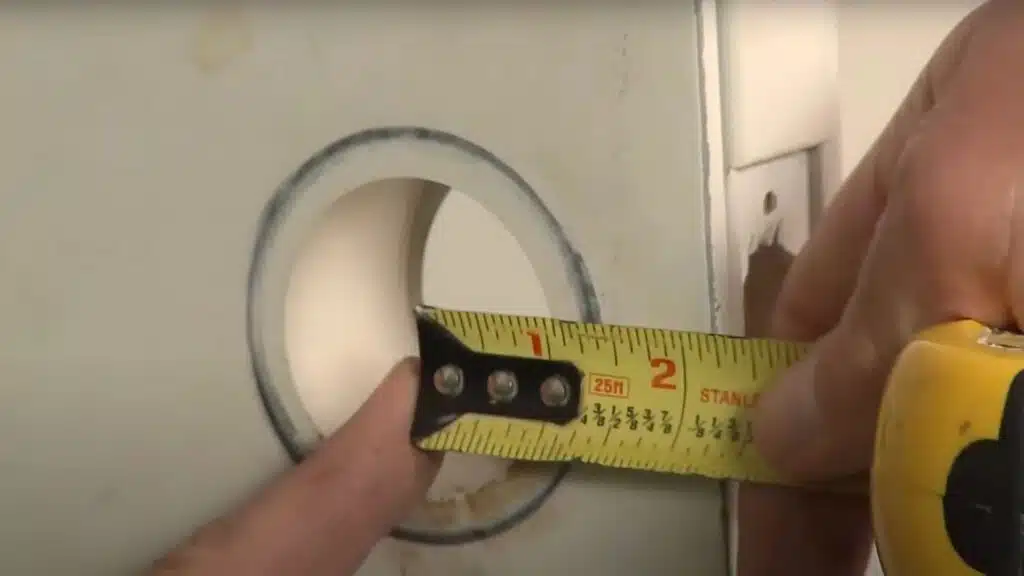
Measure from the door edge to the center of the large hole. Typical backsets are 2-3/8 inches or 2-3/4 inches. Check your new latch: many models are fixed length; others are adjustable.
Set or select the length to match your door measurement so the knob will center correctly. This single step prevents binding, misaligned plates, and poor latching.
Double-check before installing. If you’re unsure, compare your old latch length to the new one for a quick confirmation.
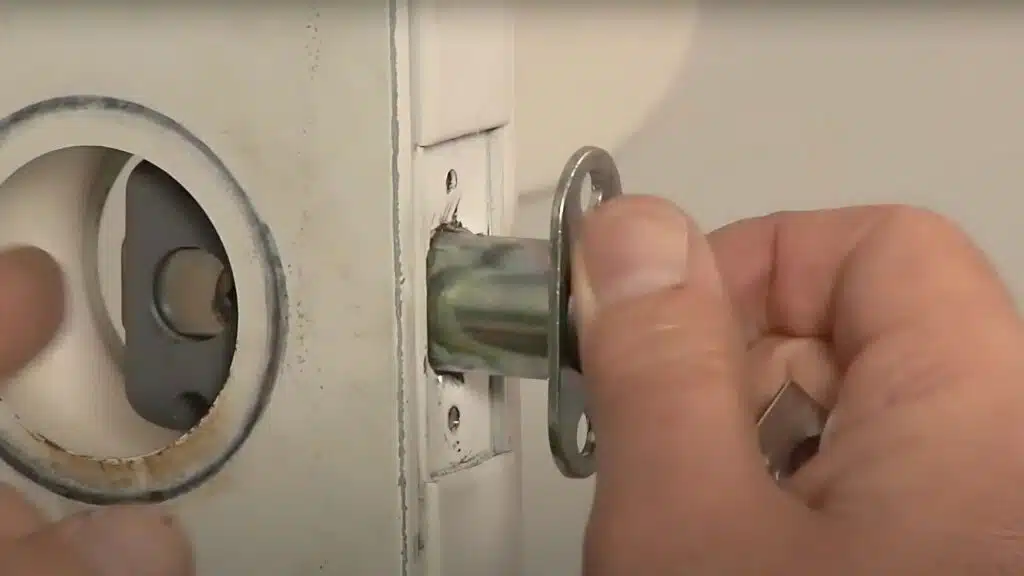
Step 4: Install the Latch
Slide the new latch into the edge hole with the sloped side facing the strike plate location. Seat the face plate flush against the edge. Install the two screws through the plate and tighten until snug.
Do not overtighten; you can distort the plate or strip the wood. Test the latch bolt by pushing it with your thumb. It should move freely and spring back. If it rubs, loosen slightly, realign the body, and retighten evenly.
Step 5: Install the Knob

Start with the exterior knob. Hold it in the large hole so the spindle passes through the latch. Bring the interior half to the door and align it with the spindle and mounting posts. Jiggle gently until everything seats.
Hand-thread the longer machine screws through the interior side to catch the exterior housing. Tighten the top screw first, then the bottom, alternating until snug.
Test the knob to confirm smooth turning and proper latching. Adjust tension if needed.
Step 6: Strike Plate
This part sits on the door frame and receives the latch. If the finish matches and alignment is good, you can leave it as is, just like in the walkthrough.
If you’re upgrading finishes or the door doesn’t latch cleanly, swap the strike: remove two screws, position the new plate, and reinstall. Close the door to test engagement.
Minor rubbing can be fixed by loosening, shifting slightly, and retightening. Avoid chiseling unless alignment is clearly off.
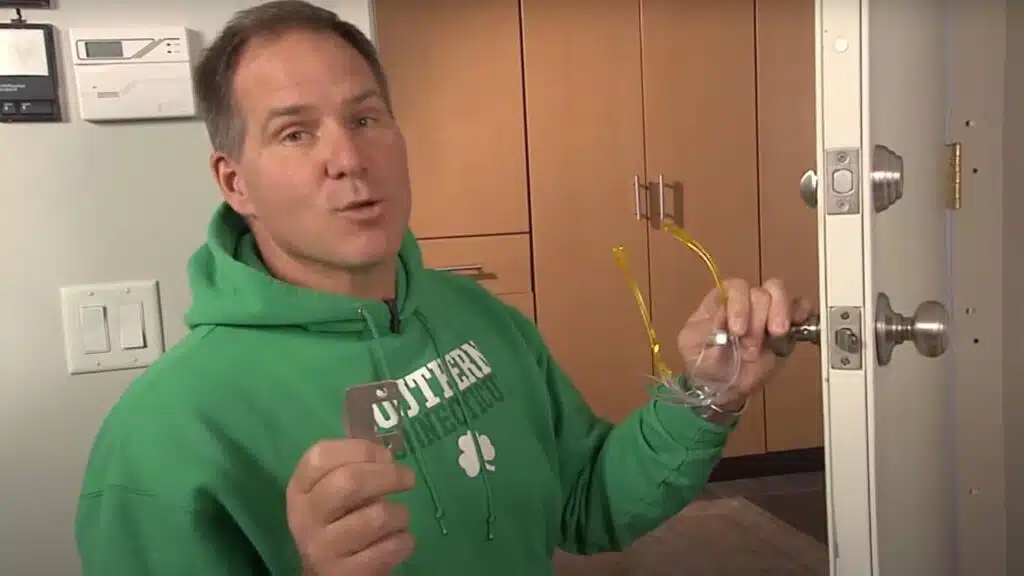
Want to see the process in action? Watch this quick video tutorial on how to remove a door knob step by step:
Identify Your Door Knob Type for Ease
Before starting, quickly check what kind of knob you have. Use this simple checklist to match the right removal method:
- Can you see screws on the knob face or plate? Use the screw method.
- Do you see a small hole or slot near the base? Use the hidden-screw method.
- Is it a lever handle with a release slot underneath? Use the lever removal method.
- Is it glass or an antique with no visible screws? Handle with care using the antique/glass method.
1. Knobs With Visible Screws
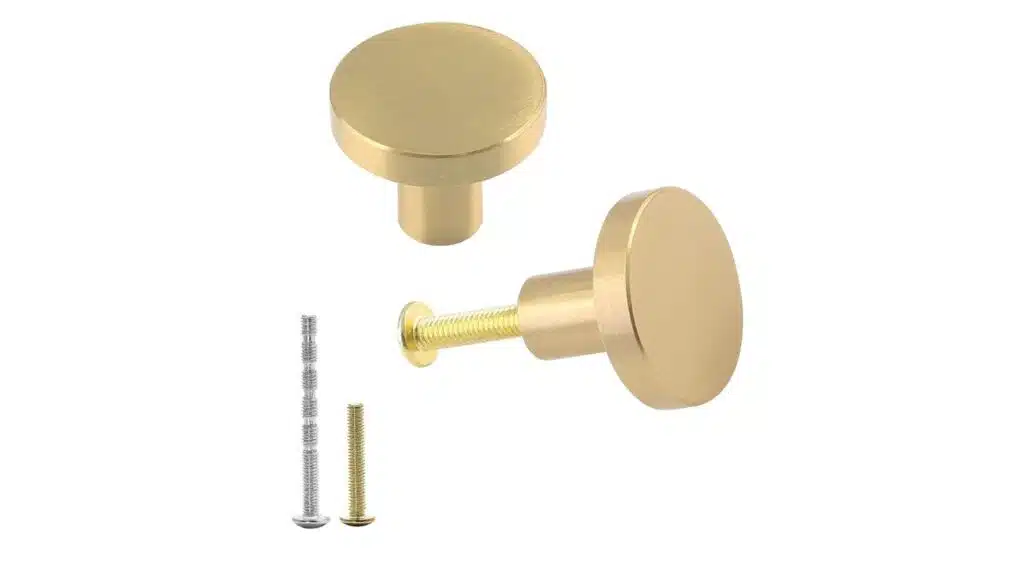
These are the simplest to remove. You’ll see two screws on the knob’s face or trim plate. Using a Phillips screwdriver, loosen and back them out evenly.
Once removed, the inside and outside knobs slide apart easily. This style is common on interior doors. Keep screws together to avoid losing them, and always check both sides for screws before pulling off the knobs.
2. Knobs With Hidden Screws or Slots
This type is trickier because no screws are visible. Look for a small hole or slot near the knob’s base or rose plate. Insert a pin, paperclip, or release tool into the hole to disengage the catch.
Once the knob loosens, pry off the decorative plate gently with a screwdriver or knife tip. Underneath, you’ll find mounting screws to remove. Patience here is important; forcing can bend trim plates or scratch the door surface.
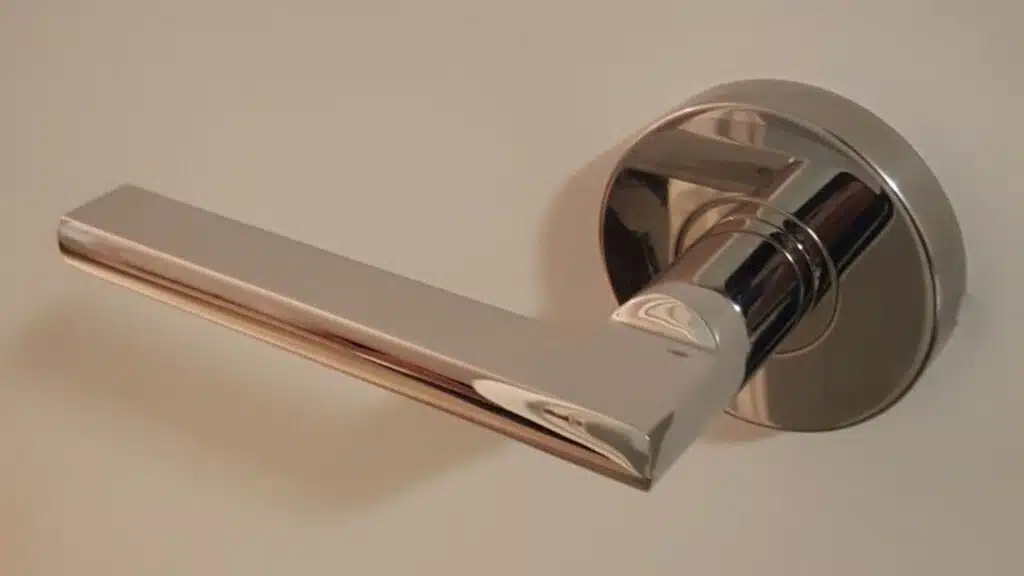
3. Lever Handles
Lever handles often have a small release slot or hole beneath the lever itself. Insert a pin or small tool into this hole while pulling on the lever to release it. Once removed, pry off or twist the cover plate to expose the screws.
Lever sets are common in modern homes and can feel sturdier. Take care not to force the lever sideways, as it can bend. Always keep pressure steady to avoid slipping and damaging nearby surfaces.
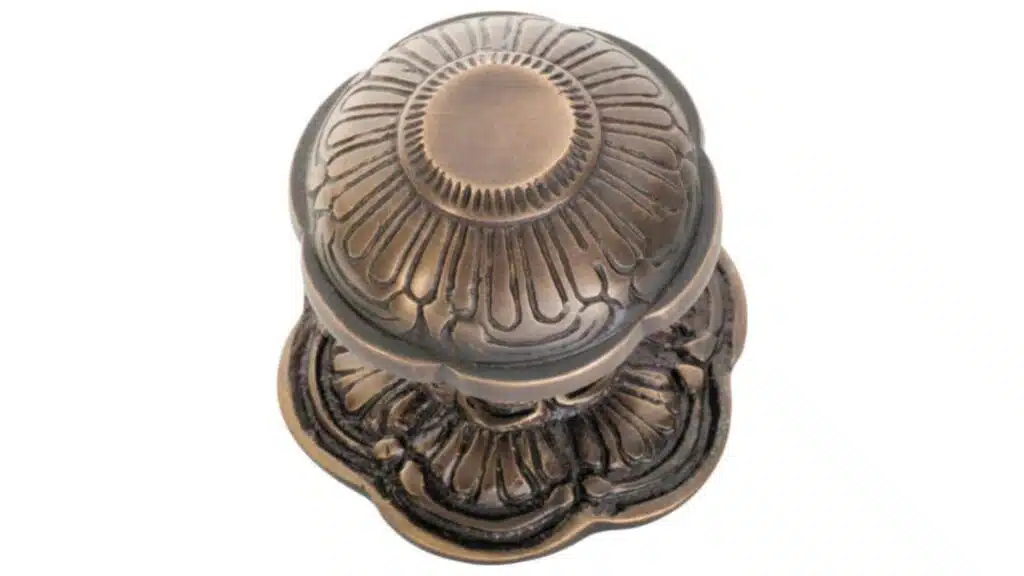
4. Antique or Glass Knobs
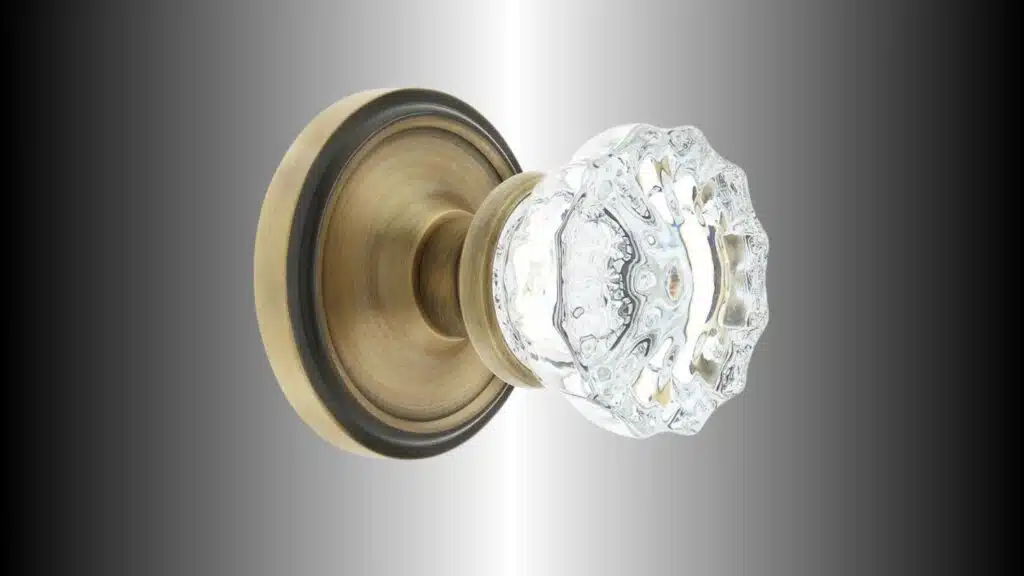
Older knobs may not show screws at all. Instead, they usually have a small set screw on the collar that locks the knob to a spindle. Use a flathead screwdriver or hex key to loosen it.
If there’s no screw, try twisting both knobs in opposite directions to free the spindle. Glass knobs require special care; hold firmly while loosening to avoid dropping or cracking. Because parts can be fragile, keep a towel underneath to catch anything.
5. Regional Knob Designs (Australian Style)
Some regions, such as Australia, use knob designs with clip or slot releases instead of screws. These often require pressing a spring-loaded catch hidden beneath the handle to release the knob.
While the process is similar to hidden-screw knobs, the mechanism can feel tighter. Check carefully before forcing, as the release point may differ slightly.
Fixing Common Door Knob Issues
Door knobs get a lot of use every day, so it’s no surprise they sometimes act up. Here are some common problems and simple fixes:
Knob Won’t Unlatch
If the knob turns but the latch won’t release, push the latch tongue manually with a screwdriver. Sometimes misalignment or a bent latch causes binding.
Adjusting the strike plate or tightening screws can restore smooth operation without needing full replacement.
No Visible Slot or Plate
Some knobs hide their release slot beneath a decorative rose. Gently pry the plate with a flathead or utility knife to reveal it.
Once exposed, insert a pin or paperclip into the slot to disengage the knob and access the mounting screws easily.
This trick also applies if you’ve been asking yourself how to remove a door handle with hidden screws.
Stuck or Rusted Hardware
Moisture or age can lock parts in place. Spray penetrating lubricant around screws or latch edges, then let it soak.
Lightly tap the knob or latch with a rubber mallet to loosen corrosion. Avoid using heavy force, which could split the wood or crack the trim.
Locked Knobs Without a Key
Interior privacy knobs often have an emergency release. Look for a small hole in the center of the exterior knob.
Insert a flat tool, a pin, or even a paperclip to disengage the lock. If there’s no release, removal may require dismantling the knob completely.
Next Step After Door Knob Removal: Repair or Replace
Once the old knob is off, you’ll need to decide what comes next. If the latch or strike plate shows wear, repair or replace it before installing a new knob to ensure smooth operation.
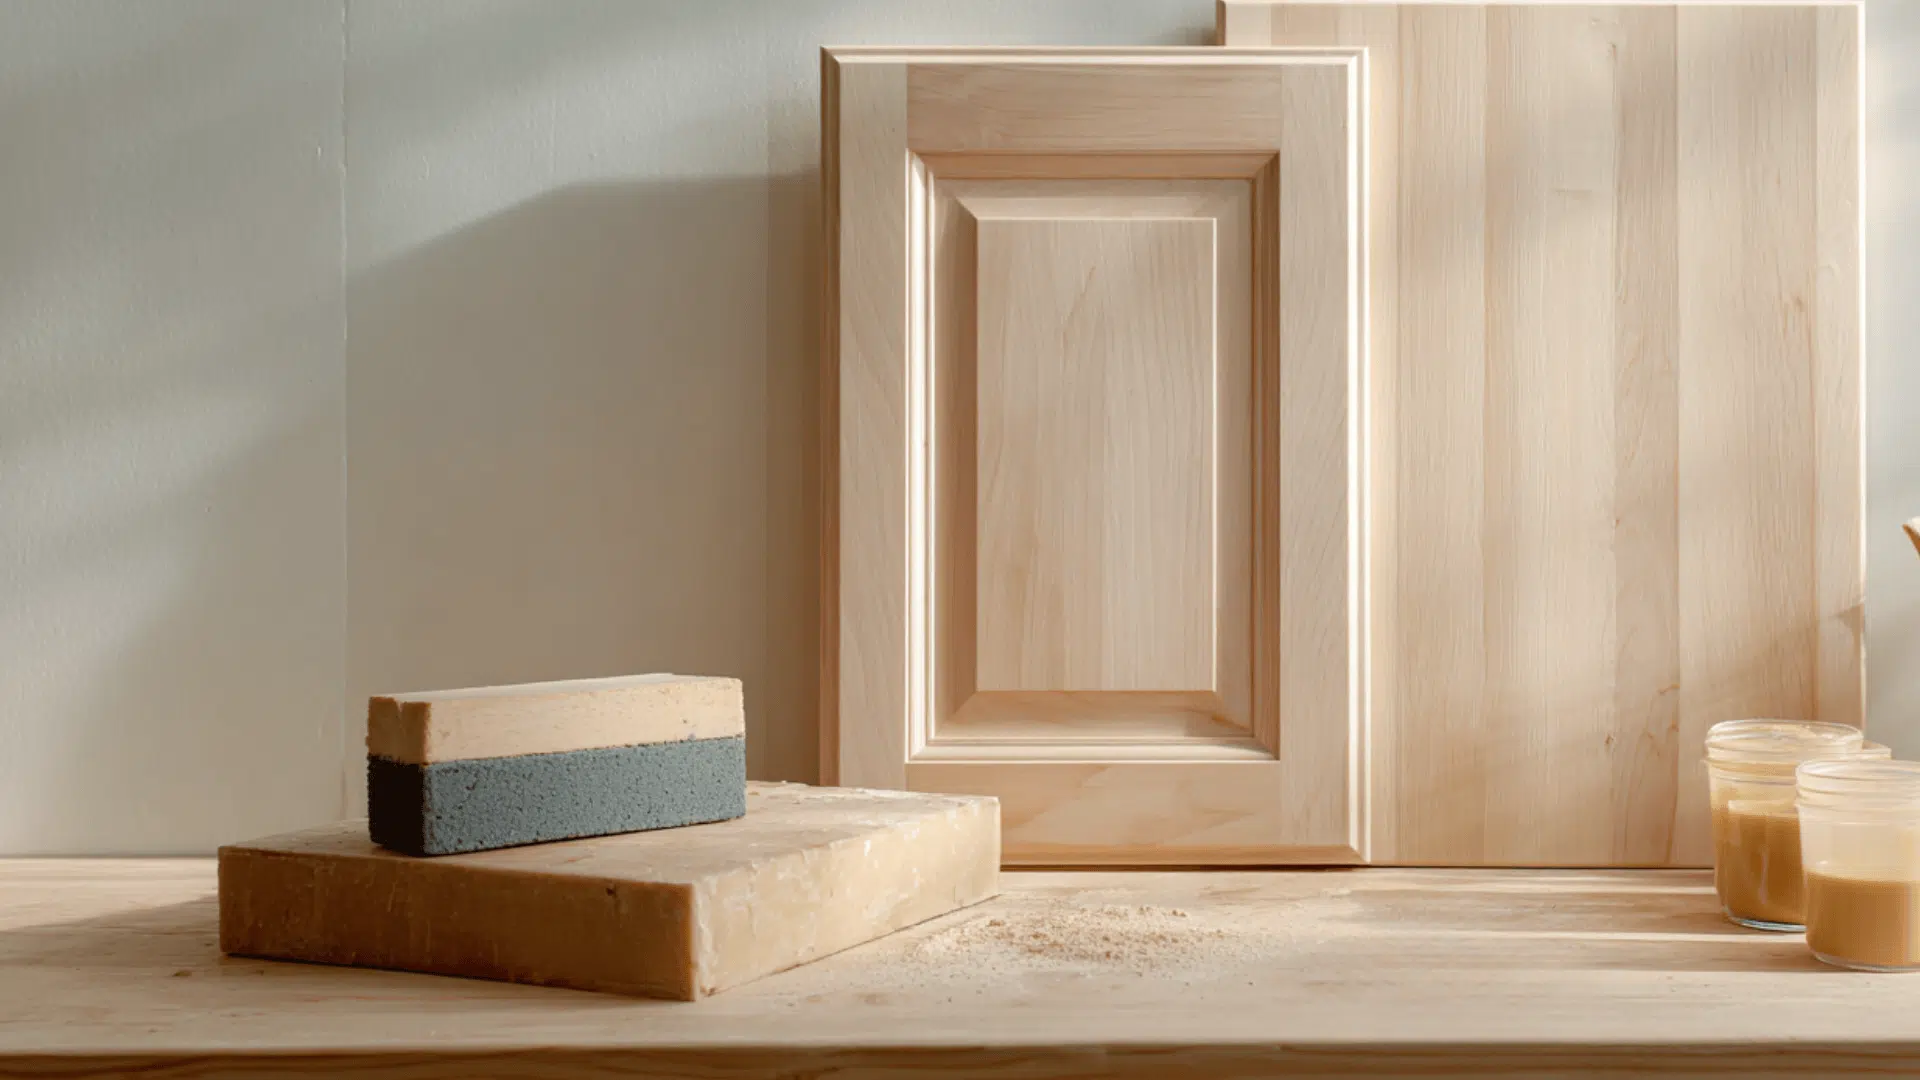
For replacements, start with basic DIY installation; most modern sets come with simple instructions and only need a screwdriver. Choosing a new knob depends on your style and budget: modern, sleek models, antique reproductions, or durable glass options.
Finishes like matte black, brass, or brushed nickel match different interiors. You’ll also find choices across price ranges, from budget-friendly sets to premium hardware.
Reliable shopping options include big-box retailers like Home Depot, online marketplaces such as Amazon, and specialty hardware stores for unique pieces.
Safety Tips and Warnings
Following safety guidelines keeps your project smooth and prevents costly mistakes. These points protect both your tools and your doors:
- Avoid scratching the door surface when prying plates off.
- Keep screws, latches, and small parts organized in a container.
- Never force antique or glass knobs, as they may crack or break.
- Always turn off the nearby power if working on a door with electrical locks.
- Wear gloves to protect your hands from sharp edges or slipping tools.
- Use the right screwdriver size to prevent stripping screws.
- Make sure the door is supported and doesn’t swing suddenly while you work.
Taking these steps helps you work safely and finish the job without extra stress.
Conclusion
Now you know the simple steps for how to remove a door knob, no matter if it’s a standard screw type, a hidden-screw design, or even a delicate glass style.
You’ve seen how to handle stuck hardware, identify your knob type, and prepare for a smooth replacement. The next time a latch fails or you want a fresh look, you’ll be ready to take care of it yourself without stress.
My last tip: keep your tools handy and always work with patience; it makes the job easier.
If you found this helpful, take a look at other blogs on the website for more practical fixes and home updates!