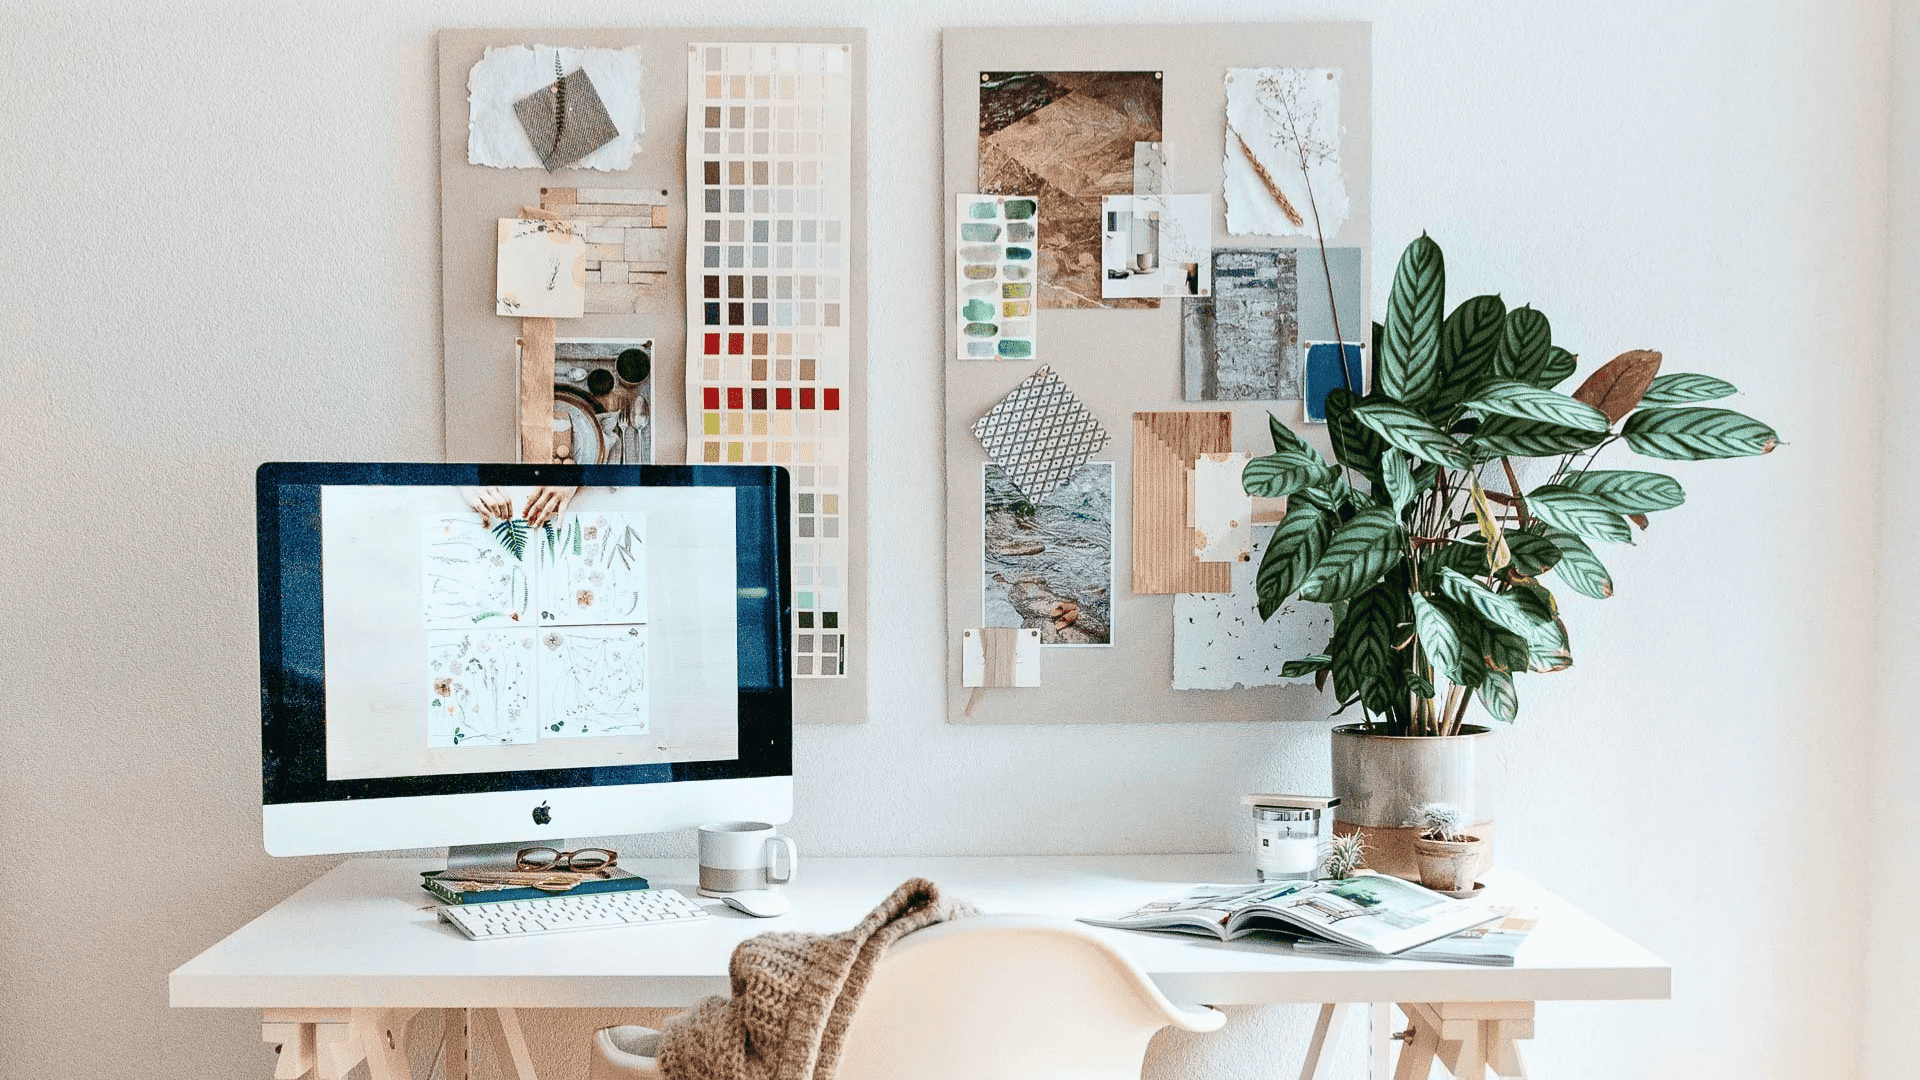
I’ve always liked having a spot to pin reminders and keep favorite photos in view. A DIY bulletin board gives you the same function without spending a lot of money on store versions.
You can make one for around $15–30, and the best part is choosing a look that fits your home. From fabric-covered boards to simple foam options, the design is completely up to you.
Here you’ll find simple steps, a list of materials, and tips to style your board in different ways. By the end, you’ll have something practical that helps you stay organized and adds a personal touch to your space.
Picking Your Perfect Bulletin Board Style
Before you gather supplies, think about the look that works best for your space. Here are a few popular options:
- Linen-Covered: Clean and simple with light fabric that works well in bedrooms or offices. Its minimal look blends easily with most furniture.
- Burlap-Covered: Rustic and textured, perfect for farmhouse or casual spaces. The rough weave adds character to plain walls.
- Upholstered with Nailhead Trim: Designer-inspired without the high price tag. The metal trim gives a polished finish and a high-end feel.
- Foam Board Basics: Budget-friendly and flexible. Make a large statement board or several smaller ones to suit your wall.
- Cork Board Upgrade: Start with a plain cork board, then add batting, fabric, and wood trim for a softer, custom finish.
DIY Bulletin Board: Step-By-Step Instructions
It doesn’t take much time or money to make your own bulletin board, and the process is easier than you might think.
With just a few basic supplies, you can create something that’s both practical and decorative. Follow these steps to cut, wrap, and hang a board that fits perfectly in your space. Here’s how to get started:
Tools & Materials
- Foam insulation board or cork board (base)
- Optional MDF backing (adds strength)
- Medium to heavy fabric (linen, burlap, muslin, etc.)
- Staple gun with staples
- Box cutter or utility knife
- Screws with finishing washers or Command Strips (for hanging)
- Optional: batting for a padded look
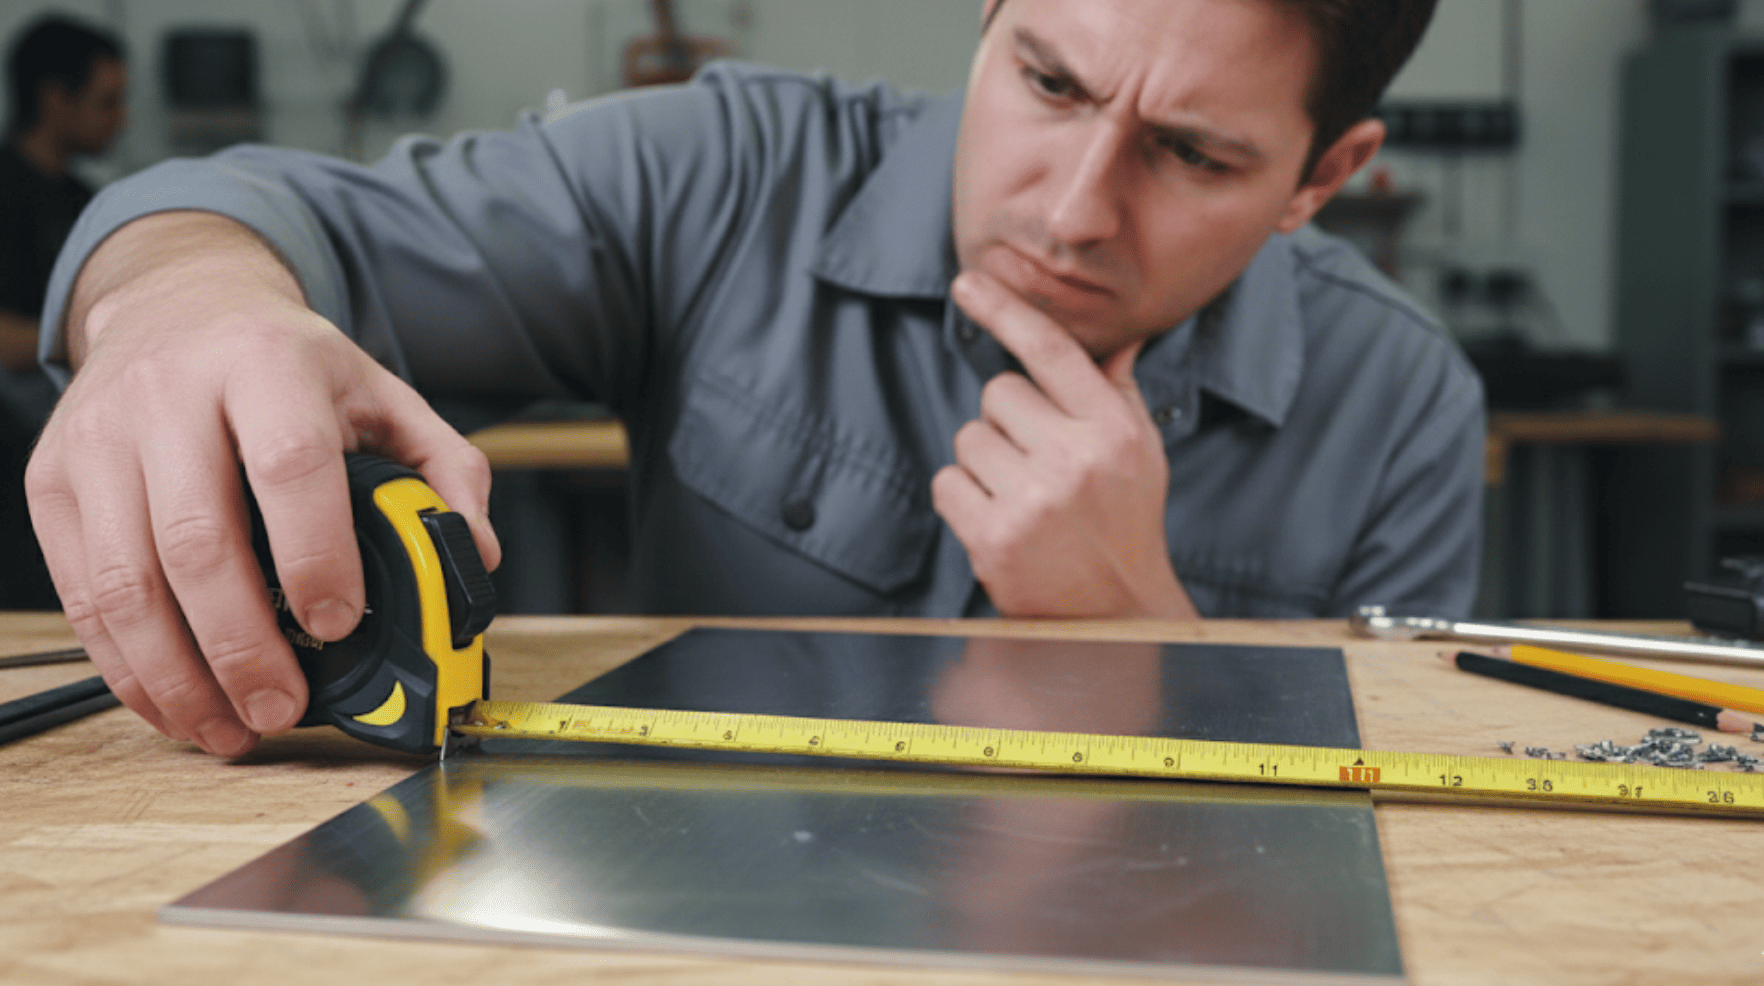
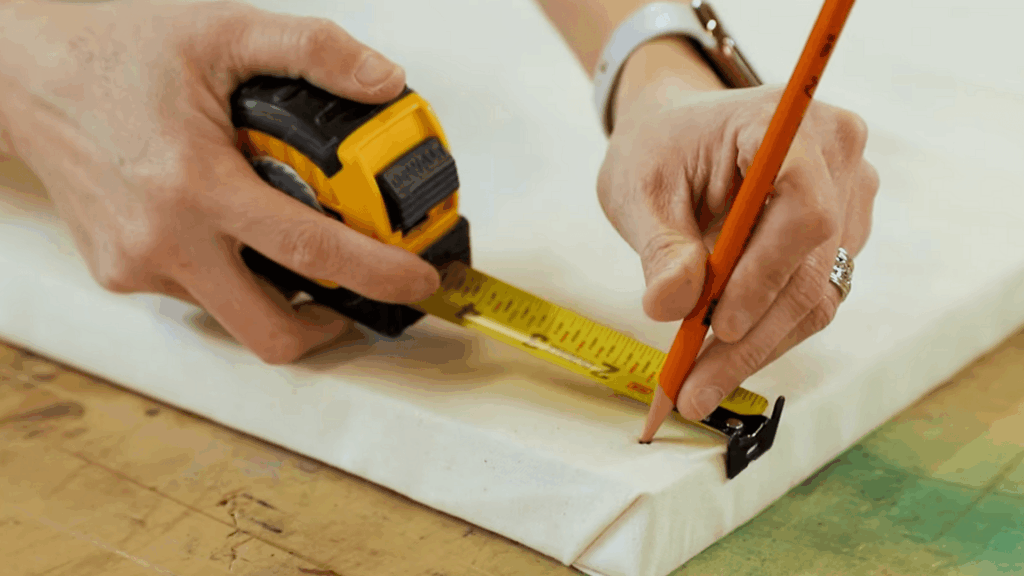
Step 1: Sizing & Prep
Start by measuring the wall space where your bulletin board will hang and decide on the right size. Common dimensions are 24″×48″ or 36″×36″, but you can customize it to fit your space. Cut the foam or cork board using a straightedge and a utility knife.
If you want extra strength, hot-glue the foam to a 1/4″ MDF backing so the staples hold better. Next, prepare your fabric by ironing it flat and cutting it so that there are 3–4 inches of extra material on all sides. If you’re using batting for a softer look, cut it to match the size of the board.
Step 2: Wrap & Staple
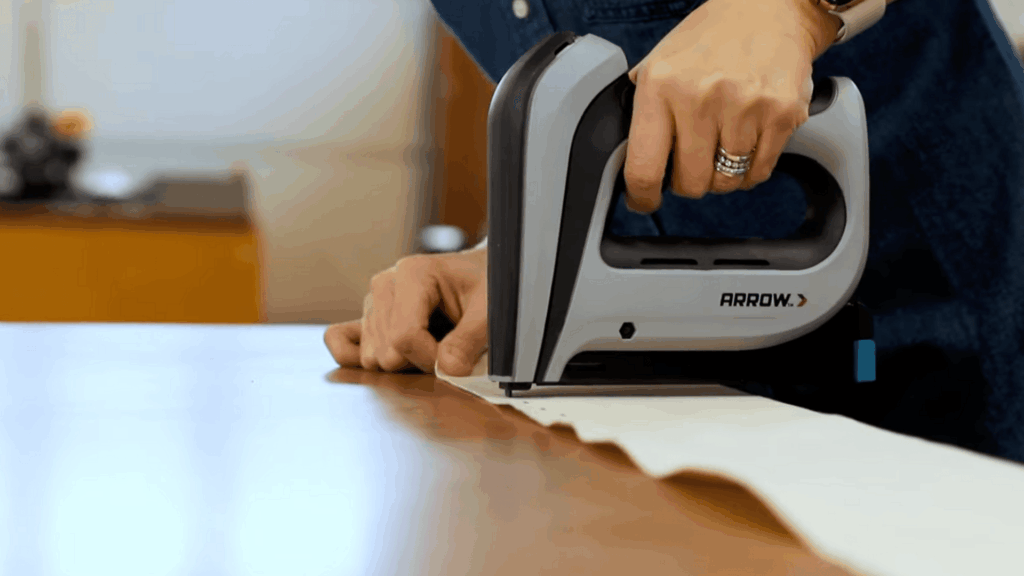
Lay the fabric face down on a flat surface, add the batting on top, and then place the board face down over both layers. Starting from the center of each side, pull the fabric tight and staple it to the back of the board, working outward toward the corners.
Once the sides are secure, fold the corners as if you’re wrapping a gift to keep the front smooth. Staple them neatly so the fabric lies flat and free of wrinkles.
Step 3: Frame or Detail
If you want to elevate the look, you can add decorative details at this stage. A custom wood frame made from 1×2 trim gives a polished, built-in appearance.
Nailhead strips can be applied along the inside edge for a designer touch, while burlap boards can be lightly misted with spray paint to create a subtle textured effect. For a simple but refined finish, spray paint your washers gold or silver before hanging them.
Step 4: Hang It
To mount your board, you have two options. For a renter-friendly approach, attach Command Strips to the back and press the board firmly against the wall.
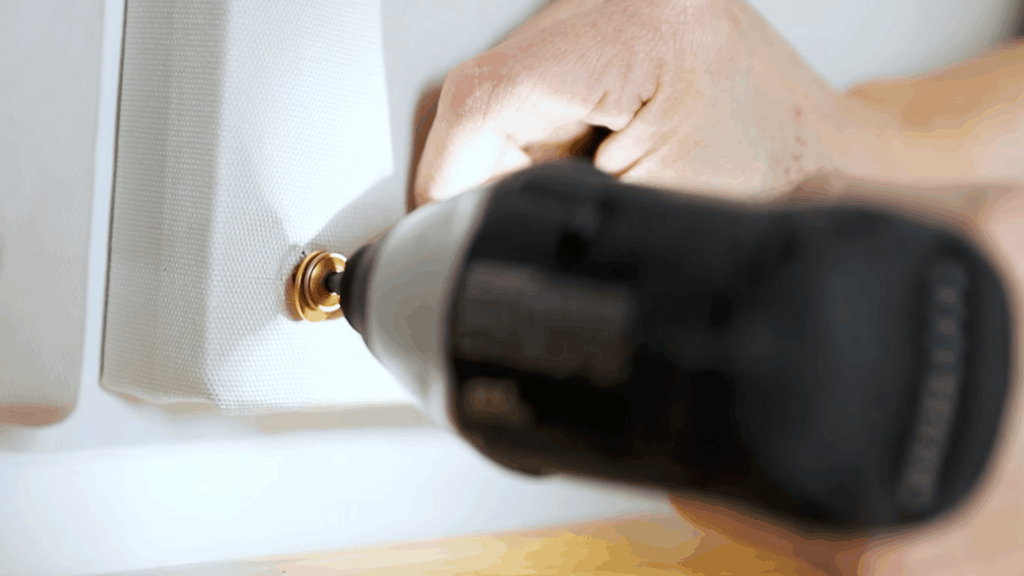
If you prefer a more secure method, use screws with washers. Mark about one inch in from each corner, drive the screws in until snug, and avoid over-tightening so you don’t crush the foam. Check with a level to make sure the board hangs straight.
Step 5: Use & Care

Once it’s hung, you can start pinning photos, notes, or inspiration clippings. Use small map tacks or pins, but try not to push them into the same spot repeatedly to keep the board in good condition.
Over time, if the fabric loosens slightly, just add a few staples to the back or tighten the corners again. With care, your DIY bulletin board should last for years and cost you only $15–$30, much less than buying a store-bought version.
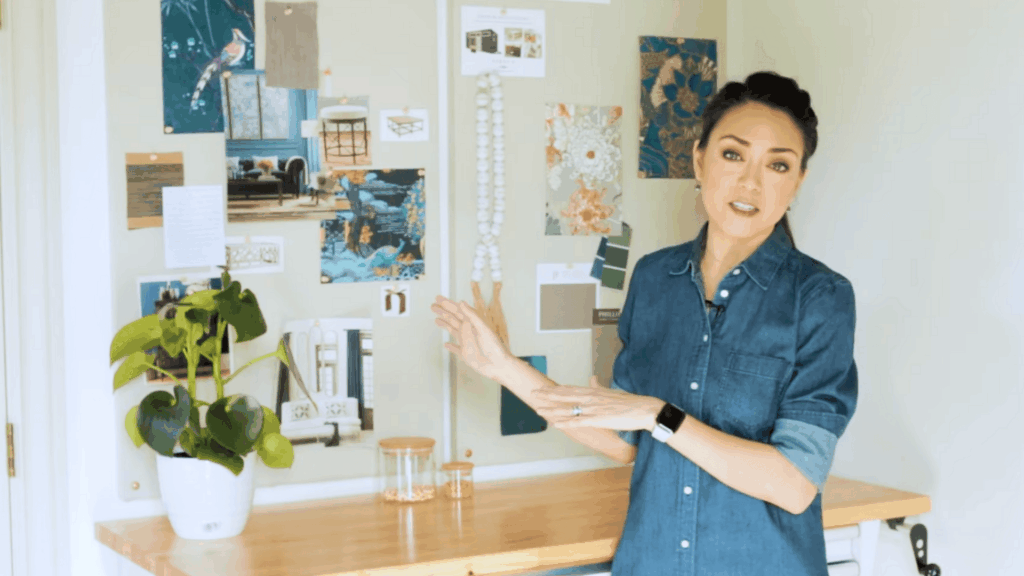
Here’s the YouTube video for more details:
How to Hang Your New Board
- Command Strips (Best for Renters): Strong hold, no wall damage, and easy removal later. Use heavy-duty strips for larger boards.
- Nails with Washers (Professional Look): Creates a clean, modern finish. Washers spread the weight and protect the board from damage.
- Frame-Style Mounting: If your board has a custom frame, attach D-rings to the back so it hangs like a picture.
- Placement Tips: Great spots include above a desk, in the kitchen for family schedules, or in a child’s room to display artwork.
Making Your Bulletin Board Look Great
A bulletin board isn’t just functional; it can also become part of your décor. Here are a few ways to style it so it matches your space and purpose:
| Idea | How to Use It | Best Spot in the Home |
|---|---|---|
| Inspiration Wall | Pin clippings, swatches, and samples to spark ideas | Craft room or home office |
| Kids’ Artwork | Display and rotate drawings or school projects | Playroom or kitchen |
| Family Command Center | Post calendars, reminders, and schedules | Kitchen or hallway |
| Seasonal Board | Swap out photos, cards, and décor for each season | Living room or entryway |
| Add Lighting | Install a small picture light above for an art-like feel | Any room where the board is a focal point |
No matter which idea you choose, the key is making the board fit your lifestyle while adding a little personality to your walls.
Common Problems and Solutions
Even with careful work, small issues can show up when assembling. The good news is that most problems have simple fixes. Here are some common ones:
- Use push pins anywhere on foam boards, but avoid reusing the same spot.
- Pull the fabric very tight while stapling, and add batting to prevent sagging.
- Match staple length to board thickness or switch to thinner foam if needed.
- Smooth fabric carefully, fold corners neatly, and space staples evenly for a professional look.
Most DIY bulletin boards last for years if you follow these tips.
Final Thoughts
I like projects that make life easier without costing a lot, and a DIY bulletin board does exactly that. You get something useful for your home while still keeping it simple to put together.
You now have the steps, tools, and style options to create a board that fits your space and your needs. It can be as basic or as detailed as you want, from a fabric wrap to a framed design.
I’d love to see how you use these ideas in your own home. If you’re looking for more ways to get inspired, check out my other posts on the website for easy projects and fresh ideas!