Mice may be small, but the problems they bring into a home are anything but tiny. From nibbling on food to leaving droppings in hidden spots, they can quickly become a headache.
The good news is that catching them doesn’t have to be complicated. By learning the proper way to use different types of mousetraps, you can handle the issue quickly and safely.
This guide will walk you through the setup process for classic snap traps, sticky glue traps, and easy-to-use press-n-set traps.
Each option has its own style, and knowing how to use them makes all the difference. With the right steps, you can get control back and keep your home comfortable and pest-free.
Types of Mousetraps
There are several mousetrap options, each with its own pros and cons. Picking the right one depends on how simple, quick, or humane you want the process to be.
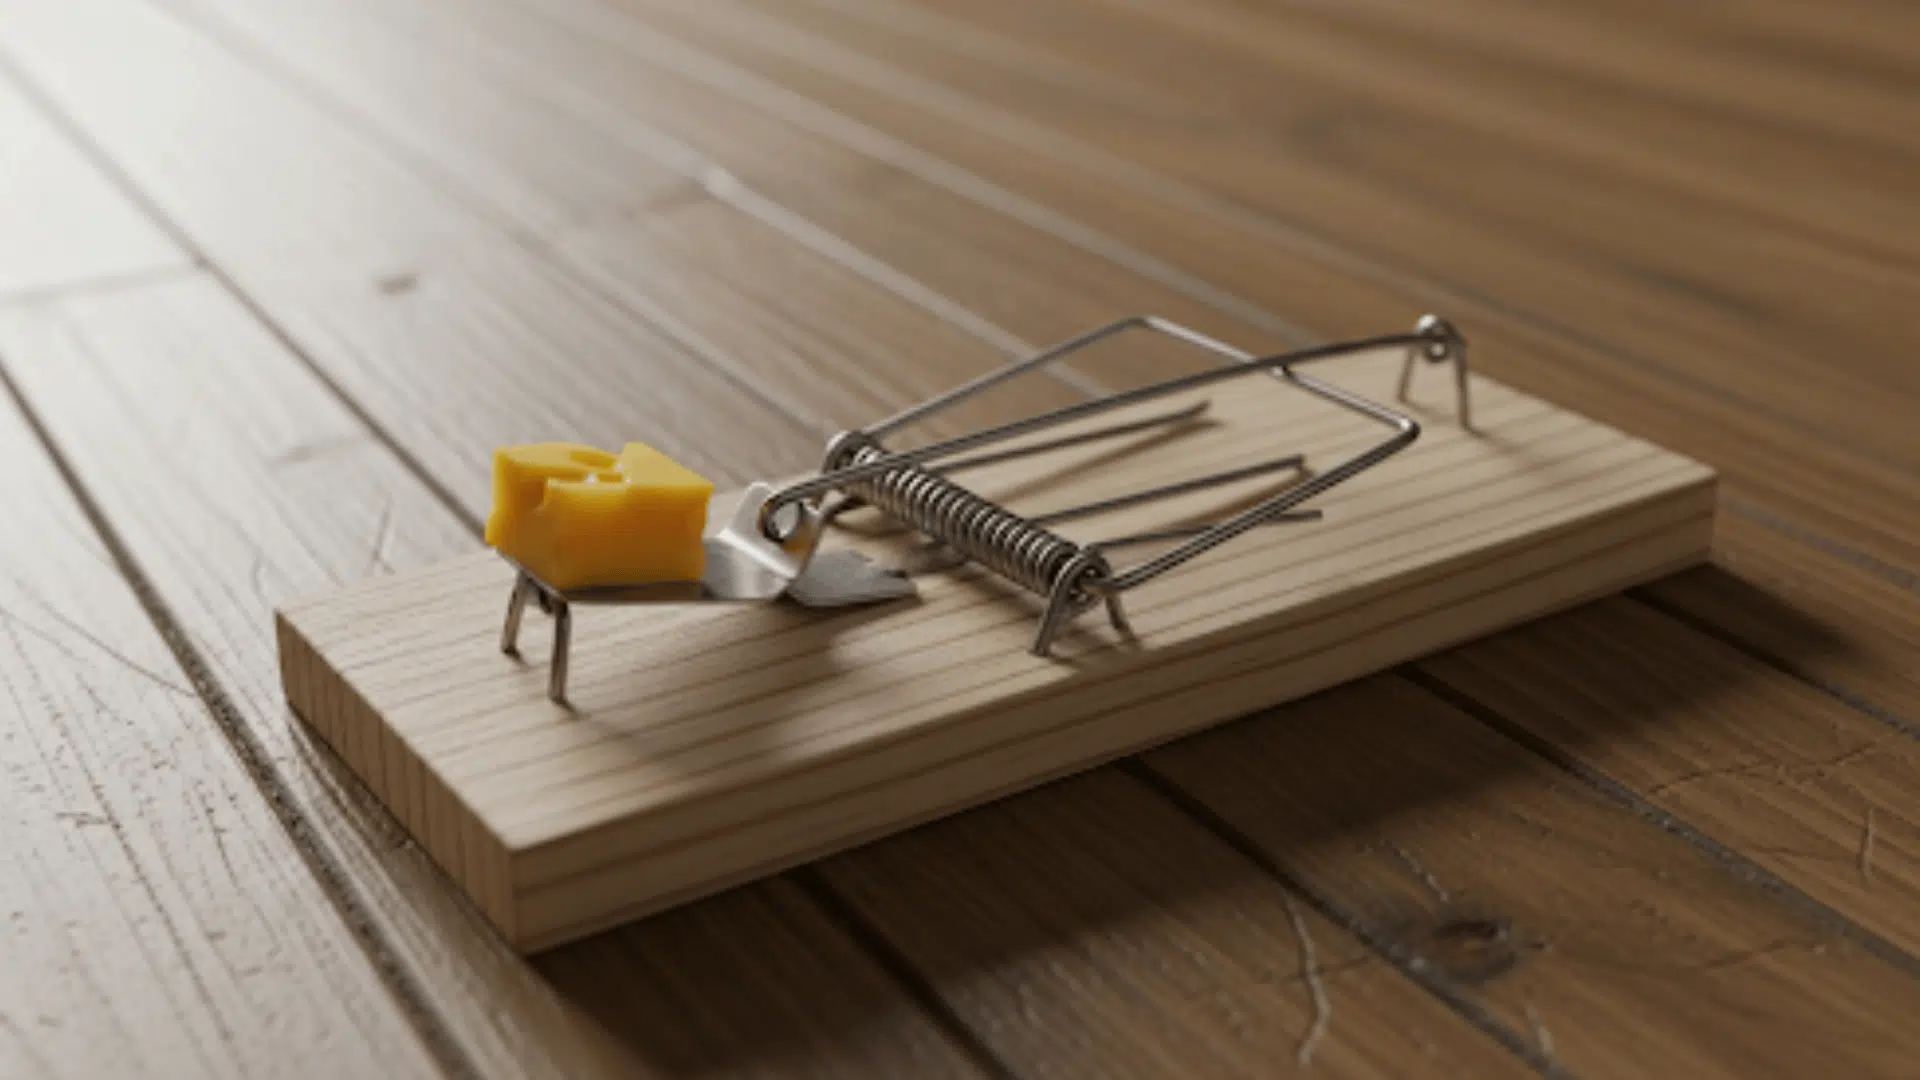
- Snap Traps (Spring Traps): The traditional wooden or plastic traps with a strong spring bar. They’re affordable and effective, but require careful handling when learning how to set a mouse trap spring safely.
- Glue Traps: Sticky boards that catch mice when they step across. They’re easy to use and fit into tight spaces, though they are less humane.
- Press-n-Set Traps: Modern designs that set with one press. They’re safer, cleaner, and easier to use, though slightly more expensive.
Each type works differently, so let’s go step by step.
How to Set a Snap Mousetrap (Spring Trap)?
The snap trap is the most traditional design. Here’s exactly how to set a mouse trap spring safely:
Step 1: Hold the Trap
Always grip the snap trap from the back end, keeping your fingers far away from the trigger area and spring-loaded bar.
These traps are powerful and can snap shut with force, so careful handling is important. Holding the trap by its solid base reduces the risk of injury and gives you full control while preparing it.
Step 2: Add Bait
A snap trap works best with strong-smelling, high-protein foods that attract mice. Peanut butter, chocolate, and seeds are classic choices because mice can’t resist them.
Place just a small amount directly on the trigger pedal. Using too much bait can cause the trap to misfire or make it harder for the spring to snap effectively.
Step 3: Pull Back the Spring
This is the most delicate part. Slowly pull back the spring-loaded bar until it’s fully extended. The spring holds a lot of tension, so don’t rush.
A sudden slip can cause the trap to go off unexpectedly. Keeping a steady hand while pulling ensures the trap sets correctly and avoids any accidental injuries during setup.
Step 4: Secure the Bar
Once the spring bar is pulled back, carefully secure the holding bar under the small hook of the trigger. This step locks the mechanism in place.
Double-check that the holding bar sits firmly under the hook, but don’t jiggle the trap too much—it’s sensitive. When done correctly, the trap is ready without going off early.
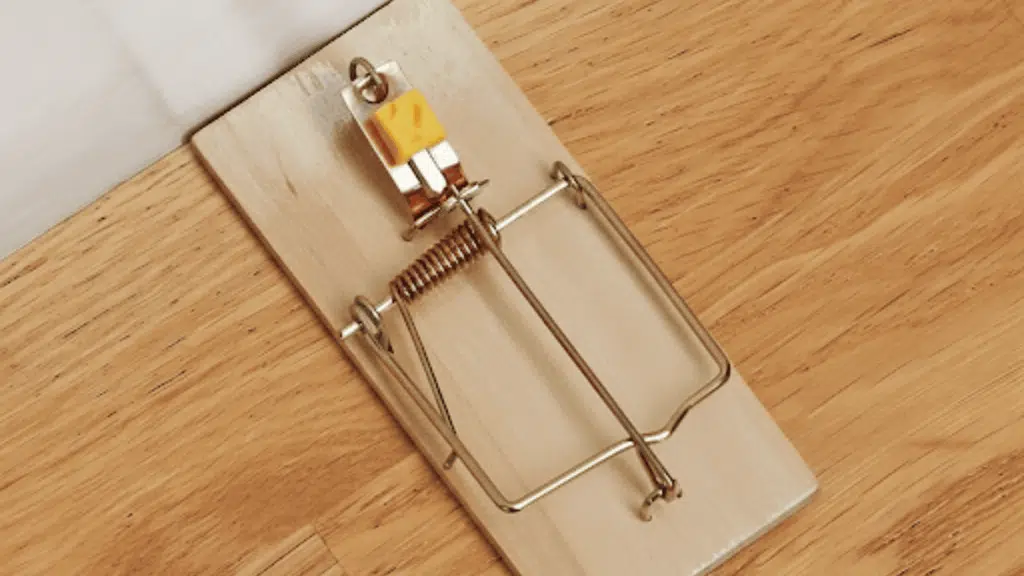
Step 5: Place the Trap
Snap traps work best when placed in areas where mice naturally travel, like along walls, behind furniture, or under sinks. Don’t set them in the middle of open rooms; mice avoid open spaces.
Position the bait end flush against the wall so a mouse encounters it head-on while running, increasing the chances of a successful catch.
How to Set a Glue Mouse Trap?
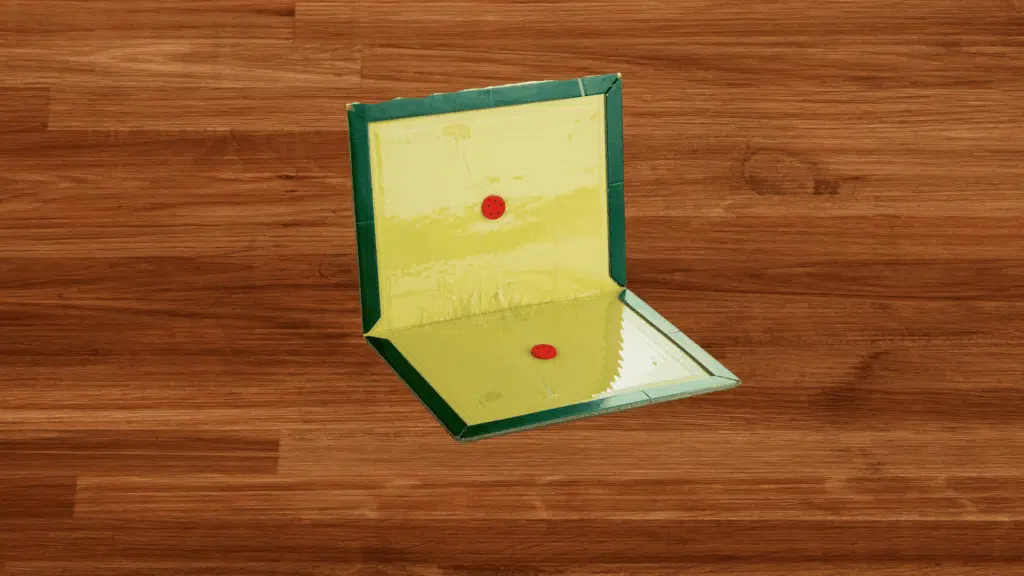
Glue traps are simple and require no springs. Here’s how to use one:
Step 1: Open the Trap
Remove the glue trap from its packaging and unfold it if needed. Some glue traps are designed to lie flat, while others fold into a tunnel shape that makes mice feel safe.
Both styles work well. Choose the one that best fits your space and the area where you’ve noticed mouse activity.
Step 2: Remove the Cover
Most glue traps come with a thin layer of protective paper or film over the sticky surface. Peel it away slowly to expose the glue.
Be careful not to touch the adhesive—it’s very strong and difficult to clean off skin. Once uncovered, the trap is ready to grab and hold any mouse that steps onto it.
Step 3: Add Bait (Optional)
Although glue traps can catch mice without bait, adding a small piece of food in the center increases their effectiveness.
Peanut butter, seeds, or crumbs from foods mice already eat in your home are good choices. A baited trap not only attracts mice faster but also encourages them to step directly into the sticky middle.
Step 4: Place the Trap
Glue traps work best when placed directly in mouse pathways, like along baseboards, behind appliances, or near droppings. Mice tend to scurry along walls, so put traps flush against them.
Avoid placing traps in the open where people or pets might step on them. Positioning correctly makes a big difference in whether the trap works.
Step 5: Check Daily
Unlike snap traps, glue traps don’t kill mice instantly. That’s why it’s important to check them at least once a day. If you leave them too long, the mouse can suffer, and the trap may lose effectiveness.
Dispose of used traps in a sealed bag. Frequent checking also helps you track progress in controlling the problem.
How to Set a Press-N-Set Mousetrap?
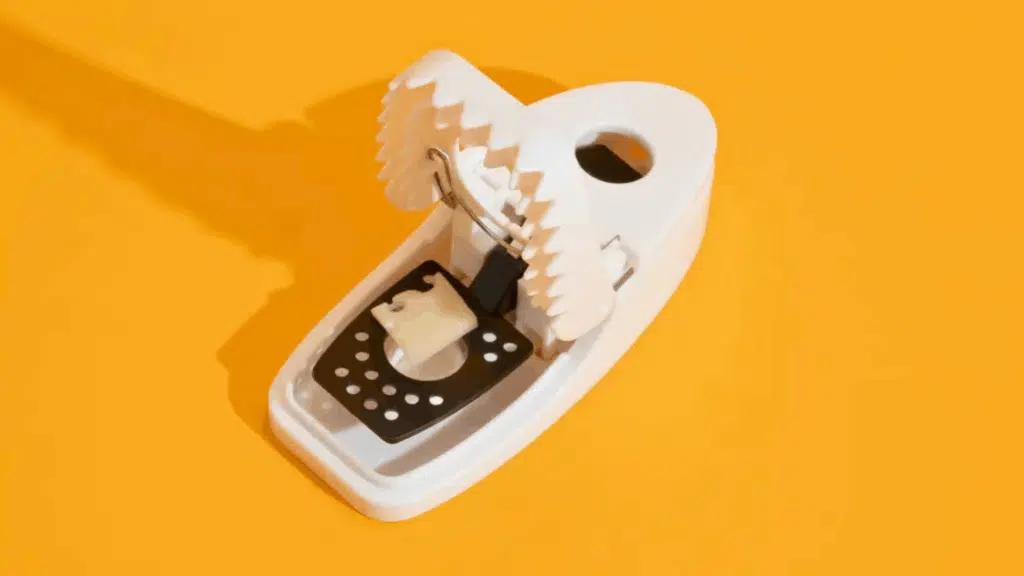
This trap is designed for convenience and easy use. Here’s how:
Step 1: Open the Package
Take the press-n-set trap out of the packaging and review any instructions that come with it.
Most are straightforward, but small details, like where to apply bait or how to release the mouse, may vary between brands. Taking a minute to read the guide ensures you get the best results from this user-friendly trap.
Step 2: Add Bait
Some press-n-set traps include a small bait well built into the design. Place a pea-sized amount of peanut butter or other food inside this spot.
Don’t overload it, just enough to create a strong scent trail for the mouse. The built-in bait area helps keep food in place and avoids a mess when the trap is triggered.
Step 3: Press to Set
This is where press-n-set traps shine. Instead of carefully balancing a spring, you simply press down on the marked area of the trap until you hear a click.
That sound means the trap is now armed and ready. This step is safer than snap traps because your fingers don’t go near the sensitive spring mechanism.
Step 4: Place the Trap
Set the trap flat on the floor, directly against the walls, or in corners. Mice usually travel along edges, so this placement increases the chances of success.
Because press-n-set traps are compact and easy to handle, you can use several at once in different rooms or problem areas. More traps mean higher chances of catching mice quickly.
Step 5: Dispose Safely
Once the trap catches a mouse, disposing of it is simple. Press down again on the same area, and the mouse is released directly into the trash without you ever touching it.
This makes cleanup quick and hygienic, reducing the risk of disease. After disposal, the trap can often be reused, just rebait and reset it.
Safety Tips and Common Mistakes
Even the most effective mousetrap won’t work if it’s used incorrectly. Keep these quick tips in mind to maximize safety and success:
- Keep traps out of reach of children and pets to prevent accidental injuries
- Use small amounts of bait to avoid spills that interfere with the trap’s snap
- Wear disposable gloves to reduce human scent and improve trap effectiveness
- Place traps along walls or in dark corners where mice naturally travel
- Check traps daily to avoid hygiene issues and maintain effectiveness
By following these simple guidelines, you’ll boost your chances of success while keeping your home safe and clean.
Alternative Mouse Control Methods
When standard traps aren’t the right fit, these alternative approaches can help manage mice effectively.
| Method | Type | How It Works | Advantages | Considerations |
|---|---|---|---|---|
| Catch-and-release traps | Humane | Traps mice alive for outdoor release away from home | No harm to mice, reusable, family-friendly | Requires regular checking; mice may return if released nearby |
| Electronic traps | Lethal | Delivers a quick electric shock for a fast, clean kill | No-touch solution, minimal cleanup required, efficient | Higher upfront cost, requires batteries/power |
| Professional pest control | Service | Experts identify entry points, remove nests, and create prevention strategies | Comprehensive solution, long-term prevention, handles severe infestations | Most expensive option, requires scheduling |
| Ultrasonic repellents | Deterrent | Plug-in devices emit high-frequency sounds mice dislike | Chemical-free, no traps needed, easy to use | Effectiveness varies by situation, and may not work for all mice |
Select the method that aligns with your preferences for humaneness, budget, and the severity of your mouse problem.
Wrapping It Up
Getting rid of mice doesn’t have to feel overwhelming once you know the right tools and methods.
If you choose a snap trap for speed, a glue trap for simplicity, or a press-n-set trap for safety and convenience, each option works when used correctly.
The key is to place traps in strategic locations, check them frequently, and handle them with care. Trapping mice is not only about solving the problem today but also about preventing it from returning tomorrow.
Pairing good trap placement with clean habits, like sealing food and fixing entry points, helps keep your space rodent-free.
With these simple strategies, you can deal with mice confidently and enjoy a cleaner, calmer living environment.
Frequently Asked Questions
What Bait Works Best for Mice?
Peanut butter, chocolate, seeds, or bacon bits.
Can I Reuse a Snap Trap?
Yes, clean and rebait it.
Why Isn’t My Trap Catching Mice?
Try changing bait, moving traps closer to walls, or using multiple traps.