Need a foundation that works on uneven ground and costs less than concrete slabs? A pier and beam foundation uses vertical posts called piers that support horizontal beams underneath your building.
This design lifts your structure off the ground, making repairs easier and preventing moisture problems.
I’ll teach you everything about diy pier and beam foundation design, including proper spacing, materials, and step-by-step construction methods.
You’ll learn how to plan the layout, dig footings, set piers, and place beams correctly.
I’ll also cover common mistakes that cause expensive problems and safety requirements you can’t ignore. Let’s build something that stands strong for years to come.
Why Prefer a Pier and Beam Foundation Design
Pier and beam foundations offer several advantages that make them a smart choice for many building projects. When you need to fix plumbing, electrical wiring, or heating ducts, everything is easily accessible underneath.
This beats tearing up concrete slabs every time something breaks or needs to be upgraded. The cost usually runs less than pouring a full concrete slab, especially for smaller buildings.
Your structure sits higher off the ground, which helps water drain away and prevents damage from flooding.
The raised design keeps ground moisture from seeping up through your floors, making rooms more comfortable. If your land has slopes, pier and beam foundations adapt better than other types.
Key Elements of Pier and Beam Foundation Design
Every pier and beam foundation uses the same basic parts that work together to support your building. Understanding these main components helps you plan and build a stronger foundation:
- Piers: Vertical supports made from concrete, wood, or steel that hold up the entire structure.
- Beams: Horizontal members using pressure-treated lumber or steel that span between the piers.
- Joists: Smaller wooden pieces that connect to beams and provide the framework for your floors.
- Footings: Concrete bases poured into the ground that spread the weight and prevent settling.
Each part has an important job in keeping your foundation stable and level. When all these elements work together properly, you get a foundation that lasts for decades.
Tools and Materials You Must Have
Building a pier and beam foundation requires specific materials and tools to get the job done right. Having everything ready before you start makes the project go much smoother:
| Materials | Tools |
|---|---|
| Concrete mix | Shovel |
| Rebar | Auger or post-hole digger |
| Piers | Level |
| Beams | Measuring tape |
| Footings | String line and stakes |
| Fasteners | Concrete mixer or wheelbarrow |
| Moisture protection | Hammer and drill |
| Additional materials as needed | Protective gear |
Most of these items you can find at your local hardware store or building supply center. Get quality materials since your foundation needs to last for many years without problems.
DIY Pier and Beam Foundation Design: Step-By-Step Guide
I’ll walk you through a complete pier and beam foundation design in clear steps, from planning and permits to the final backfill.
Each step builds on the last one, so following them in order gives you the strongest foundation. Here are the steps to follow:
Step 1: Plan and Design

Start with a solid plan before any digging begins. Obtain the required permits, sketch your layout, and consider factors such as soil, slope, and drainage.
Good planning avoids costly mistakes and keeps your project safe. Always double-check the pier spacing, beam placement, and local building codes before you pick up a single tool.
Step 2: Prepare the Site
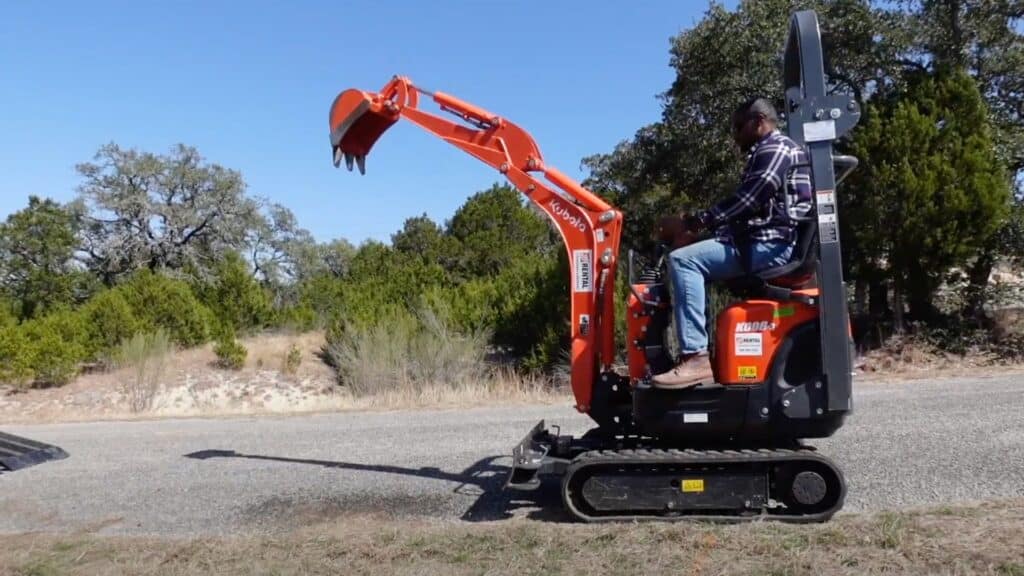
Clear away grass, debris, and rocks from the spot you’ll build on. Level the ground and mark your foundation layout using stakes and string.
Testing the soil helps you understand how deep the footings need to go. Preparing the site properly makes every step easier and ensures your piers and beams sit square and stable.
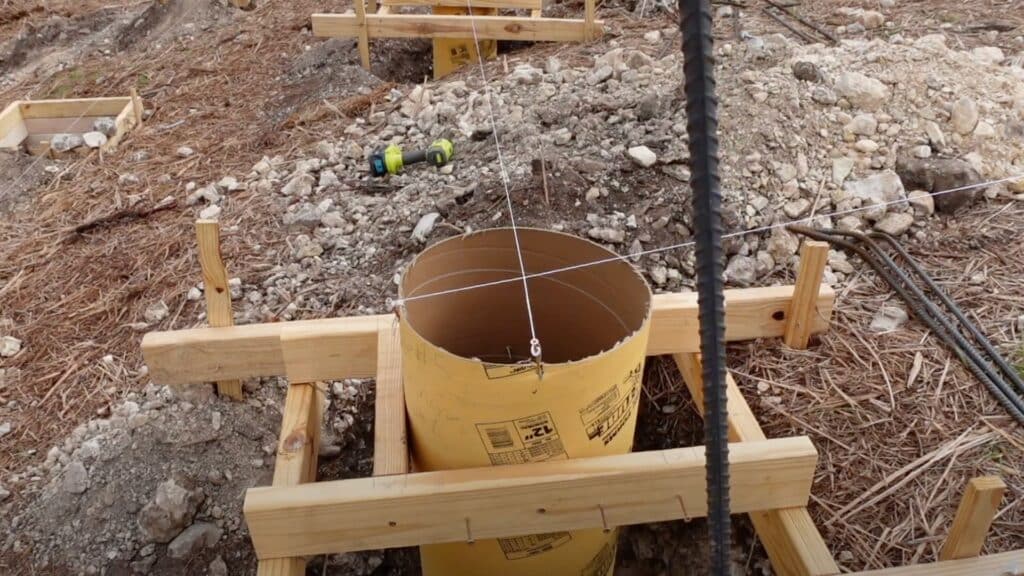
Step 3: Dig and Pour Footings

Dig holes for the footings based on the size and weight of your structure. Each hole should match soil conditions and load requirements. Mix and pour concrete into these holes, adding rebar for strength.
The depth matters because shallow footings won’t hold up heavy weights. Let the concrete set fully before you move to the next step.
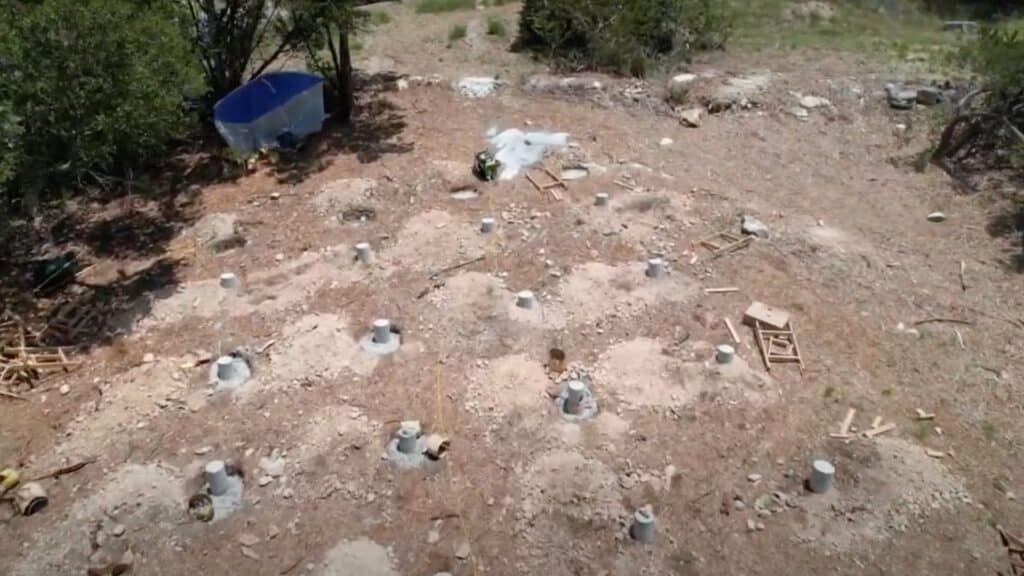
Step 4: Build Piers and Place Beams
Set your piers on the cured footings, making sure each one lines up level with the others. Materials can be concrete, brick, or steel.
Once piers are in place, secure beams across them using brackets, bolts, or other strong connectors. Check for level as you go. Beams carry the structure’s weight, so take your time here.
NOTE: Proper pier and beam foundation spacing typically ranges from 6 to 8 feet apart, with depth below the frost line. Spacing varies based on soil conditions, structure size, and load requirements.
Step 5: Backfill and Finish
After securing beams, fill soil back around each pier to lock them in place. Smooth out the grade around your foundation to ensure water drains away effectively. Add finishing touches, such as cross-bracing or moisture barriers, as needed.
Double-check for stability before you begin framing your floor. A well-finished base keeps your pier and beam foundation strong and lasting.
If you’re looking for a visual tutorial, watch the whole video here:
For watching the whole process at a glance, visit Darryl Darks|Let’s Build An A Frame
Mistakes to Avoid When DIYing a Pier and Beam
Building a pier and beam foundation seems straightforward, but small mistakes can cause big problems later. Here are the most common errors that trip up DIY builders:
- Skipping soil tests before digging can lead to unstable footings and foundation failure over time.
- Building uneven pier heights will cause your floors to sag, and doors won’t close properly.
- Placing piers too far apart creates weak spots that can’t handle the building’s total weight.
- Ignoring water control around the foundation leads to moisture problems and serious structural damage.
These mistakes are easy to avoid when you know what to watch for. Taking time to do things right the first time saves you from expensive repairs down the road.
Safety and Code Considerations
Building a foundation involves safety risks and legal requirements that you can’t ignore. Following the codes and using safe practices protects you and ensures your project passes inspection:
- Check local codes: Building codes vary by location and dictate foundation depth, materials, and construction methods.
- Get required permits: Most areas require permits for foundation work, so apply before you start digging.
- Follow safety practices: Wear protective gear, check for utilities, and use proper techniques when digging and pouring concrete.
- Schedule inspections: Have your work inspected at required stages to make sure everything meets code standards.
Taking shortcuts on safety or codes can cost you much more than doing things right. Your local building department can help you understand what’s required in your area.
Wrapping It Up
Building a pier and beam foundation design is totally doable when you understand proper spacing and follow the right steps.
You have all the knowledge you need about materials, tools, construction methods, and safety requirements. Remember to check local building codes before starting and obtain permits as required.
Take your time with each step since rushing leads to costly mistakes that are hard to fix later. Your foundation will support your building for many years when you do the work correctly.
Bookmark this guide for future reference and share photos of your finished project. Comment below which part of the process you found most helpful, and check out other blogs on the website!