I used to think painting aluminum was hard. But once I learned the right way, it got a lot easier, and I want to help you feel the same.
So if you’re trying to figure out the best paint for aluminum, you’re in the right place. I’ve been there, standing in front of a can of paint, not sure if it’ll even stick. That’s why I put this together for you.
In this quick guide, I’ll show you how to choose the right paint, how to get the surface ready, and how to paint it so it actually lasts. No confusing steps. No fancy terms. Just simple, clear tips that work.
Let’s make this easy for you.
Can You Paint Aluminum?
Aluminum is tricky to paint because it has a smooth, shiny surface. Paint doesn’t stick well to it unless you prep it the right way. If you skip the prep, the paint can peel or chip off fast.
Also, aluminum builds a thin layer of oxidation. This layer can stop the paint from bonding. That’s why cleaning and sanding are important steps.
Another problem is that some paints don’t work well on metal. You need to choose paint made for metal or aluminum, or it won’t last.
If you rush or use the wrong stuff, you’ll end up redoing the whole thing. But if you follow the right steps, painting aluminum can be simple and worth it.
Do You Need Special Paint for Aluminum?
Yes, you do. Regular paint doesn’t stick well to aluminum. That’s because aluminum forms a thin layer called oxidation. This layer shows up fast when air touches the metal. It stops the paint from bonding properly.
Aluminum can also corrode if it’s not sealed properly. Moisture, heat, and even air can wear it down. That’s why using the wrong paint leads to peeling, chipping, or rust-like stains.
Normal paint is made for wood or drywall, not metal. It just sits on top and flakes off later.
To fix this, you need paint made for metal or aluminum. These paints are made to grip the surface better and last longer, even outdoors or in rough weather.
Best Types of Paint for Aluminum
Picking the right paint matters if you want it to last. Here are the best types of paint for aluminum, based on what you’re working on:
- Acrylic latex paint: This is great for general use, like siding, doors, and outdoor furniture. It’s water-based, easy to clean, and sticks well if you use a primer first.
- Epoxy paint: This is strong stuff. It’s used for boats, machines, and places that get wet or take a beating. It holds up really well over time.
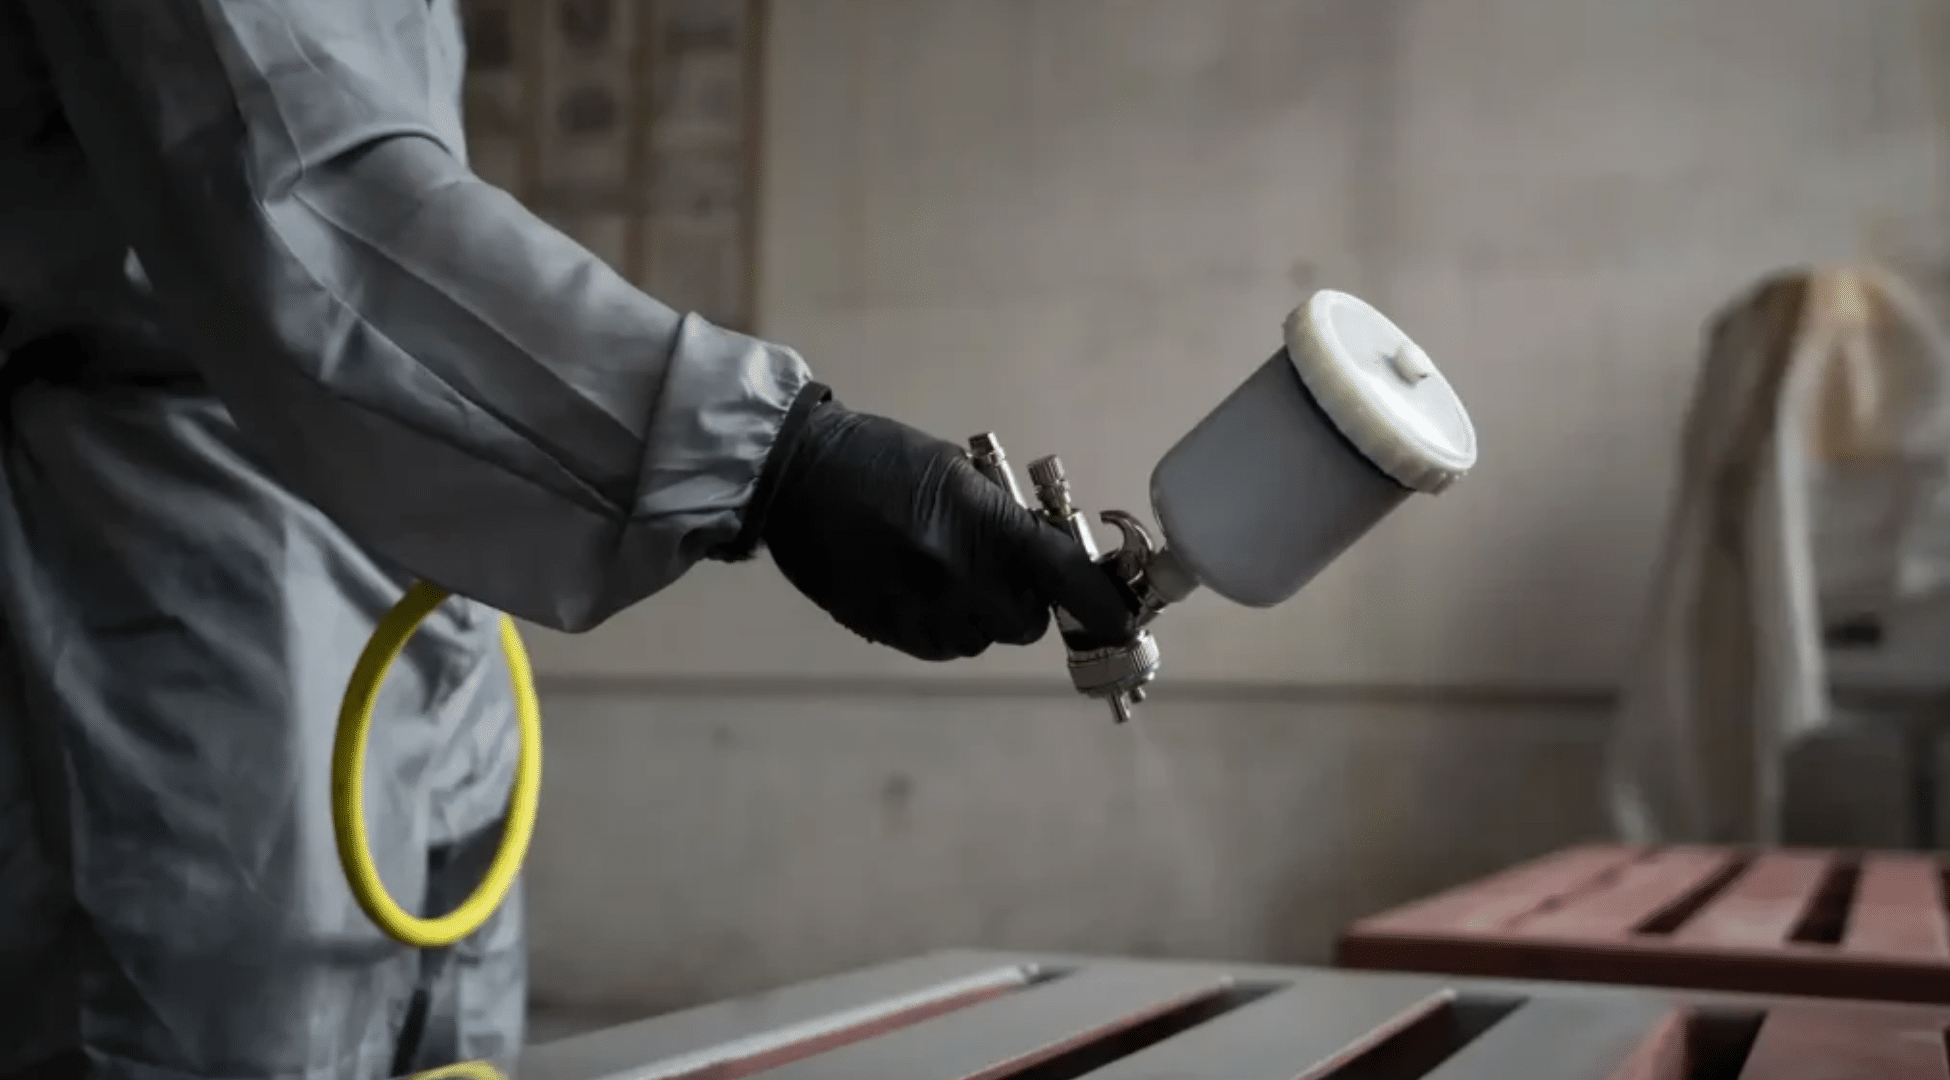
- Spray paint for aluminum: This is perfect for small jobs or DIY work. It’s fast and easy, but still needs the surface cleaned and sanded first.
- High-heat paint: Use this for grills, fire pits, or anything that gets hot. Regular paint will bubble and peel, but this kind won’t.
- Direct-to-metal (DTM) paint: A quick option when you don’t want to use primer. It sticks right to clean aluminum and saves time.
Pick what fits your project. That way, the paint stays on and you don’t have to redo it later.
How to Paint Aluminum: A Step-By-Step Guide
Painting aluminum can be frustrating if you skip the right steps. This how-to breaks down what you need and exactly what to do, so your paint job lasts and doesn’t peel or bubble:
Materials Needed
- Paint stripper
- Respirator (for safety when using chemicals)
- After-wash (removes stripper residue)
- Sandpaper
- Rust-Oleum Self-Etching Primer
- Rust-Oleum Gloss Enamel or other paint of your choice
- Clear coat spray (optional)
- Soft cloths or rags
- Heater (if working in cold weather)
- Paintbrush or spray can
Step 1: Strip Off Old Paint
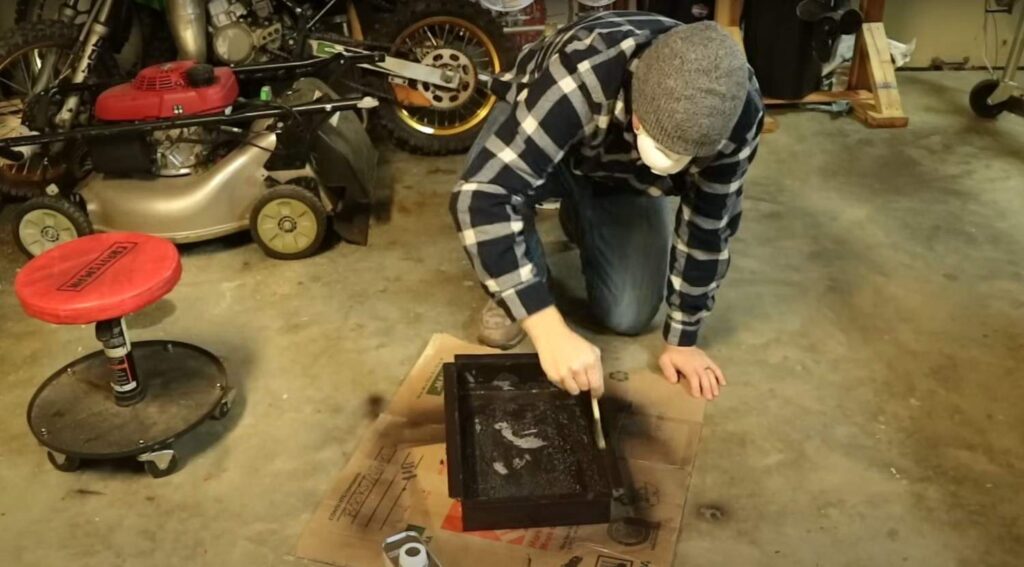
Use a paint stripper to remove any old or damaged paint. Wear a respirator to protect yourself from fumes. Apply the stripper evenly and let it sit as directed on the label.
Once the paint starts to bubble or soften, use a scraper or cloth to remove it. Take your time to get all of it off for a smooth, fresh surface.
Step 2: Clean and Wash the Surface
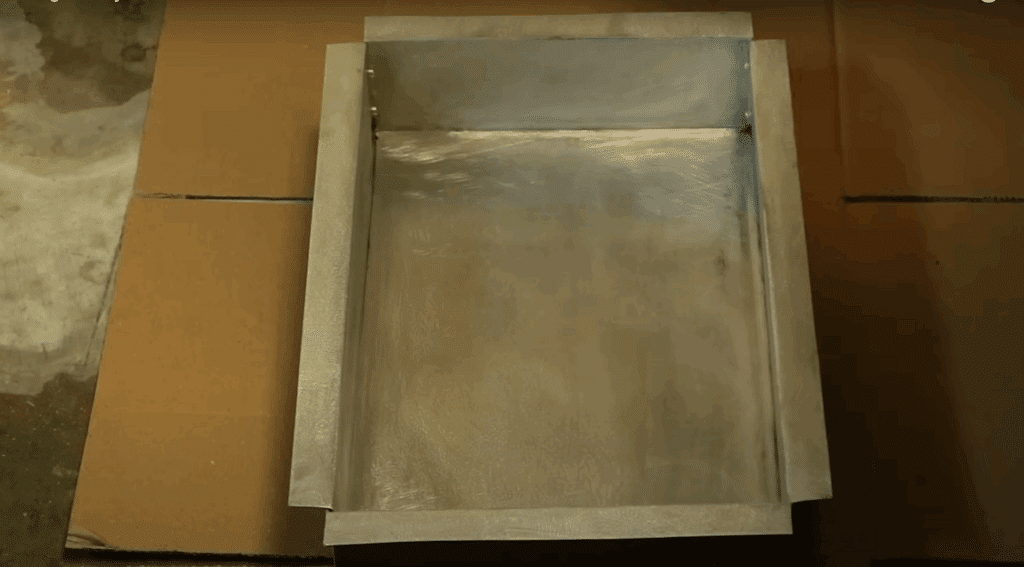
After stripping, clean the aluminum with an after-wash product. This helps remove any chemical residue left behind.
Wipe the surface well with a soft cloth and let it dry fully. If the residue stays, it could affect how well the primer and paint stick later.
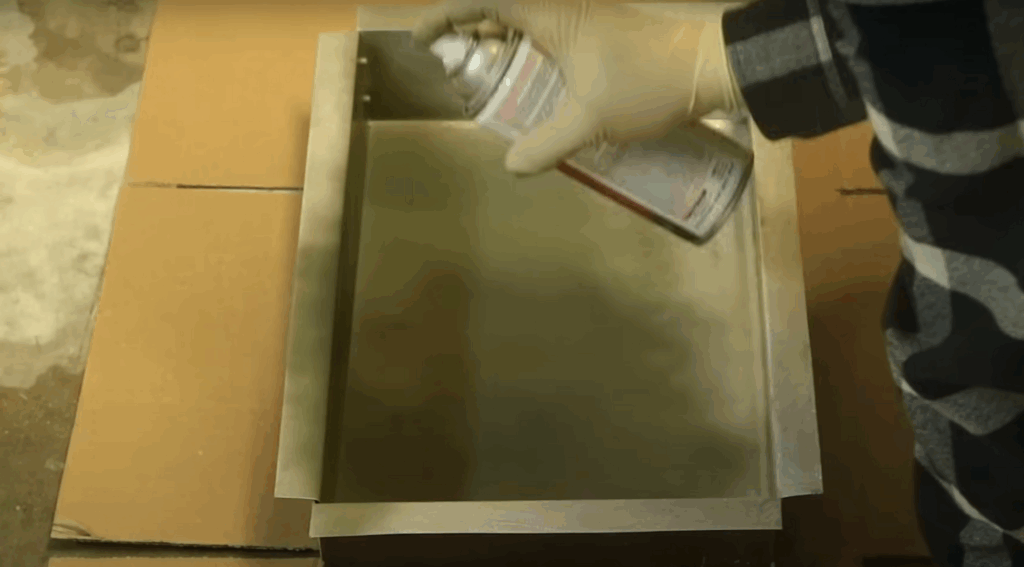
Step 3: Apply Self-Etching Primer
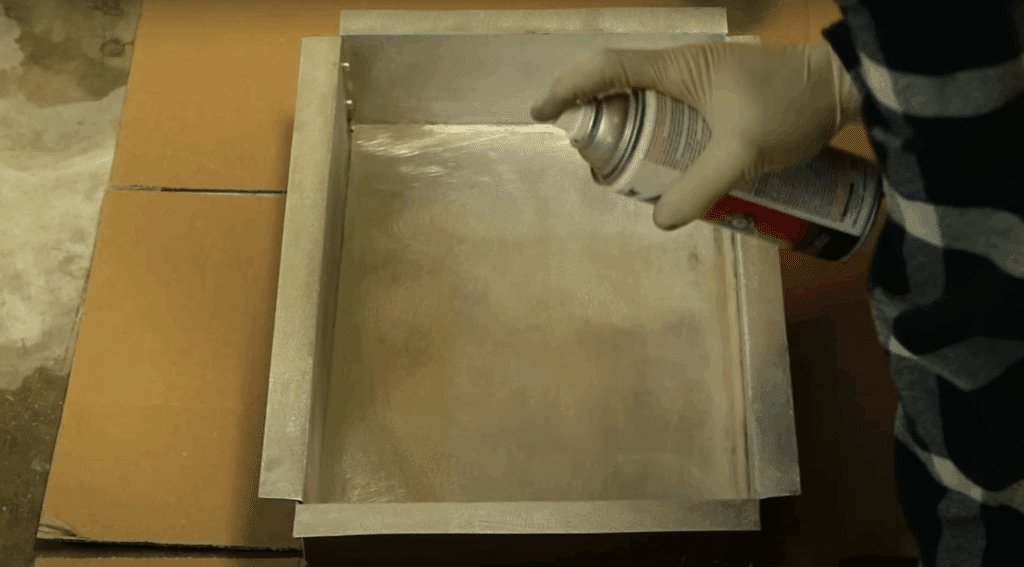
Use a self-etching primer made for aluminum, like Rust-Oleum. Shake the can well and apply thin coats. You can do 2–4 coats depending on the coverage.
Let each coat dry before adding the next. Make sure the temperature is around 70°F or heat your space with a heater if needed. A good primer is key to the paint staying on.
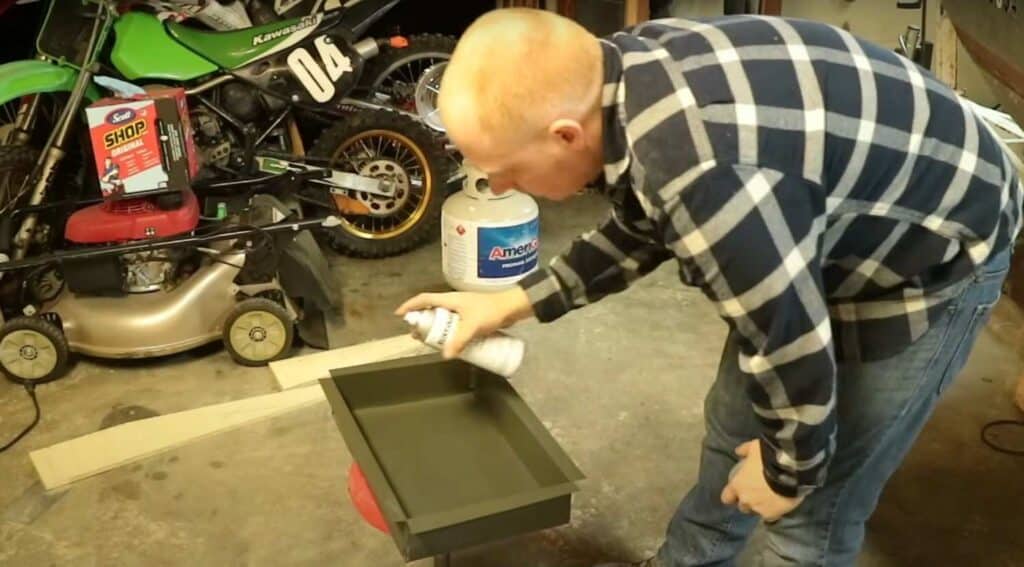
Step 4: Paint the Surface
After the primer has fully dried and cured (wait at least an hour), apply your paint. Use thin, even coats. Allow drying time between each one. Gloss enamel or flat finish, choose what works for your project.
Avoid making coats too thick, or they may start to peel or bubble again.
Step 5: Add Clear Coat
If you want extra protection or a different finish, apply a clear coat after the paint dries. Make sure it’s a light coat to avoid bubbling. Let it cure properly.
Matte finishes look different than glossy ones, so choose based on your style. This step helps seal the paint and keep it from chipping later.
This process takes time, but it helps the paint stay on aluminum and look good for longer.
If you want to see how it’s done step-by-step, watch the video below for a clear visual guide:
Different Techniques for Painting Aluminum Surfaces
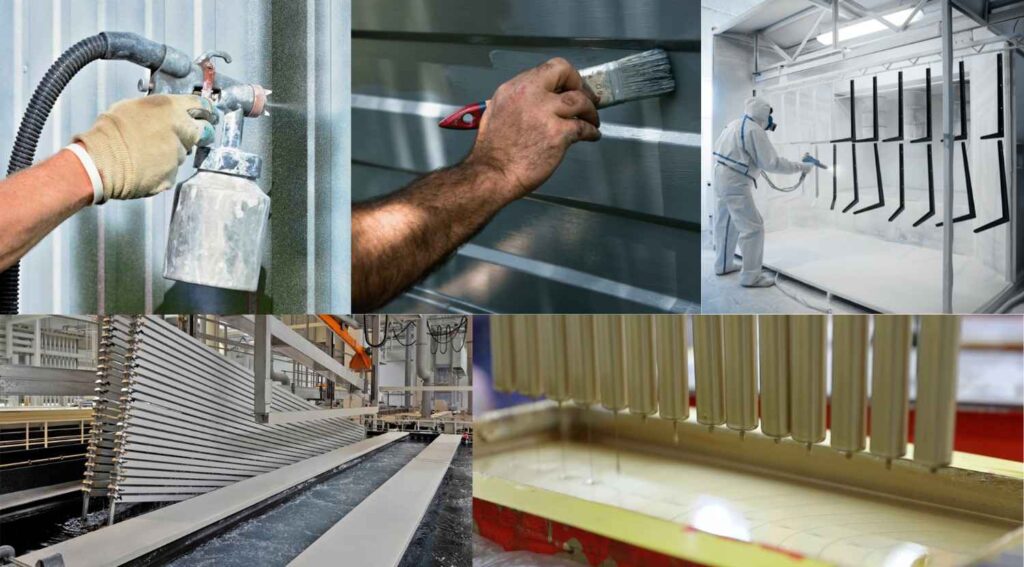
There’s more than one way to paint aluminum, and the method you choose can make a big difference. Here are some common techniques people use, depending on the size of the project and the tools available:
1. Spray Painting
Spray painting is great for even coverage, especially on large or shaped aluminum surfaces. It gives a smooth finish without brush marks.
Hold the can about 8–12 inches away and use sweeping side-to-side motions. Always apply thin layers and let each one dry before the next.
2. Brushing or Rolling
Using a brush or small roller works well for flat aluminum surfaces or tight spaces. Choose high-quality brushes to avoid streaks.
Rollers give smoother coverage on larger areas. Go slowly to avoid bubbles or drips. This method gives more control but takes a little more time.
3. Powder Coating
Powder coating is a professional technique where powdered paint is sprayed on and baked in an oven. It sticks very well to aluminum and lasts longer than regular paint.
It’s best for heavy-duty or outdoor use. You’ll need special equipment or take it to a shop.
4. Dipping (Dip Coating)
Dip coating is when small aluminum parts are dipped into paint or coating material. It’s often used for tools or machine parts. It creates an even layer and is faster for batches of small pieces.
You’ll still need to prep the aluminum before dipping.
5. Anodizing (Non-Paint Option)
Though not paint, anodizing is another surface finish for aluminum. It changes the outer layer to make it stronger and more resistant to wear.
You can also dye anodized aluminum different colors. It’s used in industries and gives a clean, tough finish that won’t peel.
Each of these techniques has its place depending on your project, tools, and budget.
Why Primer is Essential for Aluminum?
Primer helps paint stick to aluminum. Without it, paint can peel, bubble, or flake off. Aluminum has a smooth surface and forms a thin layer of oxidation. Primer fixes that.
Self-etching primer is the best for aluminum. It has an acid that bonds to the metal and gives the paint something to grip. It’s great for outdoor or DIY use.
Epoxy primers are strong and used in auto or industrial work. They give a thick, tough base coat that resists rust and wear.
Two good options are Rust-Oleum Self-Etching Primer and Seymour Self-Etching Primer. Both are easy to find and work well with aluminum.
Using the right primer makes the whole paint job last longer and look better.
Troubleshooting Aluminum Paint Problems
Painting aluminum can go wrong if the steps aren’t followed properly. Here are common issues and what causes them:
- Paint peeling off: Caused by skipping primer or not sanding the surface well.
- Bubbling paint: Often happens when layers are too thick or the surface is damp.
- Paint scratches off easily: Usually from applying paint directly to bare metal without primer.
- Rough or gritty surface: Caused by leftover sanding dust or debris not cleaned off.
- Paint not drying right: Cold temperatures or poor airflow can slow drying time.
- Clear coat lifting paint: Applying it too heavily or too soon can cause peeling.
Understanding these issues helps you avoid having to repaint and keeps the finish looking clean and smooth.
Final Thoughts
I know how frustrating it can be when the paint won’t stick or starts peeling. But now, you’ve got the steps, tools, and tips to do it right.
You’ve learned how to pick the right paint for aluminum, how to prep the surface, and how to avoid those annoying bubbles and flakes.
So take a second and think: what’s your next move? Got the tools ready? Ready to strip, sand, and prime like a pro? You’ve got this.
Here’s one last tip: don’t rush it. Let each layer dry fully. That alone can save your whole project.
If this helped you, I have more simple guides waiting. Go check out other blogs on the website for more down-to-earth help with your next project!