Remember that moment you first brought your leather sofa home? The rich smell, the buttery texture, the way it instantly uplifted your entire living room?
You probably promised yourself you’d take perfect care of it. Fast forward a few months, and there’s a coffee ring on the armrest, and you’re terrified to even touch it with a cleaning cloth.
Sound familiar? Don’t worry, I’ve been there too.
In this blog, I’ll show you how to clean a leather sofa step by step and share the best way to clean leather couch surfaces so you can restore that showroom shine without breaking the bank or your beautiful sofa.
Understanding Leather Types
Before you grab any cleaning supplies, you need to know what type of leather you’re working with. Think of it like knowing your hair type before choosing shampoo; using the wrong product could cause serious damage.
| Type of Leather | Features | Pros | Cons |
|---|---|---|---|
| Aniline Leather | Most natural and luxurious; shows the hide’s natural grain; very soft & breathable. | Luxurious feel, natural look, develops rich patina. | Very delicate, minimal protection, stains easily. |
| Semi-Aniline Leather | Thin protective layer; maintains softness while adding some stain resistance. | Balanced look and feel, some protection, still soft. | Less natural than pure aniline, moderate durability. |
| Pigmented (Protected) Leather | Thickest protective coating; most durable and easy to clean. | Highly durable, stain-resistant, and low-maintenance. | It has a less natural look and won’t develop patina. |
Check the manufacturer’s tag first; it should indicate the type of leather and provide any specific care instructions. No tag?
Try the water drop test in an inconspicuous spot. If the water absorbs quickly, you likely have aniline leather. If it beads up and rolls off, it’s probably pigmented leather.
Common Problems with Leather Sofas
Even the best-cared-for leather sofas face a few predictable challenges. Knowing what to expect helps you prevent problems before they become expensive repairs.
- Dust and dirt buildup happen faster than you’d think, especially in the crevices between cushions. This isn’t just about looks; dirt particles can actually scratch the leather surface when people sit down.
- Stains are inevitable when you actually use your furniture. Coffee spills, food drops, ink from pens, and body oils all love to make themselves at home on leather. The key is knowing how to handle each type quickly.
- Fading and discoloration from sunlight is heartbreaking to watch. That beautiful cognac brown can turn an ugly orange if your sofa sits in a sunny spot without protection.
- Cracks and dryness develop when leather doesn’t get enough moisture. Just like your skin, leather needs regular conditioning to stay supple. Skip this step, and you’ll eventually see those telltale stress lines that can’t be undone.
Preparing for Cleaning Your Leather Couch
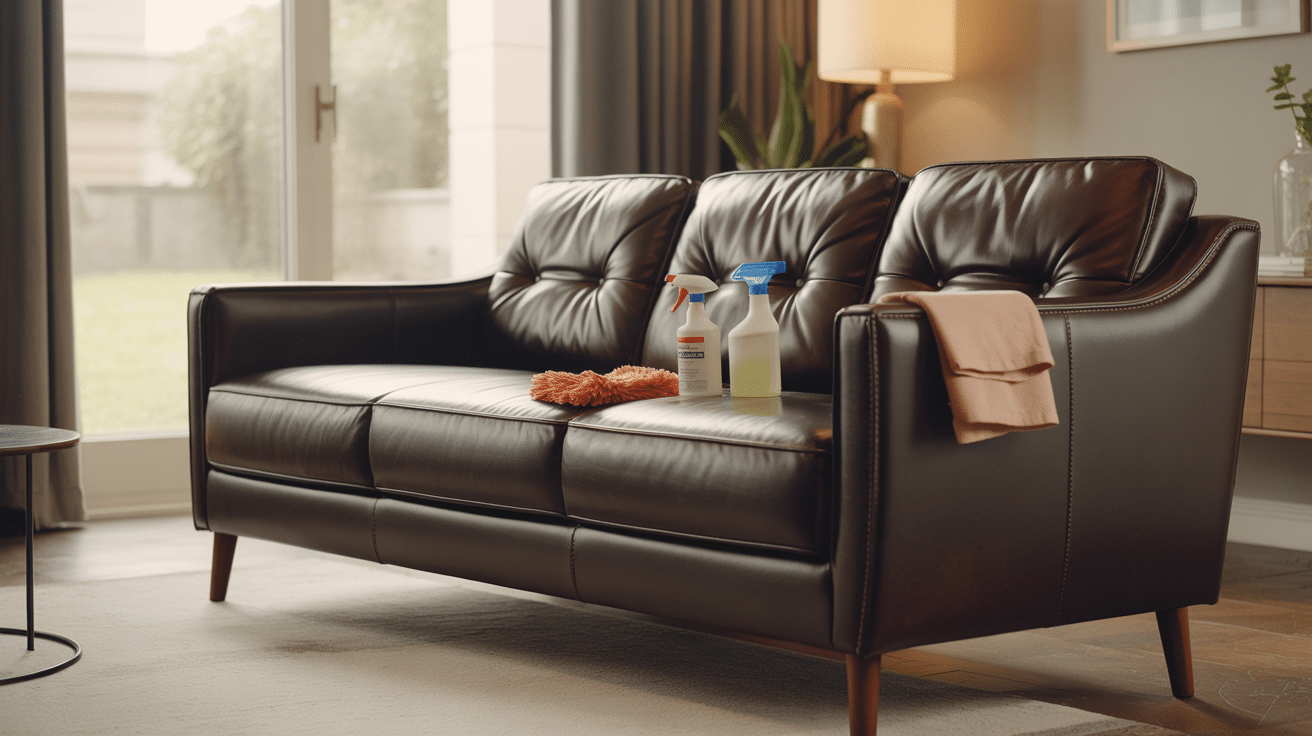
Good preparation is half the battle won. Here’s what you need to gather before you start:
Essential supplies
Several clean microfiber cloths, a vacuum cleaner with a soft brush attachment, distilled water, a small bowl for mixing, mild soap or a leather-specific cleaner, and a quality leather conditioner.
The patch test is non-negotiable
Select a discreet spot, such as the back corner, where no one can see, and test your cleaning solution. Wait 24 hours to make sure there’s no discoloration or damage. I know it seems like overkill, but this simple step can save you from ruining your entire sofa.
Start with a thorough vacuum
Use the soft brush attachment to gently remove dust, crumbs, and pet hair from all surfaces. Don’t forget the cracks between cushions; that’s where most of the debris tends to hide.
Pay special attention to areas where people sit most frequently, as these spots tend to accumulate the most dirt.
How to Clean a Leather Sofa at Home: A Step-By-Step Guide
Leather sofas look amazing, but they need the right care to stay that way. Before you grab just any cleaner, here’s a simple step-by-step guide to help you clean your leather sofa at home safely and effectively:
Step 1: Dust and Vacuum Thoroughly
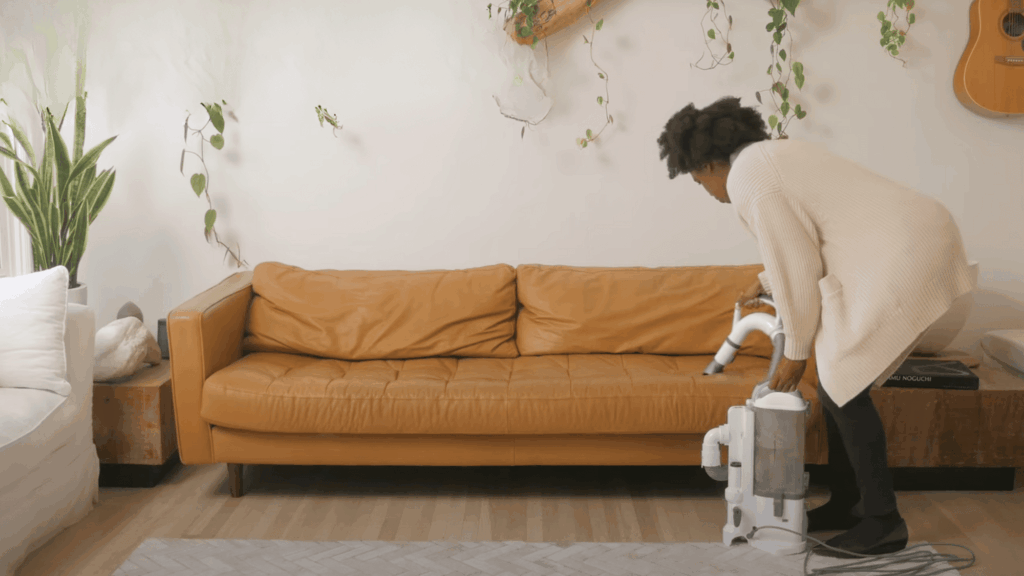
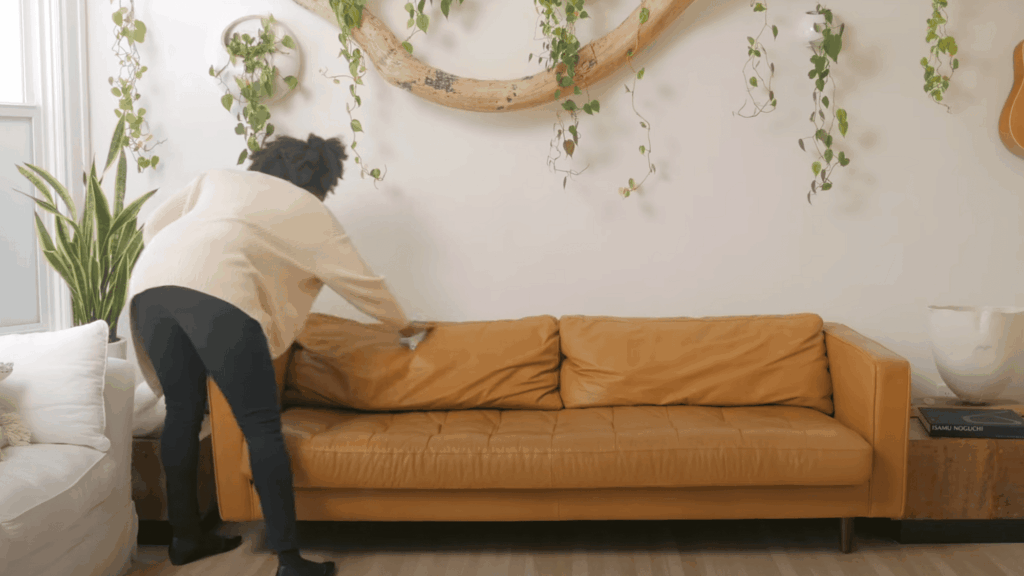
Start by removing loose cushions and pillows. Use your vacuum’s soft brush attachment to gently clean all surfaces, including the areas that are usually hidden.
Work in overlapping strokes and don’t press too hard; you want to lift dirt, not grind it in.
Pay extra attention to creases, seams, and corners where dust and crumbs love to hide. Taking your time here sets the foundation for deeper cleaning and prevents grit from scratching the leather later.
Step 2: Wipe with a Barely Damp Cloth
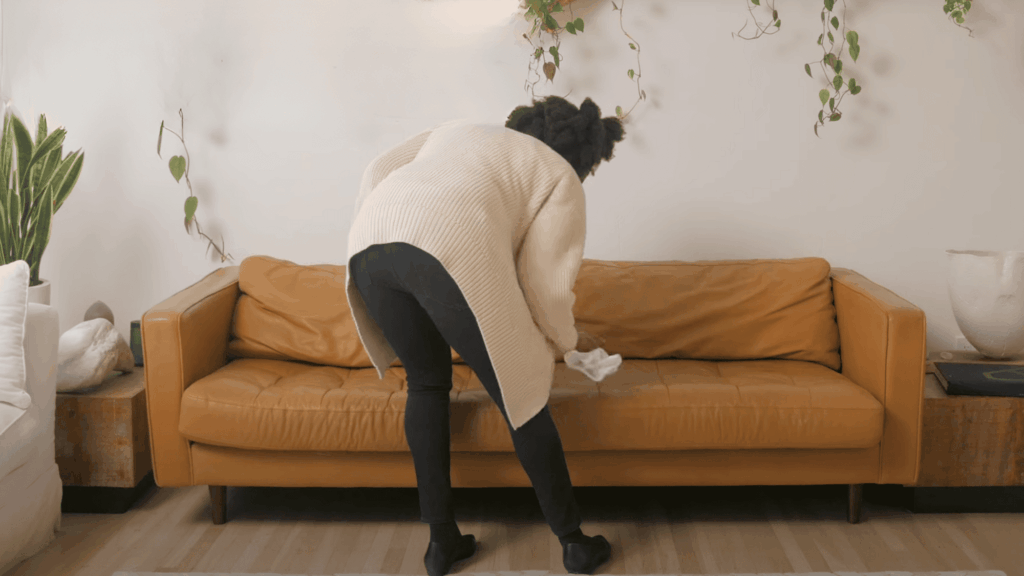
Take a clean microfiber cloth and dampen it with distilled water only. Wring it out until it’s just barely damp; we’re talking about almost dry here. Wipe down all surfaces to remove any remaining dust and prepare the leather for cleaning.
Always test a small, hidden area first to make sure the water doesn’t cause discoloration. This step also helps open the pores of the leather slightly, making it more receptive to cleaning and conditioning.
Step 3: Apply Your Cleaning Solution
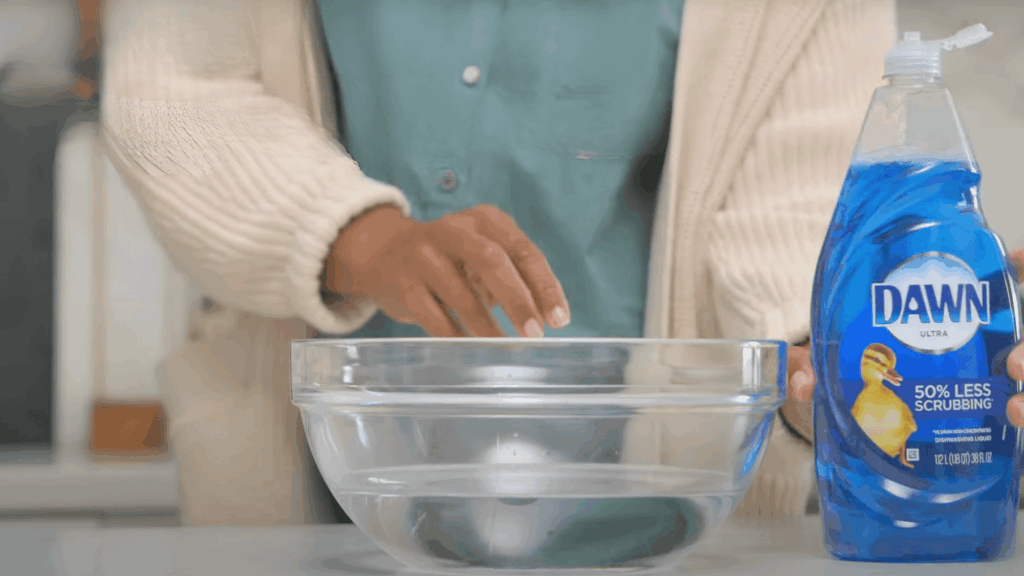
If you’re using a commercial leather cleaner, follow the package directions exactly. For a DIY solution, mix a few drops of mild, pH-neutral soap with distilled water.
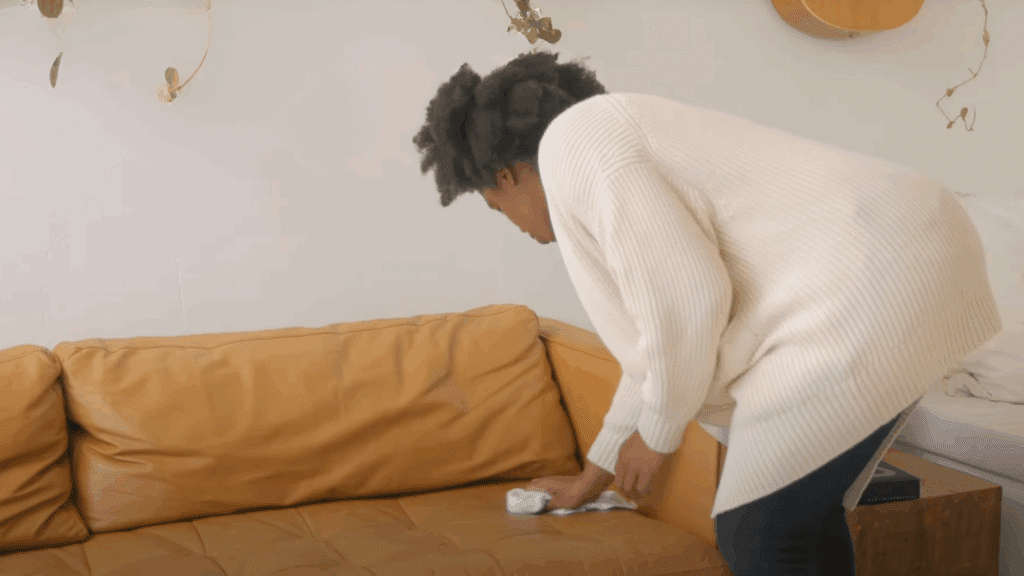
Apply the solution to a clean cloth and work in small, circular motions. Start with the least visible areas first.
This method prevents streaks and ensures even coverage. Work slowly and avoid oversaturating the cloth, as excessive moisture can damage leather over time.
Step 4: Target Stains Carefully
For stubborn spots, don’t scrub harder than that; it just spreads the stain and damages the leather.
Instead, let your cleaning solution sit for a minute or two, then gently work it with a clean, damp cloth. Sometimes patience works better than elbow grease.
Repeat this process gradually rather than forcing it all at once. If the stain persists, it may be worth consulting a professional leather cleaner instead of risking long-term damage.
Step 5: Dry Gently and Completely

Remove any cleaning residue with a clean, slightly damp cloth, then immediately dry with a soft, dry cloth.
Never use heat sources like hair dryers or put your sofa in direct sunlight to speed up drying. Let it air dry naturally in a well-ventilated room.
Proper drying ensures the leather doesn’t crack or stiffen. To help, you can gently buff the surface with a dry microfiber cloth to restore its natural sheen.
Step 6: Condition the Leather
Once everything is completely dry, apply the leather conditioner according to the product instructions.
This step restores moisture and creates a protective barrier against future stains. Use a clean cloth and work the conditioner into the leather with gentle, circular motions.
Don’t rush this step; conditioning is what keeps leather supple and prevents cracking. For optimal results, repeat this process every 6–12 months, depending on the frequency of sofa use.
Here’s a detailed video tutorial on how to do it properly that you can refer to for better understanding:
Tips for Different Types of Stains
Not all stains on leather are the same, and each one needs its own approach. Here are some tips to handle different types of stains the right way:
- Ink stains can be tricky. Dab with a cotton swab barely moistened with rubbing alcohol. Test this in your hidden spot first, as some leathers don’t react well to alcohol. Work from the outside of the stain toward the center to prevent spreading.
- Oil and grease stains respond well to immediate action. Blot up what you can, then sprinkle cornstarch or baking soda on the spot. Let it sit overnight to absorb the oil, then vacuum it up and clean normally.
- Food and drink spills need quick attention. Blot immediately with a clean cloth; don’t wipe, as this pushes the liquid deeper into the leather. Then follow your normal cleaning routine.
- What never to use: Harsh household cleaners, bleach, ammonia-based products, nail polish remover, or anything with alcohol as a main ingredient.
Leather Sofa Maintenance
Keeping your leather sofa in good shape isn’t hard if you stick to a few simple habits. Here’s a quick look at easy maintenance steps:
| Tip | What to Do |
|---|---|
| Conditioning | Apply conditioner every 6–12 months (more often in dry/humid climates or if the leather looks dull/stiff). |
| Location | Keep the sofa at least 3 feet away from vents, fireplaces, and windows. Avoid direct sunlight and heat to prevent fading/cracking. |
| Cushion Care | Rotate and flip cushions monthly to ensure even wear and avoid uneven aging. |
| Weekly Routine | Spend 5 minutes dusting with a microfiber cloth and vacuuming crevices to prevent deep-cleaning issues. |
Following these small steps often makes a big difference. With regular care, your leather sofa will stay soft, clean, and last for many years.
When to Call a Professional Cleaner
Sometimes DIY just isn’t enough, and that’s okay. Here’s when it makes sense to bring in the experts:
- Stubborn stains that won’t budge after multiple attempts probably need professional-grade equipment and cleaners. Don’t keep trying with stronger household products; you’ll likely make things worse.
- Severe discoloration or cracking typically indicates that the leather requires restoration, not just cleaning. Professionals have specialized techniques to address these issues that go beyond what you can do at home.
- Consider annual professional deep cleaning for high-end leather furniture, especially if it gets heavy use. Think of it like taking your car for a professional detail; it’s not always necessary, but it can significantly extend the life of your investment.
Wrapping It Up
You know what? Your leather sofa doesn’t have to be that piece of furniture you’re constantly worried about. With these simple steps on how you can clean your leather sofa, you can actually relax and enjoy it the way you’re supposed to.
The best part about proper leather care isn’t just keeping your sofa looking great; it’s the confidence that comes with knowing exactly what to do when life happens.
Spilled wine during movie night? No panic. Kids got chocolate on the cushions? You’ve got this.
Your beautiful leather sofa is meant to be the heart of your home, not a museum piece. Take care of it, and it’ll reward you with decades of comfort and that rich, gorgeous patina that only gets better with time.