Learning how to propagate succulents changed how I approach plant care entirely. Instead of buying new plants constantly, I started multiplying the ones already thriving on my windowsill.
The process turned out simpler than expected, no fancy equipment or green thumb required. What surprised me most? How forgiving succulents are.
A single leaf can become a full plant within weeks. The satisfaction of watching roots sprout from something that looked dead is genuinely rewarding.
This guide covers the practical steps, common mistakes to avoid, and what actually matters for success. No fluff, just what works.
Succulent Basics to Know Before Propagation Begins
Before tackling how to propagate succulents, understanding the plant improves success dramatically. Look for healthy candidates with firm, plump leaves, no wrinkles or soft spots.
These roots are best. Three main types matter here: leaf-propagating varieties like Echeveria, stem-cutting types like jade plants, and clustering succulents that naturally produce offsets.
Knowing how to grow succulents properly, such as in bright light, infrequent watering, and well-draining soil, stops beginners from drowning their cuttings.
Also worth noting: how long succulents live varies wildly, from several years to decades with proper care. One successful propagation can yield generations of plants.
Preparing Your Plant for Propagation
Before you begin, look closely at your succulent to be sure it’s free from rot, pests, mushy leaves, or weakened stems.
Propagating from stressed or diseased plants lowers your success rate, so start with the healthiest parts you can find. Use clean, sharp scissors or shears to prevent contamination.
Avoid propagating right after heavy watering or during deep winter dormancy. Giving your plant the right starting conditions leads to quicker rooting and stronger new growth.
How to Propagate Succulents from Leaves
Propagating succulents from leaves is a simple and rewarding process, even if you are new to gardening. With a little patience and the right steps, you can grow many new baby plants from a single healthy succulent.
Below is a complete, easy-to-follow guide.
Tools and Materials Required
| Item | Purpose |
|---|---|
| Healthy succulent plant | Source of leaves for propagation |
| Shallow pot or container | To hold the growing medium |
| Spray bottle or syringe | For gentle and controlled watering |
| White sand | Improves drainage |
| Coco peat (coconut coir) | Retains light moisture without compacting |
Step 1: Remove Healthy Leaves from The Succulent
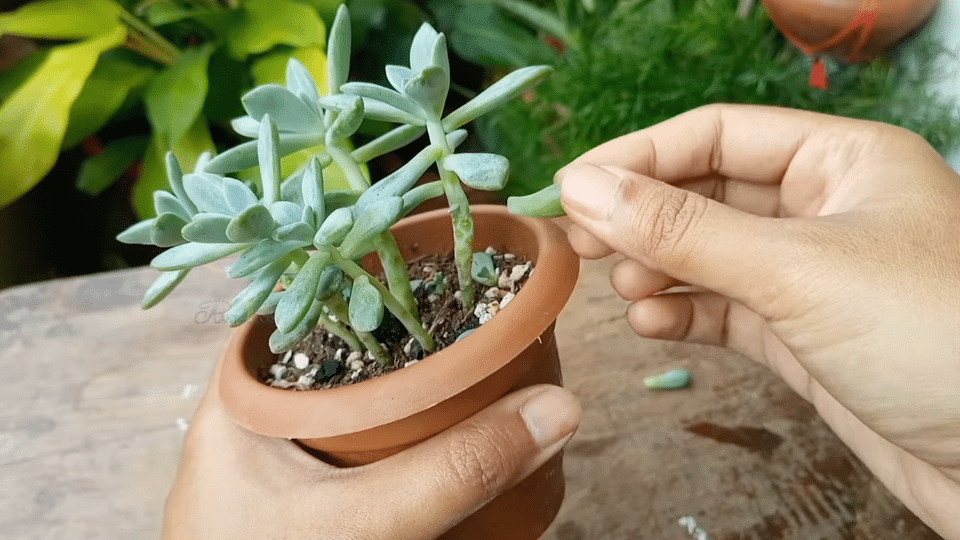
Choose healthy, mature leaves and gently twist them off the succulent stem until they detach cleanly. Handle the leaves carefully to avoid tearing or breaking the base.
A complete leaf base is essential because roots and baby plants form only from intact tissue. Discard damaged, thin, or unhealthy leaves before moving forward. This improves overall success rates for beginners.
Step 2: Let the Leaves Dry and Form a Callus
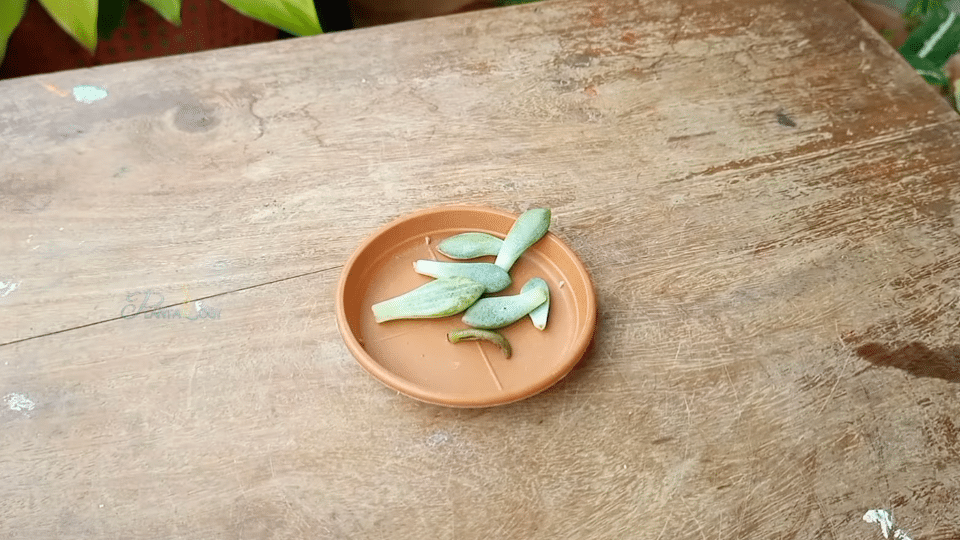
Place the removed leaves in a dry, bright location away from direct sunlight and leave them undisturbed for one to two days.
During this time the cut ends dry and form a protective callus. This natural sealing step is critical because planting fresh, moist cuts almost always leads to rot and failure for beginners learning propagation successfully first time.
Step 3: Prepare a Shallow Pot with Growing Medium
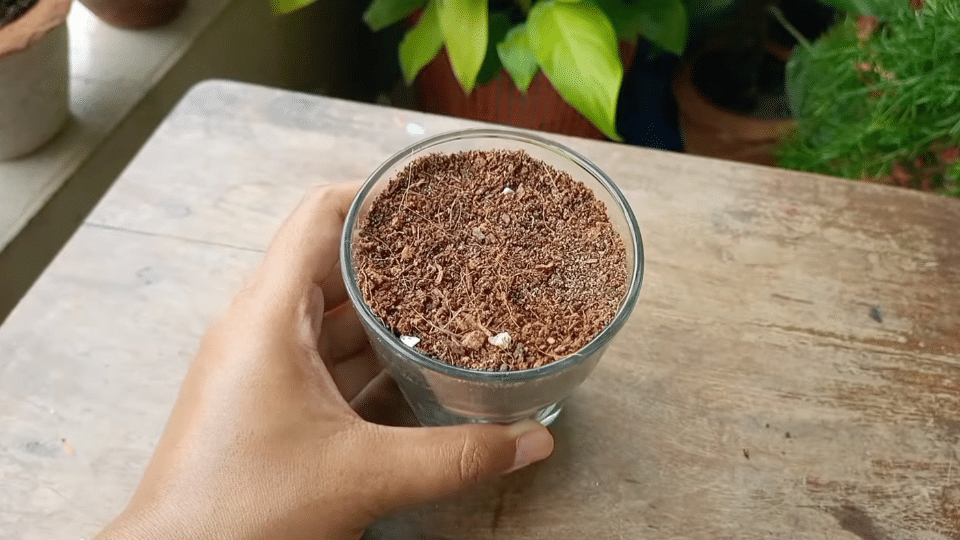
Prepare a shallow pot or tray by filling it with a well-draining growing medium made from equal parts white sand and coco peat.
Mix thoroughly so the texture stays loose and airy.
This setup supports root growth while preventing excess moisture from collecting around the leaves. Good drainage reduces fungal issues and improves long-term plant health overall.
Step 4: Place Leaves on The Soil and Lightly Moisten
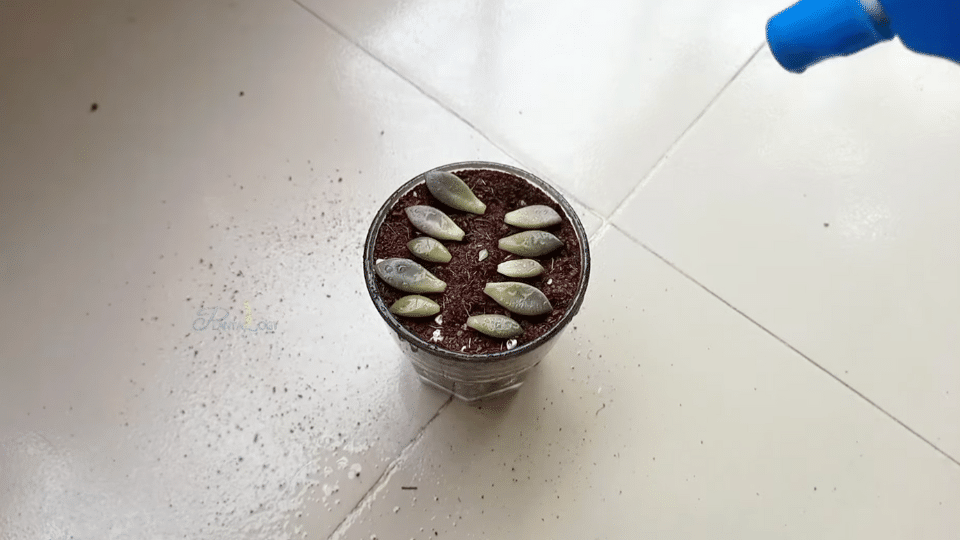
Lay the calloused leaves on top of the soil surface without burying them, ensuring the cut end touches or faces the medium.
Lightly moisten the soil using a spray bottle or syringe. The goal is gentle moisture, not saturation, so the leaves can root without rotting. Check moisture levels regularly and avoid puddling water near leaf bases at all.
Step 5: Keep in Indirect Light and Allow Growth
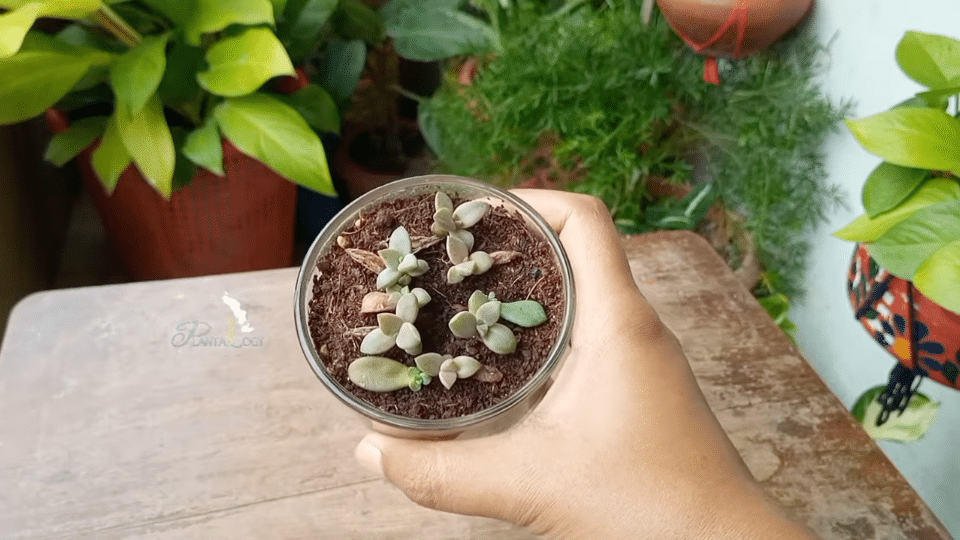
Place the pot in a location with bright, indirect light and allow time for roots and baby plants to develop naturally. This process can take several weeks or longer.
Leave the original leaf attached until it dries completely, since it provides stored energy that supports early growth. Once established, transplant gently and care for the new succulent normally thereafter.
For more details, refer to the YouTube video by Plantalogy below:
Propagating Succulents Using Stem Cuttings and Offsets
When learning how to propagate succulents, stem cuttings and offsets are two of the most reliable and low-effort methods. Stem cuttings are effective when succulents become tall, leggy, or lose shape, as cutting encourages fresh, balanced growth.
Offsets are ideal when small pups appear at the base of the plant, since they establish quickly and have a high success rate.
Both methods should be avoided if the parent plant appears weak, dehydrated, or unhealthy, as strong growth leads to better propagation results.
Timing plays an important role as well, because cold temperatures and low light conditions can slow down root development. With proper drying time, well-draining soil, and careful watering, both propagation methods consistently produce healthy new succulents.
Aftercare Tips for Newly Propagated Succulents
Once you master how to propagate succulents, the real work begins. Aftercare separates thriving plants from shriveled failures. These four steps keep new propagations alive:
- Watering rules: Skip watering entirely for 7-10 days after propagating. The cutting needs time to callus and form roots. Once roots appear (tiny white threads), mist lightly every 3-4 days. Overwatering kills more propagations than underwatering ever will.
- Lighting needs: Bright, indirect light works best. Direct sun scorches vulnerable new growth. A spot near an east-facing window gives enough light without burning delicate leaves.
- When to pot the new plant: Wait until roots reach 1-2 inches long, usually 3-4 weeks. Transplant into well-draining succulent soil. Handle gently; roots break easily.
- How long until normal growth begins: Expect 2-3 months before seeing significant growth. Patience matters. Knowing how to grow succulents means accepting their slow pace.
The Bottom Line
Understanding how to propagate succulents has opened up endless possibilities for me with very little effort. By learning a few basic techniques, I can create new plants from ones I already have.
I have found that leaf cuttings, stem propagation, and offset division are all reliable methods when I match them to the right type of succulent. Patience matters more than precision, and rushing the process usually causes more problems than it solves.
This skill has helped me get free plants, rescue leggy growth, share cuttings with others, and recover plants after accidental damage. One healthy mother plant can produce dozens of offshoots over time if I let it.
I usually start with whatever healthy succulent is closest to me. I pick a leaf, let it callus, place it on soil, and wait. The plant does the rest.