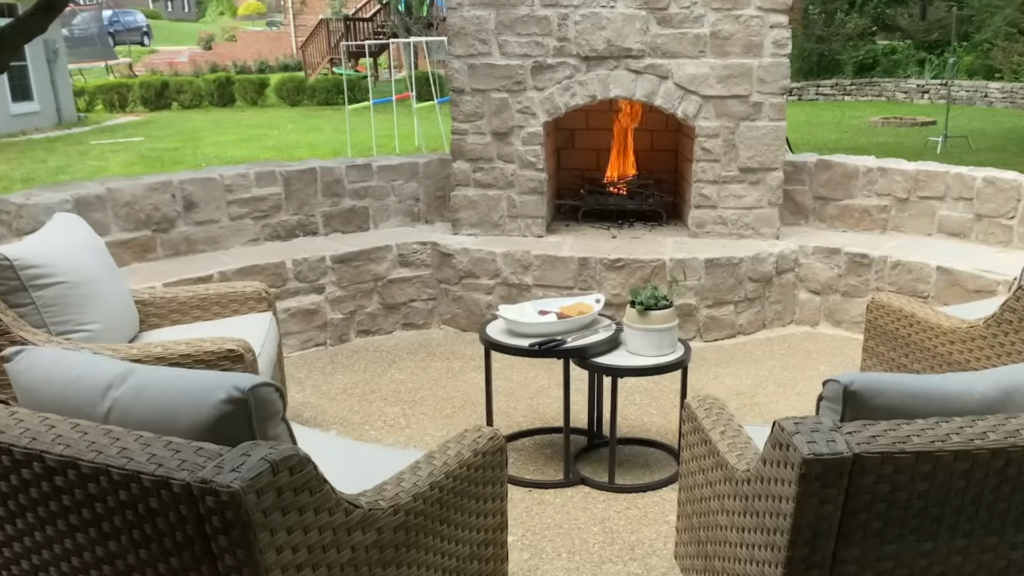
An outdoor fireplace can change how you use your backyard in ways most people don’t expect. It’s not just about having a fire. It’s about creating a spot that feels intentional, useful, and worth spending time around.
Many homeowners assume a project like this is too complex or expensive, but the truth is simpler when you understand how the pieces fit together.
In this guide, I break down the planning mindset, the practical choices, and the hands-on process that actually matters. You’ll see how smart decisions early on can save time, money, and stress later.
Before getting into the build itself, let’s understand what separates a good idea from a great result.
What Makes a Great Outdoor Fireplace Project
A great outdoor fireplace project does more than just add a place to build a fire. It brings warmth, comfort, and a simple class to your yard.
It turns a plain space into a place where people gather, laugh, and stay a little longer. A fireplace outside can also raise the value of your home by making it feel more complete and inviting.
This kind of project isn’t one-size-fits-all. You could build a small, easy version over a weekend with just a few tools and supplies. Or you could go big with a full masonry setup that becomes the center of your backyard.
The choice depends on your budget, your space, and how much time you want to spend building. No matter which way you go, the end result can bring lasting use, a better-looking yard, and more time outdoors, even when the air gets cold.
Planning Your Outdoor Fireplace Build
Before you start building, it’s smart to do a little homework. The first step is checking your local building rules. Some places need permits, and others have fire safety rules you’ll need to follow.
Skipping this step could cause problems later.
Next, think about where the fireplace should go. Pick a spot that’s flat and safe. Keep it away from fences, overhangs, trees, and plants. You want it to look good, but also stay safe from fire hazards.
Then comes the design choice. Do you want to build a custom masonry fireplace from scratch?
Would a prefab kit or modular blocks be faster and easier? Each option has its pros and cons, depending on your skill level and how much work you want to do.
And of course, set a clear budget. These builds can cost anywhere from $500 to over $3,000. Also, expect the work to take anywhere from a weekend to a few weeks.
How to Build an Outdoor Fireplace: Step-by-Step Guide
Building an outdoor fireplace might sound big, but when you break it into small steps, it becomes much easier to handle.
Here’s a clear, simple guide to help you go from an empty spot in your yard to a finished fireplace you can enjoy.
Tools and Materials You’ll Need
- Concrete mix: about 1.5 cubic yards or 50+ bags (80 lb each)
- Steel mesh: for extra strength in the footing (optional)
- Gravel or sand: for leveling and mortar cleanup
- Concrete blocks: to build the base and inner walls
- Fire bricks: for the firebox (can handle high heat)
- Mortar mix: for stacking bricks, blocks, and stone veneer
- Red bricks: for structure and areas that won’t be visible
- Flue liner: helps smoke rise through the chimney
- Angle iron: to support the opening above the firebox
- Stone veneer: for the outside finish (manufactured or natural)
- Corner stone pieces: for wrapping around edges
- Hearthstones: large, flat stones for bench tops and hearths
- Capstone: a thick, heavy top piece to finish the chimney
- Plywood and 2x4s: for temporary arch support (if using an arch)
- Wheelbarrow and shovel: for mixing and moving concrete
- Trowel, level, and brick hammer: basic masonry tools
- Piping bag: for grouting between stones
- Wire brush: to clean and smooth the mortar joints
Double-check your design before buying materials. Quantities will vary depending on the size and style of your fireplace.
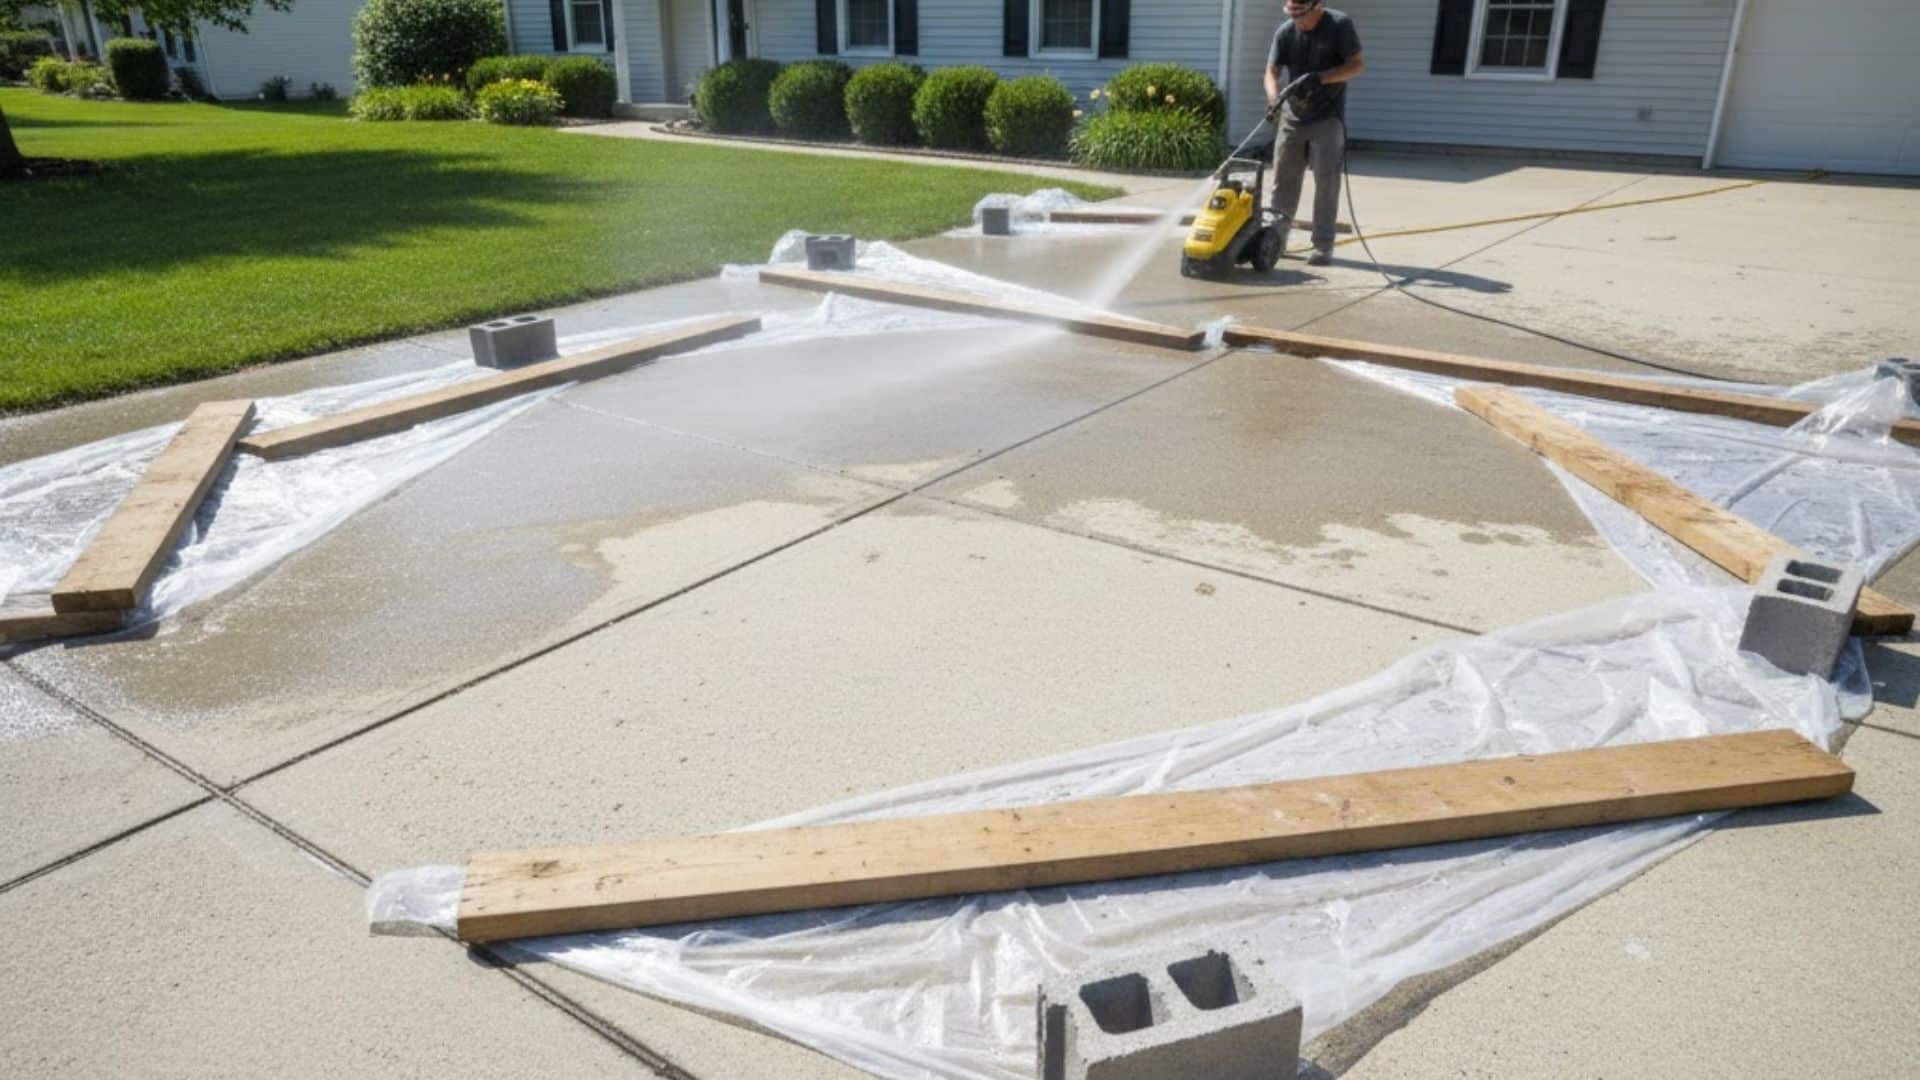
Step 1: Prepare the Ground
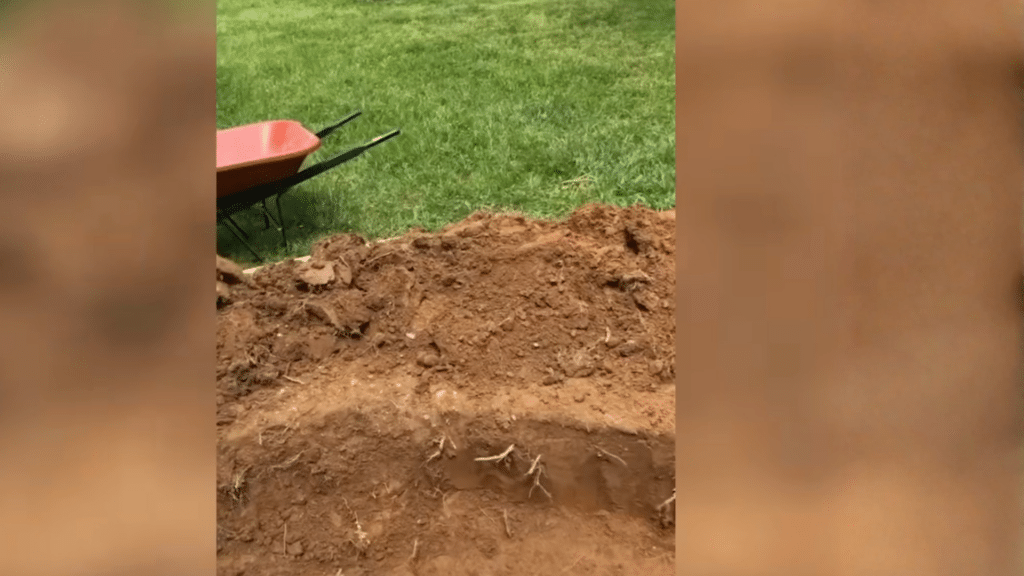
Clear the space and remove any bushes or debris. Dig a hole about 18 inches deep and 32 inches wide to form the base. Make it slightly deeper where the firebox will go.
A strong, level foundation helps your fireplace stay safe and steady through changing seasons and heavy use.
Step 2: Pour the Concrete Footing
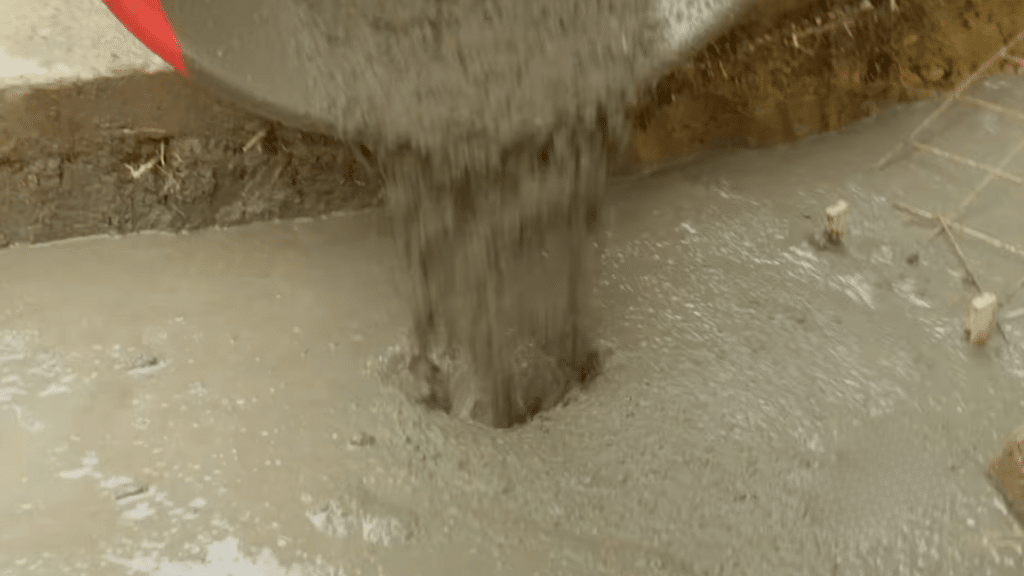
Mix and pour concrete into the hole to create a solid base. Use about 1.5 cubic yards of concrete. Add steel mesh if you want extra strength.
Let the footing cure completely before building. This base supports the full weight of the structure and helps it stay stable long-term.
Step 3: Build the Firebox
Lay fire bricks to form the firebox. Angle the side walls outward and tilt the back wall slightly forward. This shape helps smoke rise into the chimney instead of blowing out.
Spread sand on the floor of the firebox to catch falling mortar and make cleaning easier later on.
Step 4: Install Smoke Shelf and Flue
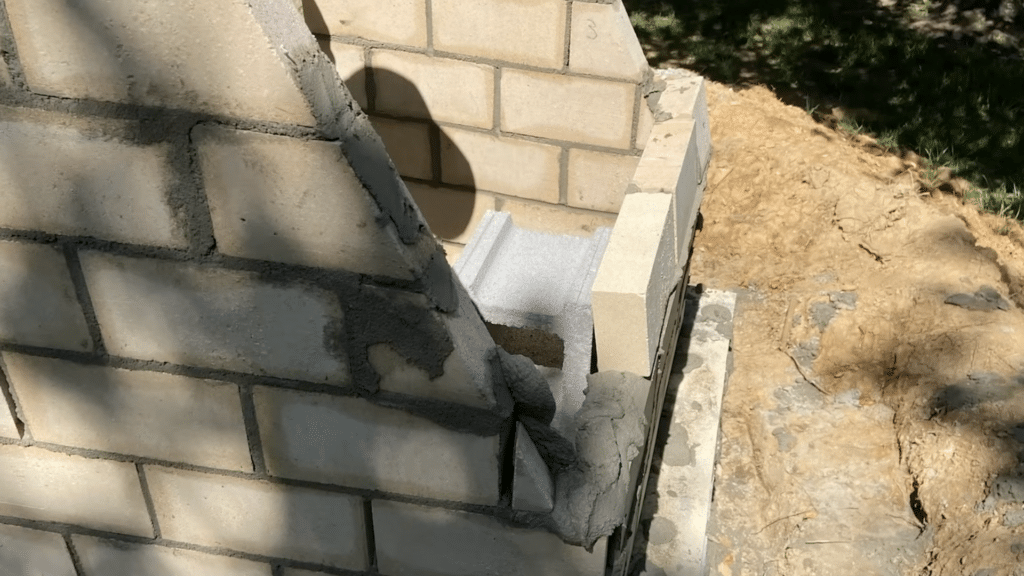
Add a smoke shelf behind the firebox to block downdrafts. Place the flue liner above it and secure it with mortar. Make sure the pieces align well for smooth smoke flow.
This step is key to keeping the fireplace working properly and preventing smoke from pushing back toward the opening.
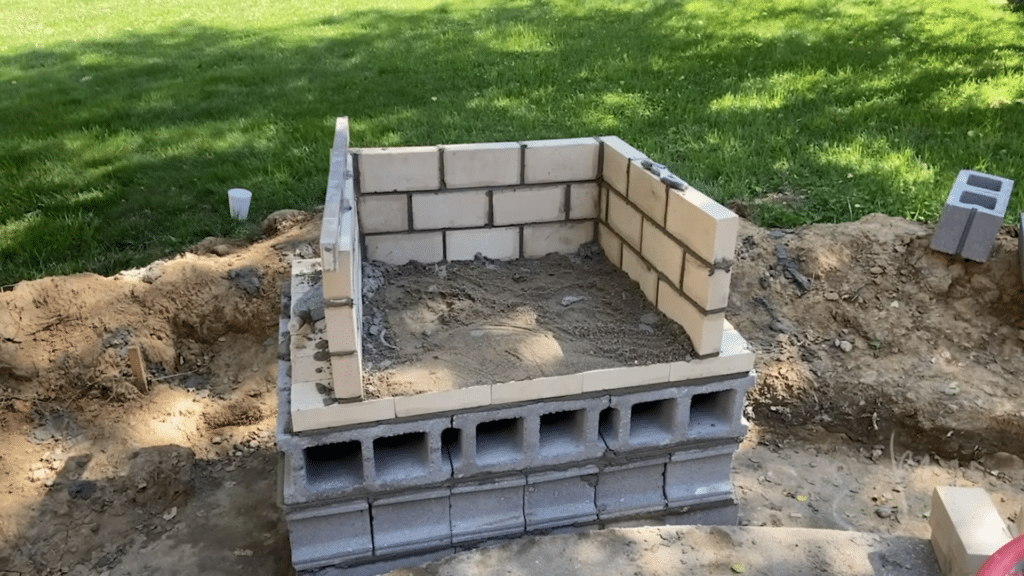
Step 5: Build Up the Structure

Stack concrete blocks and bricks to shape the body of the fireplace. Use mortar between each layer, checking for level. Use angle iron above the firebox to safely hold weight.
If adding an arch, build a wooden support frame underneath the bricks and remove it after the mortar sets.
Step 6: Shape the Chimney
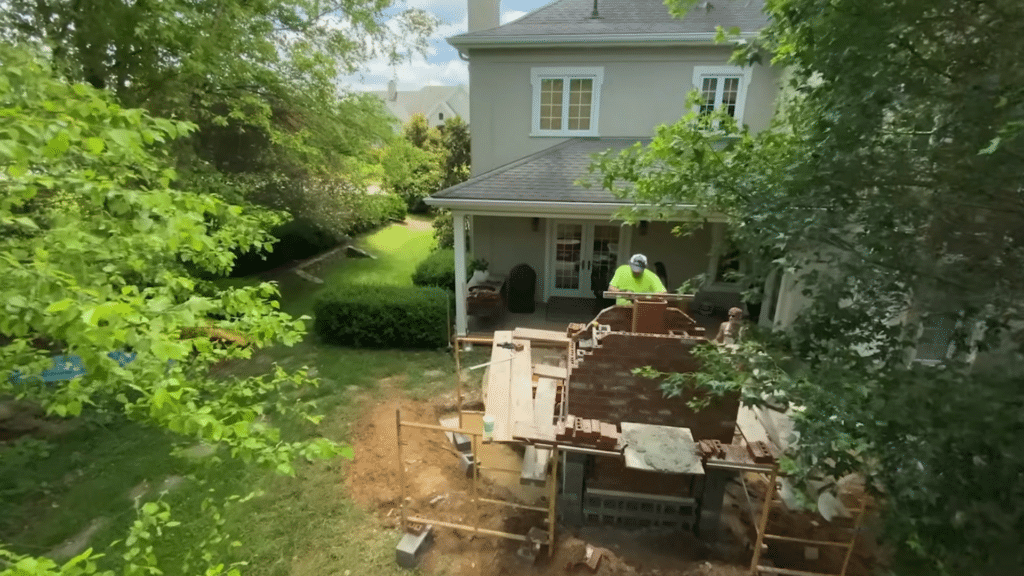
Use bricks or blocks to build the chimney higher. The chimney should be at least 10 feet tall for proper airflow. Shape it so it narrows slightly as it rises.
Use a brick hammer or grinder to cut bricks if needed. A well-built chimney pulls smoke up and away safely.
Step 7: Build Hearth and Seating

Use bricks or block to shape a hearth wide enough to sit on. Dry-fit the curve first, then mortar the bricks in place. For seating, stack lightweight concrete blocks and fill hollow areas with clean rubble.
This adds both comfort and structure to the fireplace area, making it more useful.
Step 8: Add Stone Veneer
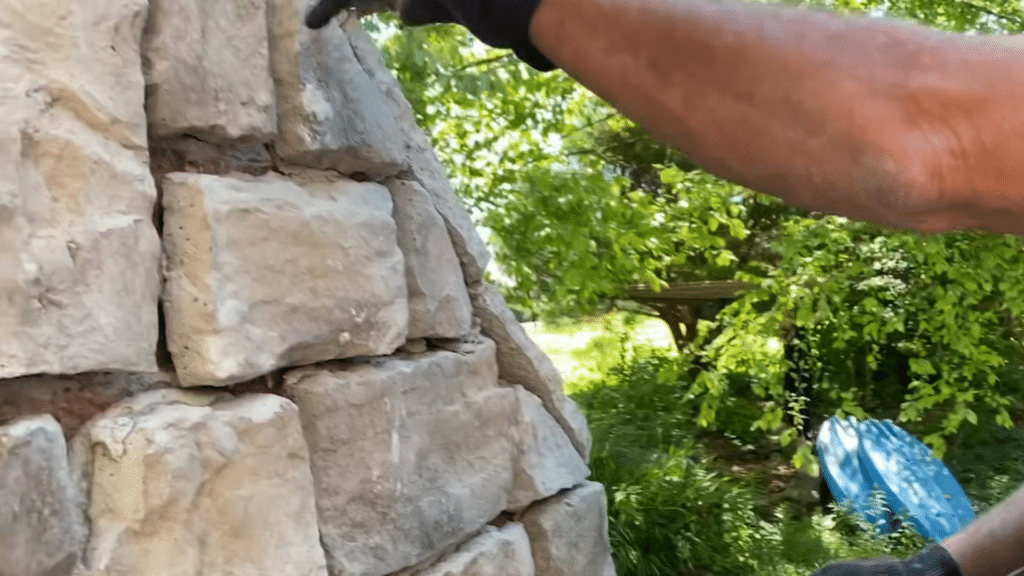
Spread mortar on the outer brick surface. Back-butter each piece of manufactured stone, then press it into place. Use corner stones for edges and cut pieces to fill gaps.
Vary size and color for a natural look. Make sure joints are tight but not perfect—slight flaws make it feel authentic.
Step 9: Grout the Joints
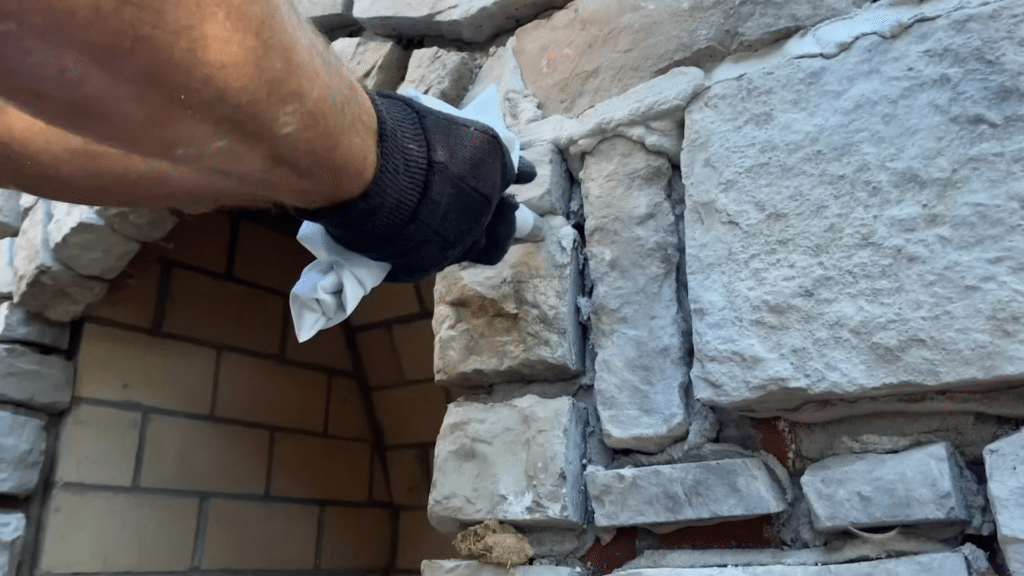
Use a piping bag to squeeze mortar into all joints between the stones. Slightly overfill, then wait for the mortar to set. Use a wire brush to smooth the joints and remove extra mortar.
This step gives the stonework a finished, slightly rough look that feels solid and handmade.
Step 10: Cap and Test the Fireplace
Place hearthstones on the benches and the hearth. Build four corner posts at the chimney top and wrap them in stone. Place a thick capstone across the top.
This acts as a spark guard. Finally, light a fire to test the draw; smoke should rise cleanly through the flue without blowing back.
If you want a visual walkthrough of this build, you can watch the full step-by-step video here for a closer look at how each part comes together:
Outdoor Fireplace Installation: Kits vs. Custom Builds
When planning your fireplace, one of the biggest choices is going with a ready-to-build kit or building everything from the ground up. Each option has its pros and cons depending on your budget, time, and skill level:
| Feature | Prefab Kit | Custom Build |
|---|---|---|
| Cost | Lower upfront cost | More expensive overall |
| Time to Build | Can be done in 1–2 weekends | It may take several weeks |
| Skill Needed | Basic DIY skills | Advanced skills or a pro mason |
| Design Flexibility | Limited designs | Fully flexible |
| Material Choices | Pre-selected by the manufacturer | You choose everything |
| Tools Required | Basic hand tools | Advanced masonry tools |
| Installation Help | Often includes instructions | May require professional help |
| Durability | Moderate to high | High, depending on the material used |
| Size Options | Fixed sizes | Custom sizing |
| Permits | Still required in most areas | Still required in most areas |
Prefab kits are great if you want something quick and simple. Custom builds are best if you want full control over design and materials and don’t mind the extra time and cost.
Common Problems and How to Fix Them
Even a solid outdoor fireplace can face wear and tear. These problems are common and fixable if caught early. Here’s what to watch for and how to handle each issue:
- Smoke escaping from the front: This usually means the chimney isn’t drawing smoke properly. Try raising the chimney or reshaping the firebox and smoke shelf to improve airflow.
- Cracked mortar joints: Temperature changes and moisture can cause cracks. Scrape out old mortar, refill with new mix, and seal it to prevent future damage.
- Uneven heat: Poor air flow or thin firebrick lining can cause cold spots. Thicker bricks and a better chimney draw can help spread heat evenly.
- Water damage from rain: Rain can soak into mortar and weaken it. Use a cover when not in use and seal the stone yearly to protect it.
- Loose or falling stones: This happens when the mortar breaks down. Remove old mortar, apply fresh mix, and press the stone firmly into place.
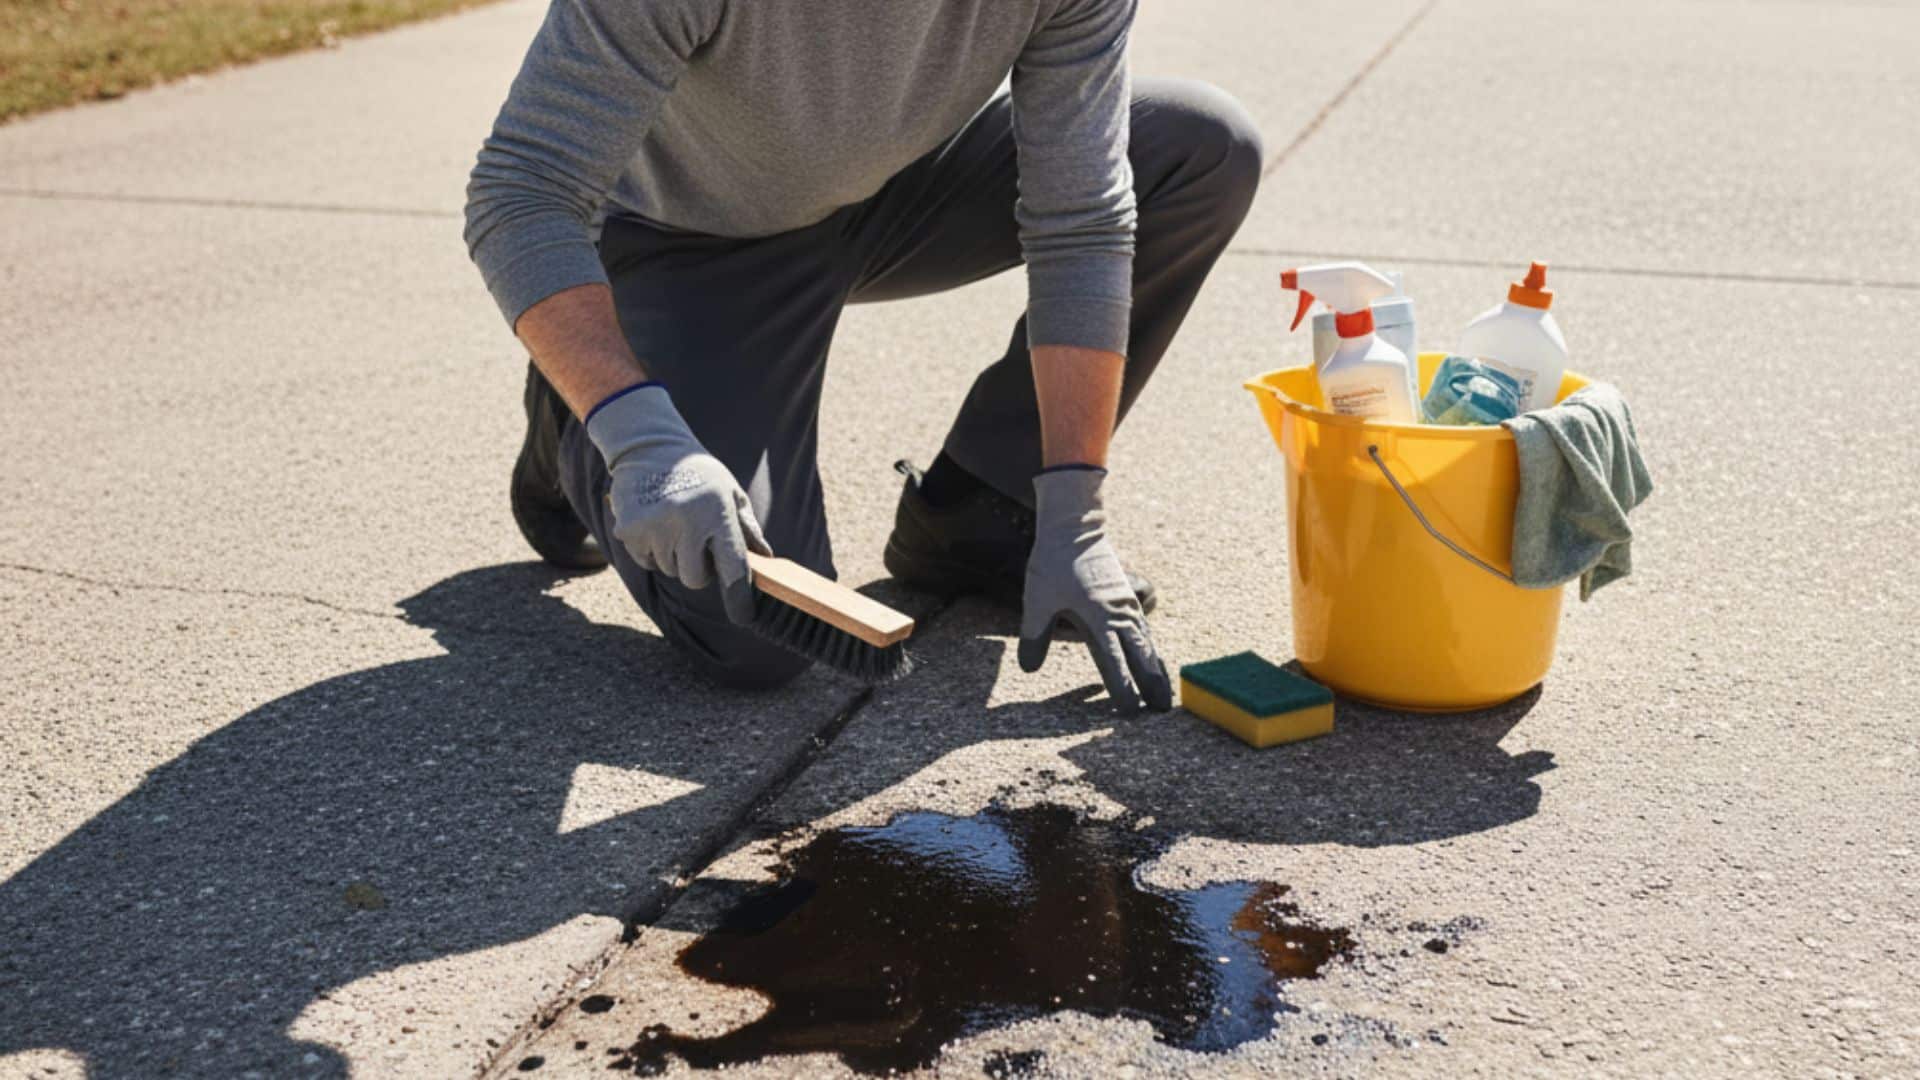
Keeping Your Outdoor Fireplace Safe, Dry, and in Good Shape
To keep your outdoor fireplace working well and staying safe, it’s important to take care of it all year long. Fire safety, waterproofing, and regular upkeep can make a big difference in how long it lasts and how safe it is to use.
- Keep the area around the fireplace clear of leaves, branches, and flammable materials.
- Use spark screens or chimney caps to stop sparks from flying out.
- Make sure there’s enough space between the fireplace and nearby fences, structures, or trees.
- Seal all mortar joints to protect against water damage.
- Cover the fireplace with a weatherproof cover when not in use or during heavy rain.
- Clean out ash and debris often, especially during colder months.
- Check for cracks in the mortar and stone each year and reseal as needed.
Taking these simple steps can help your fireplace stay strong, safe, and ready to enjoy anytime.
Conclusion
Building an outdoor fireplace is less about skill and more about planning, patience, and doing each step with care.
When the base is solid, the firebox is shaped right, and safety stays top of mind, the result is something that lasts for years.
This kind of project gives back more than heat. It adds comfort, extra use to your yard, and a reason to spend more evenings outside. If you take the time to plan, choose the right materials, and work at a steady pace, the process stays manageable.
Now is a great time to start mapping out your outdoor fireplace and turn that open space into something you’ll actually use.