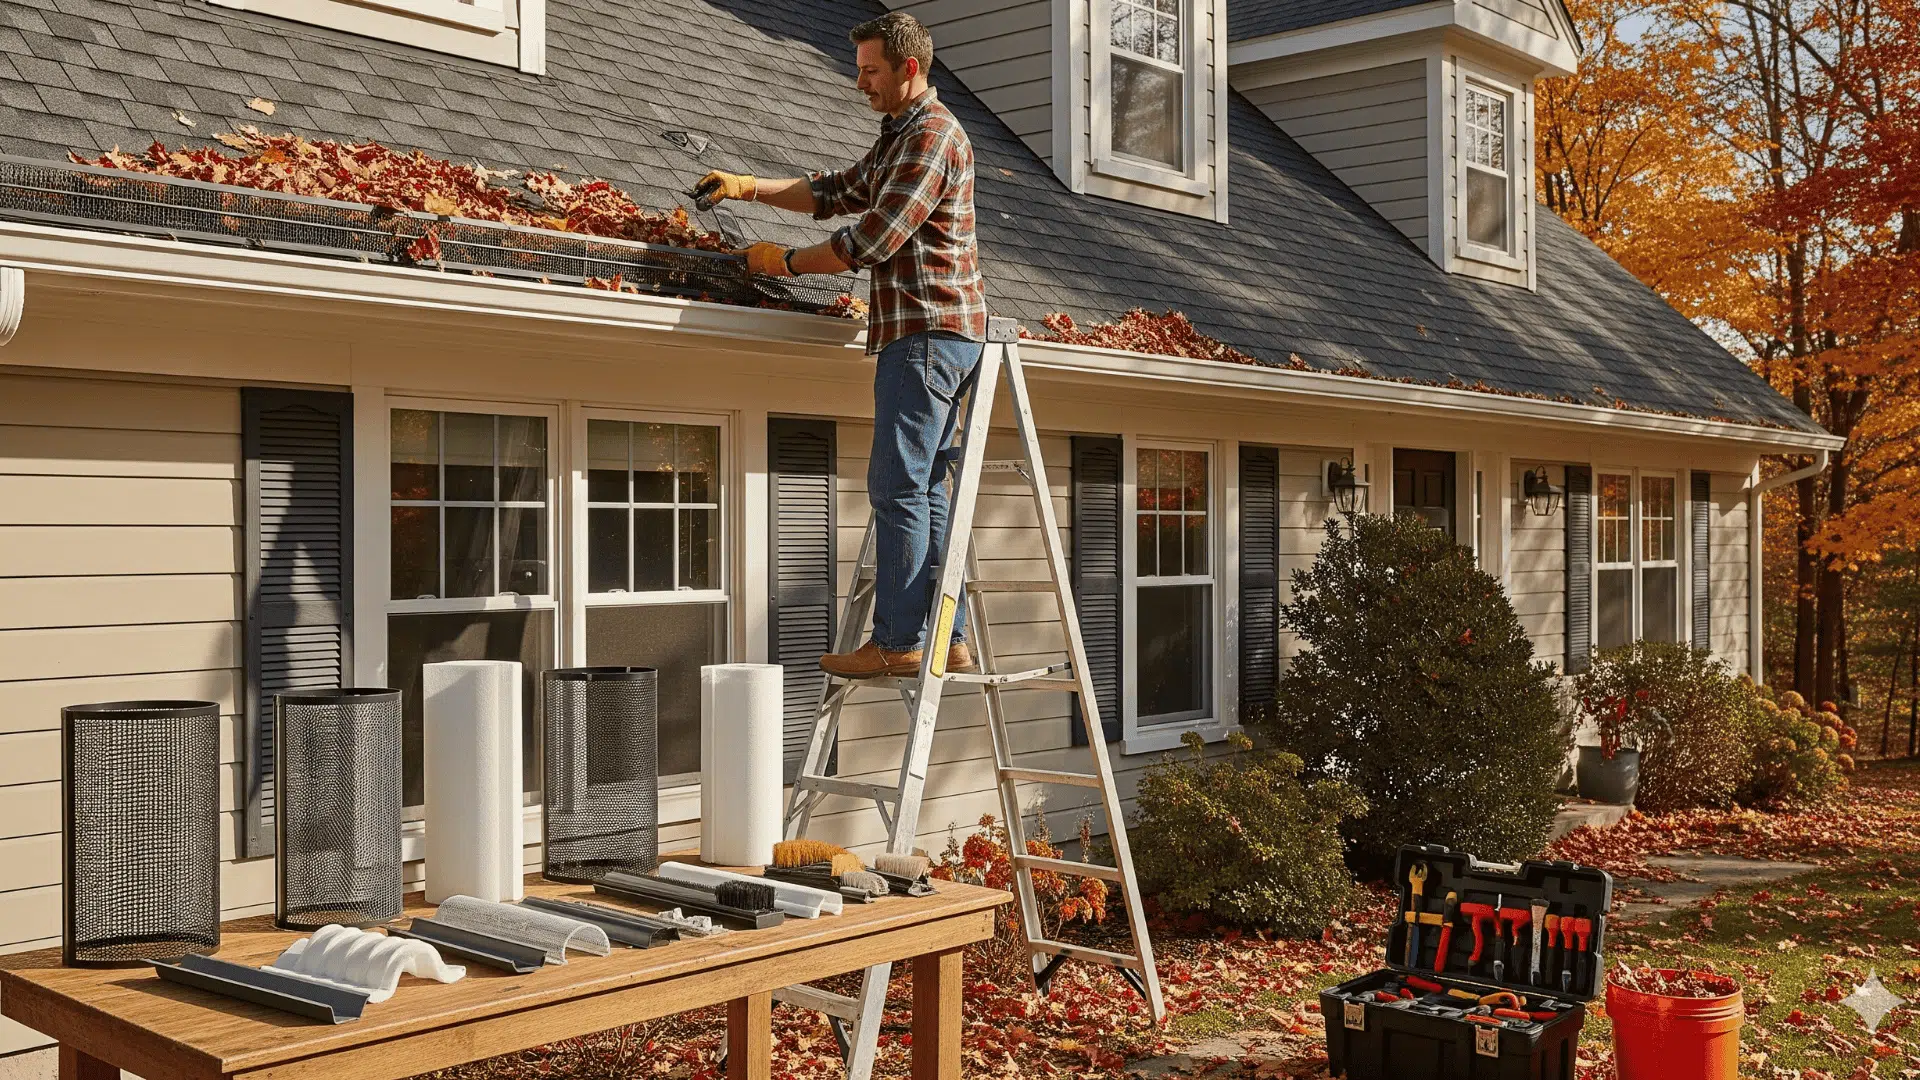
I used to groan every fall when my gutters overflowed with soggy leaves. Climbing ladders and scooping out gunk felt like the worst chore ever.
That’s why I tried diy gutter guards, a quick fix that blocks debris but still lets rainwater flow through. What surprised me most was how many options there are: mesh screens, foam inserts, even brush-style guards.
Installing do-it-yourself gutter guards turned out to be simple, affordable, and way easier than cleaning gutters every season.
I’ll share what worked for me, the ups and downs of different types, and the little maintenance tricks that keep them lasting. For tricky roofs, though, I’ve learned it’s sometimes smarter to call in a pro.
Understanding Gutter Guards & the DIY Appeal
When I first looked into gutter guards, I thought of them as a time-saver, but they turned out to be a real protector for my home. They block leaves, debris, and even pests, while still allowing rainwater to drain properly. This means fewer clogs, less risk of water damage, and longer-lasting gutters.
From a practical angle, the biggest draw of the DIY route is cost. Professional installation often runs between $10 and $25 per linear foot, while DIY kits are closer to $4 and $5.
The installation process is usually straightforward; most systems snap or slide right into place with a few basic tools.
For me, doing it myself not only cut expenses but also gave me the satisfaction of solving a problem immediately instead of waiting for an appointment.
Types of DIY Gutter Guard Options
Selecting the optimal gutter guard requires balancing filtration effectiveness, installation complexity, and long-term durability.
Understanding these key differences ensures you choose the solution that best fits your needs and budget:
| Guard Type | Cost Range | Installation Difficulty | Debris Filtration | Durability | Maintenance Frequency |
|---|---|---|---|---|---|
| Screen (Wire/Plastic Mesh) | $1-3/ft | Easy | Blocks leaves, allows small debris | 5-10 years | Annual cleaning |
| Micro-Mesh | $3-7/ft | Moderate | Blocks 99% debris, including needles | 15-20 years | Every 2-3 years |
| Brush Guards | $2-4/ft | Very Easy | Large debris only | 3-5 years | Quarterly removal |
| Foam Guards | $1-2/ft | Very Easy | Mixed effectiveness | 2-3 years | Biannual replacement |
| Pool Noodle | $0.50/ft | Extremely Easy | Poor; debris accumulates around | 1 season | Not recommended |
Key Insight: The most expensive option per foot (micro-mesh) actually costs less over time due to minimal maintenance needs and 20-year lifespan. Conversely, cheap solutions like foam guards require frequent replacement, making them costlier long-term investments.
Do-It-Yourself: Step-by-Step Installation Guide
Ready to tackle a practical home improvement project that pays dividends for years? Installing gutter guards is a straightforward weekend task that can save you countless hours of future maintenance while protecting your investment. Here’s how you can get started:
Step 1: Clean Out Your Gutters Thoroughly

Before installing any gutter guards, remove all debris, including leaves, sticks, dirt, and asphalt granules, from your gutters. Use a five-gallon bucket to collect debris and work systematically along each section.
After manual removal, spray out remaining debris with a hose, working from the downspout end and pushing debris toward the downspout. Wipe down gutters with a shop towel if needed to remove stains from years of overflow.
Step 2: Measure Your Gutters and Choose the Right Guards

Measure your gutters from back to front surface to determine if you have 5-inch or 6-inch gutters (90% of residential homes have 5-inch gutters). Select plastic gutter guards with mesh backing rather than simple foam or large-hole designs.
The recommended option costs about $2.50-$2.75 per 3-foot section and features small mesh underneath to prevent sticks and debris from catching in holes, extending maintenance-free operation significantly.
Step 3: Start Installation at the Downspout End

Begin installing full 3-foot sections starting from the downspout end of your gutters. Fit the back edge of each guard up under the shingles, then press down firmly on the front edge to secure it in the gutter.
Butt each section directly against the next one without overlapping. This method ensures proper water flow and creates a continuous barrier against debris while maintaining easy installation.
Step 4: Complete Installation and Make Final Adjustments

Continue installing sections along the entire gutter length, making only one cut when you reach the final section. Ensure all guards fit snugly under shingles and press down securely on front edges.
Check that sections align properly and there are no gaps between pieces. If you recently had roof work done, verify with your installer that placing guards under shingles won’t void your warranty before proceeding with installation.
Step 5: Maintain Guards with Ground-Level Cleaning Hack

For easy ongoing maintenance, modify a broom by unscrewing the handle, threading it through the bristles from the bottom, and re-screwing from underneath. This creates an extended-reach tool that allows you to sweep leaves and debris off gutter guards from ground level, eliminating the need for ladders.
Regular sweeping keeps guards clear and water flowing freely, maximizing the maintenance reduction benefits of your new installation.
If you’d like a step-by-step visual guide for DIY gutter guard installation, check out the video below:
Pros & Cons of DIY Gutter Guards
Choosing to install gutter guards yourself comes with clear benefits, but it also has some risks and limitations. Weighing the pros and cons helps decide if DIY is right for your home and skill level. Here are some to consider:
Pros
DIY gutter guards offer a major cost advantage, with kits averaging $4–5 per linear foot versus $10–25 for professional installation.
You also get to work on your own schedule, choosing materials and tools you prefer. This flexibility provides immediate satisfaction from hands-on work.
For smaller homes or straightforward installs, DIY can be both effective and budget-friendly, giving more control over the process without waiting on contractors.
Cons
Installing gutter guards yourself involves safety risks, especially when working on ladders, with potential falls or injuries.
Improper installation can lead to gutter overflow, leaks, or even roof damage. DIY products often lack warranties and may not last as long as professional-grade options.
Additionally, gutter guards don’t eliminate cleaning entirely; debris can still build up and require regular maintenance. Effectiveness can vary, with some mesh types clogging or contributing to ice dams in colder climates.
When Diy Works and When to Call a Pro
When deciding whether to tackle gutter guard installation yourself, consider your comfort with heights and the complexity of your home.
DIY suits those who feel confident on ladders, live in one- or two-story houses, and deal with moderate debris from nearby trees. It offers control and savings without the wait for a professional visit.
However, if your roof is steep, multi-level, or difficult to access, calling in a pro is often the safer choice. Professionals provide warranty-backed materials and guarantee a precise fit to avoid problems like leaks or overflow.
For those wanting long-lasting, worry-free protection, especially in tricky roofs or climates, investing in expert installation can be worth the extra cost.
Maintenance & Cost Overview
Proper maintenance is essential to keep gutter guards working efficiently and to protect your home from water damage. Here’s what I learned about upkeep and cost:
- Rinse screen or mesh guards with a garden hose 2–3 times a year to clear dirt, pollen, and small debris.
- Remove foam or brush inserts at least twice annually to shake out trapped leaves and prevent mold buildup.
- Inspect guards regularly for damage, sagging, or clogs, especially after storms or heavy leaf drop.
- DIY gutter guard kits cost around $4–5 per linear foot, saving money upfront compared to $10–25 per linear foot for professional installs.
- Over time, guards reduce cleaning frequency and costly repairs from clogged gutters, making them a smart long-term investment.
Regular cleaning and inspection extend guard lifespan and keep gutters flowing freely all year.
Final Thoughts
After trying out gutter guards myself, I can confidently say they make a huge difference in reducing gutter clogs and maintenance hassles.
While they’re not completely maintenance-free, the right guard can save a lot of time, protect your home from water damage, and extend gutter life.
Whether you choose a DIY kit or a professional install depends on your comfort level and roof type.
Ready to say goodbye to constant gutter cleaning? Start by picking a guard that fits your needs and take that first step toward hassle-free gutters; trust me, your future self will thank you. If you found this helpful, check out other guides on the website for more projects!