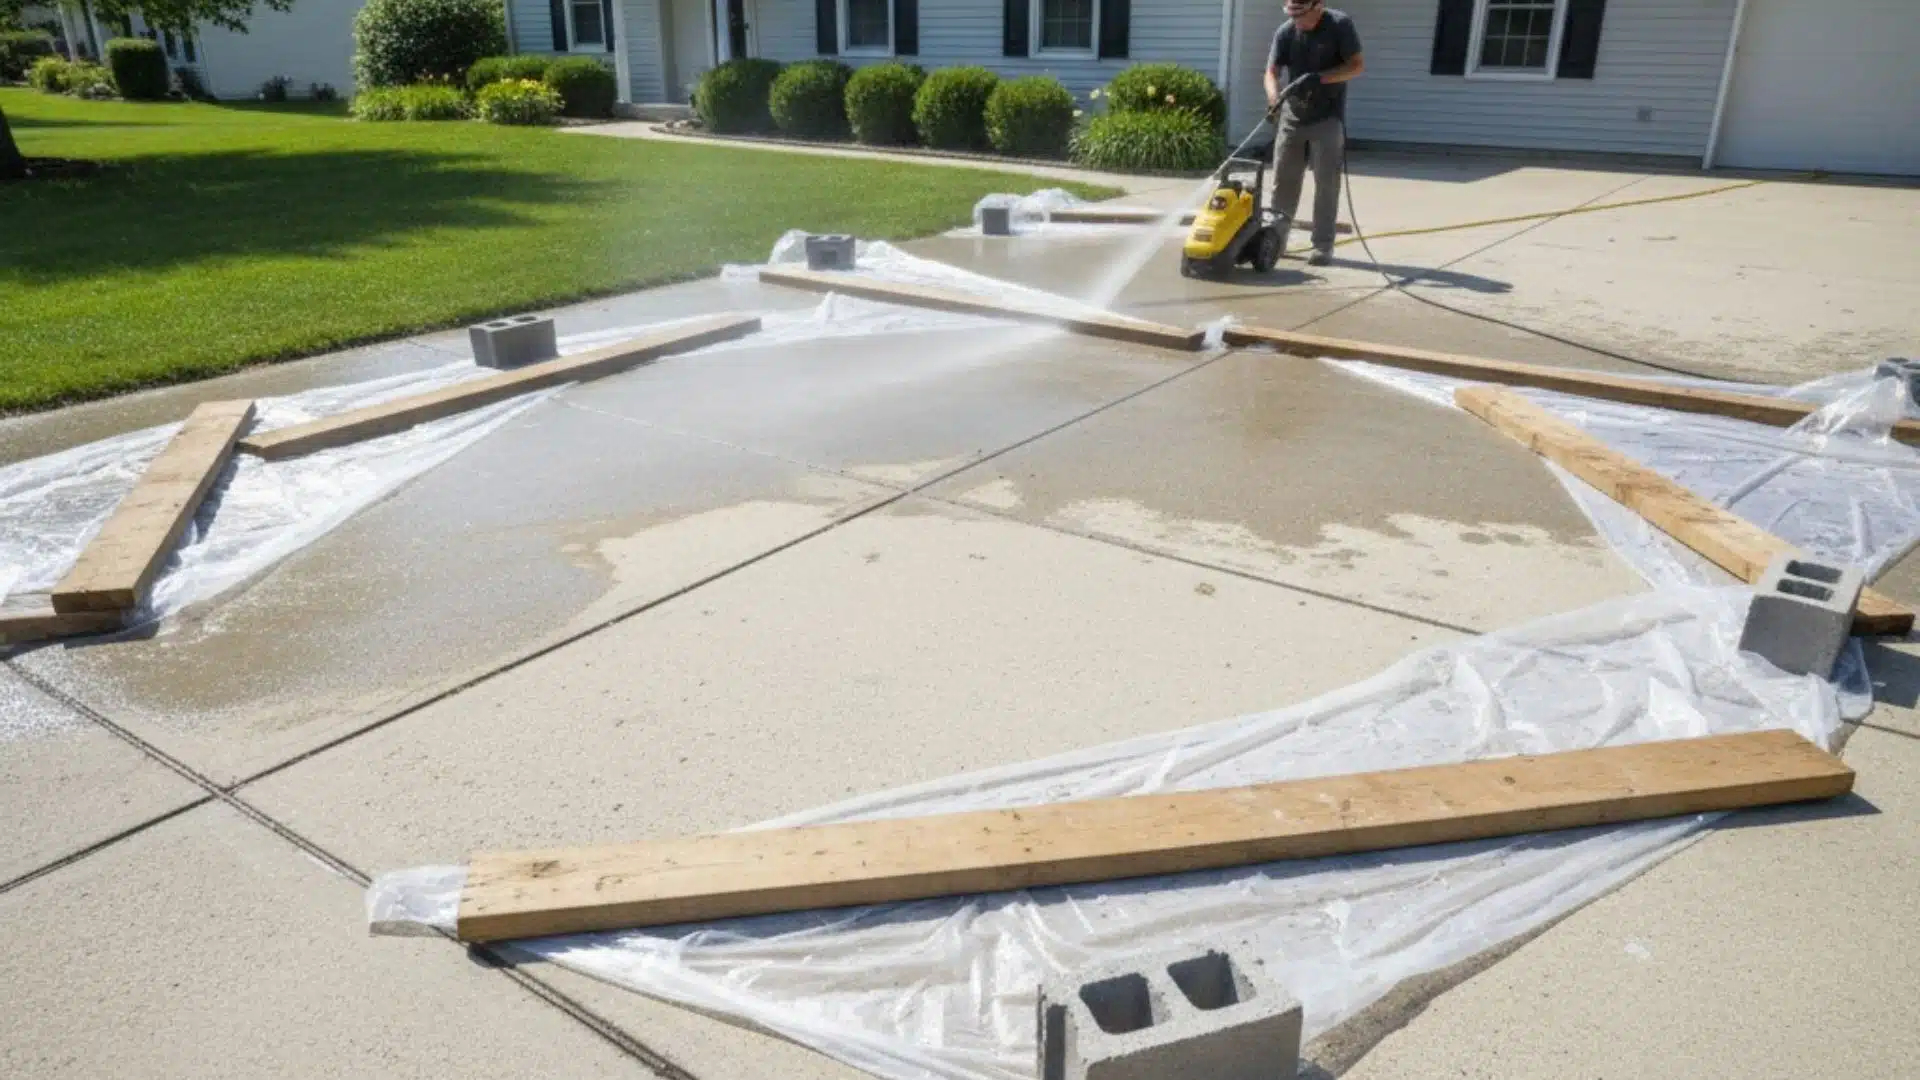
Want to build your own DIY shooting bench but don’t know where to start? A shooting bench is a stable table with a seat that gives you a steady platform for accurate shooting.
Building one yourself saves money and lets you customize it exactly how you want. You can make it taller, wider, or add special features that store-bought benches don’t have.
I’ll show you how to build a basic bench step by step using tools you probably already own. I also share design ideas that solve common problems like storage, transport, and uneven ground.
If you need something simple or want to get creative, you’ll find plans and inspiration here. Time to grab your tools and start building something useful.
Why You Should DIY a Shooting Bench
Building your own shooting bench saves you serious money compared to buying one ready-made. Store-bought benches can cost hundreds of dollars for decent quality.
You get to customize everything exactly how you want it. Height, width, storage space, and features all match your specific needs and preferences.
A DIY bench often turns out stronger than cheap store options. You control the materials and can use heavy-duty wood or metal that lasts for years.
The project teaches you useful skills while creating something practical. Working with your hands feels rewarding, especially when you see the finished result.
You can build it in stages when you have time and money. Plus, you’ll have bragging rights every time you use it.
Materials and Tools You’ll Need
Building your own shooting bench requires basic lumber and hardware that you can find at any home improvement store. Here’s what you’ll need and what it typically costs:
| Material | Estimated Cost Range |
|---|---|
| 4×4 posts (legs and spacers) | $25 – $40 each |
| 2×4 boards (frame, braces, supports) | $3 – $7 per 8-ft board |
| Deck boards (top and seat surface) | $8 – $15 each |
| Carriage bolts w/ washers and nuts | $0.50 – $1 per bolt |
| 2 ½ inch exterior screws | $5 – $10 per box |
| Clamps (optional but useful) | $7 – $20 each |
| Wood blocks for added support | $1 – $3 each |
| Sandpaper (120 and 240 grit) | $1 – $5 for a few sheets |
| Router with round-over bit (optional) | $40 – $70 (basic set) |
NOTE: Costs are estimates and may vary based on location, lumber grade, current market prices, and store selection.
DIY Shooting Bench: Step-By-Step Guide
I’ll walk you through building a solid shooting bench in five main steps that anyone can follow. This project takes you from cutting wood to having a finished bench ready for the range:
Step 1: Cut And Prep The Frame
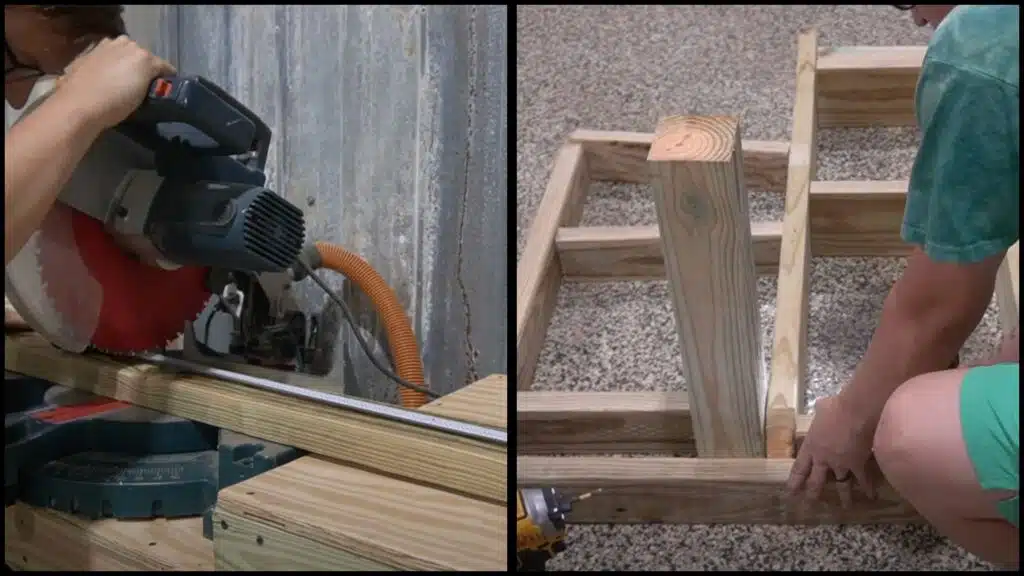
Start by cutting all your main wood pieces for the frame. Add 45° cuts on seat beams and support beams for a smoother look.
Lay out the frame, use 4×4 spacers for the legs, and attach with screws. This keeps everything aligned and snug before you bolt it together. Getting the cuts right early makes the whole project much easier.
Step 2: Build And Secure The Base
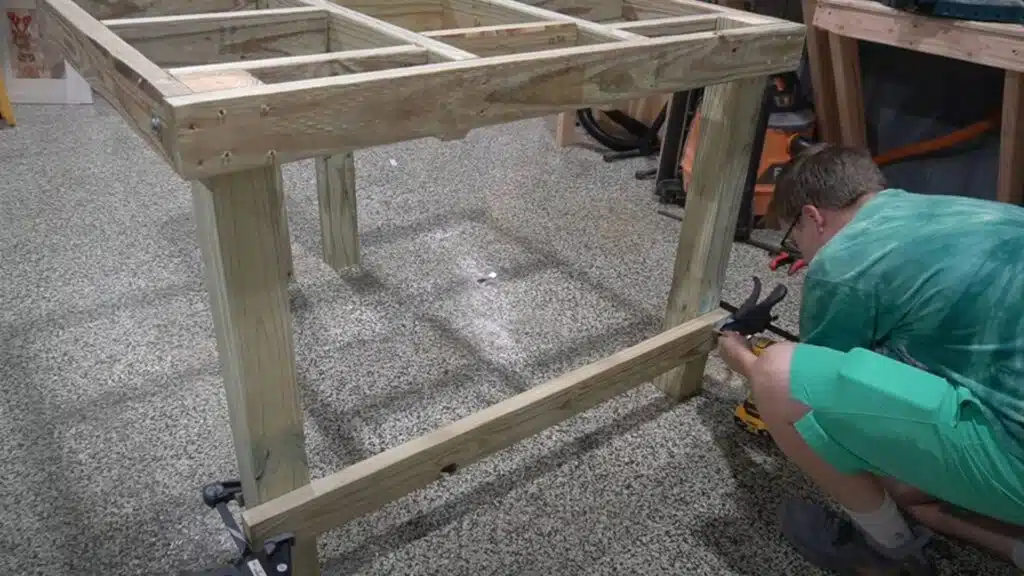
Assemble the frame by attaching front and back legs using screws first, then lock them in place with carriage bolts. Add cross braces about 10 inches off the ground for stability.
Using clamps while working solo helps keep everything steady. Once all four legs are bolted, you’ll have a sturdy base ready for the top boards.
Step 3: Attach The Bench Top
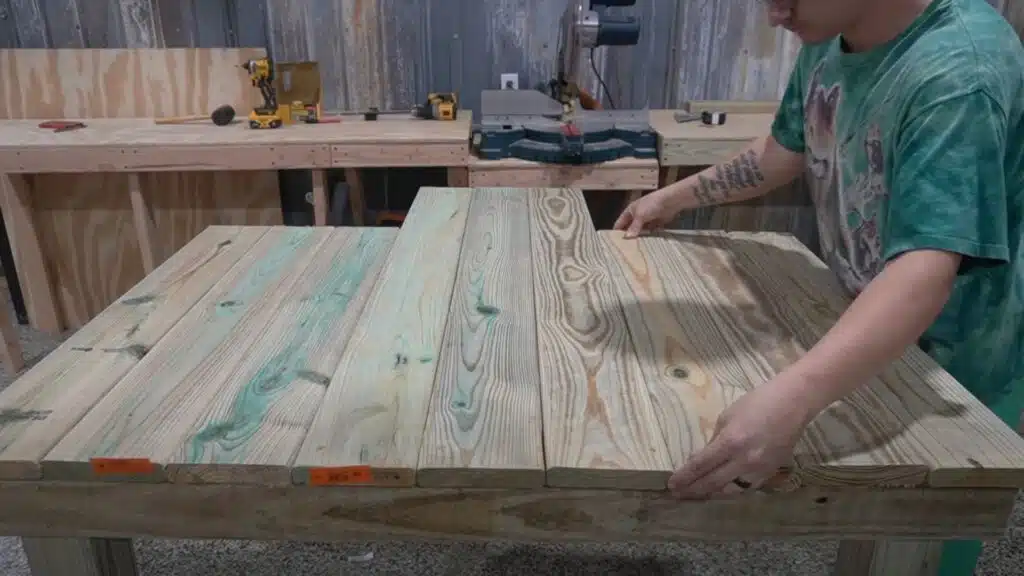
Place three long deck boards at the center, leaving a slight overhang on both ends. Secure them with screws across the frame beams.
Add six shorter deck boards to the sides, pressing them tight to avoid gaps. Screw them firmly into all the beams. This setup gives you a solid, even tabletop with no wobble.
Step 4: Add Seat And Extra Supports
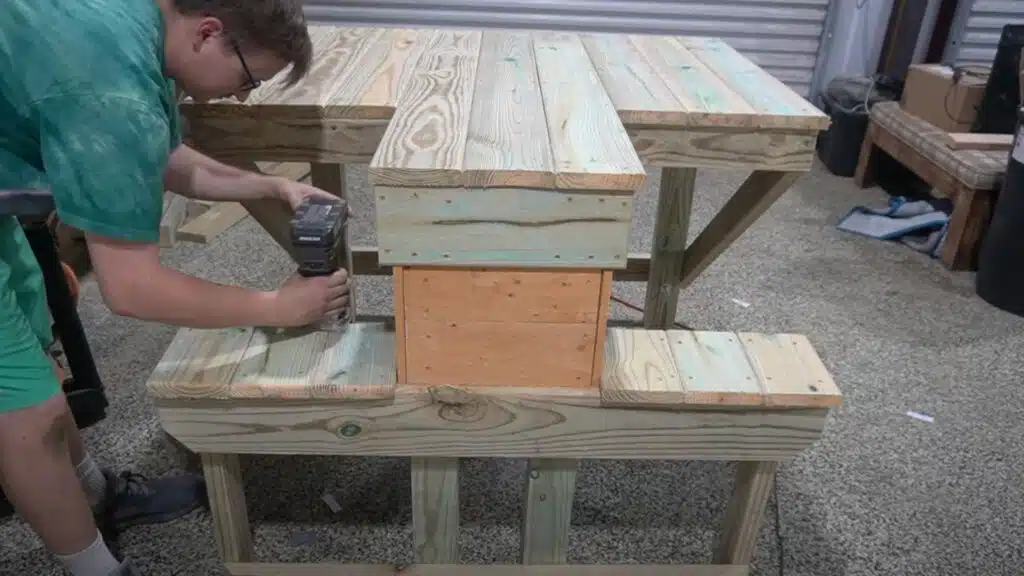
Cut and attach the seat beams at around 20–22 inches high for comfort. Clamp and level them before fastening with screws. Place smaller 4×4 blocks between the legs for more strength.
Add angled cross braces and side supports under the seat to prevent tipping. Finish by attaching the seat boards securely across both sides.
Step 5: Sand, Smooth and Finish
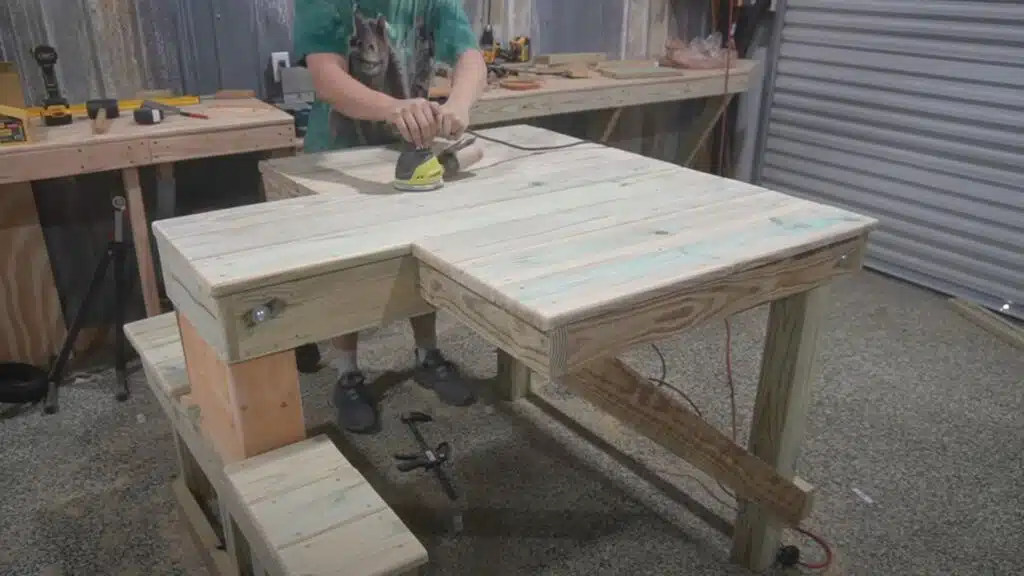
Round off sharp edges on the tabletop and seat using a router if you have one. Sand the whole bench with 120-grit and then 240-grit for smoothness.
Focus on the seat and top where you’ll spend most of your time. This final step makes the bench safer, more comfortable, and ready for long use outdoors.
If you want to watch a video tutorial, here’s a step-by-step guide to building your own shooting bench:
Shooting Bench Design Ideas and Inspiration
I’ve put together different shooting bench designs that solve common problems shooters face, from storage issues to uneven ground to bad weather.
Each design tackles a specific challenge you might run into, so let’s look at what makes each one useful:
1. Folding Tabletop Bench
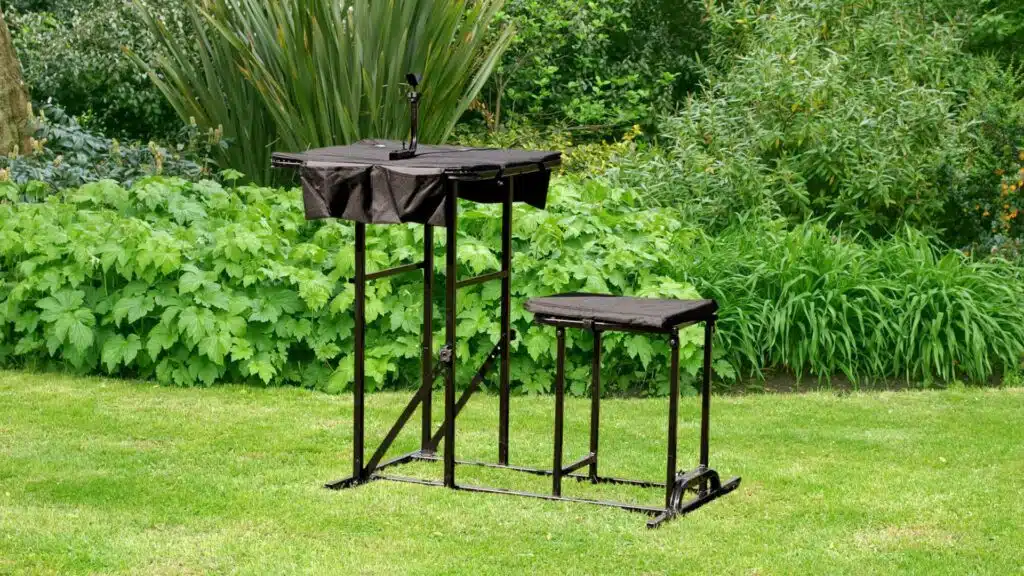
The tabletop folds down flat against the base when you’re done shooting. This makes the whole bench thin enough to store against a wall or carry in your truck.
It’s handy when you don’t have much space at home or need to pack light for a trip to the range.
2. Concrete Slab Bench
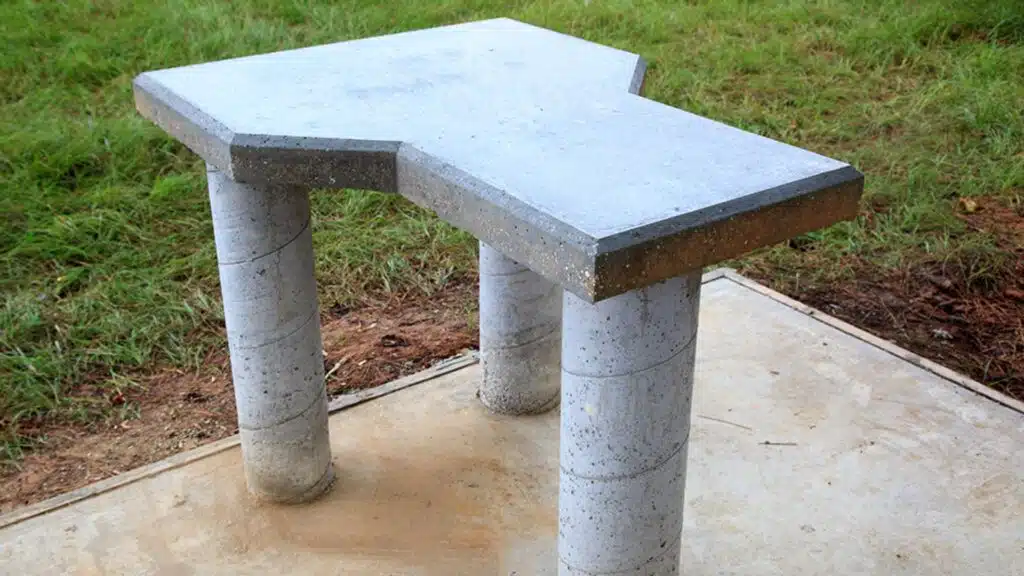
This bench sits on a concrete foundation that you pour into the ground. Once it’s set, the thing won’t budge or wobble no matter what.
It’s built to stay put and handle weather year after year, making it a good choice if you have a permanent shooting spot.
3. Swivel-Seat Bench
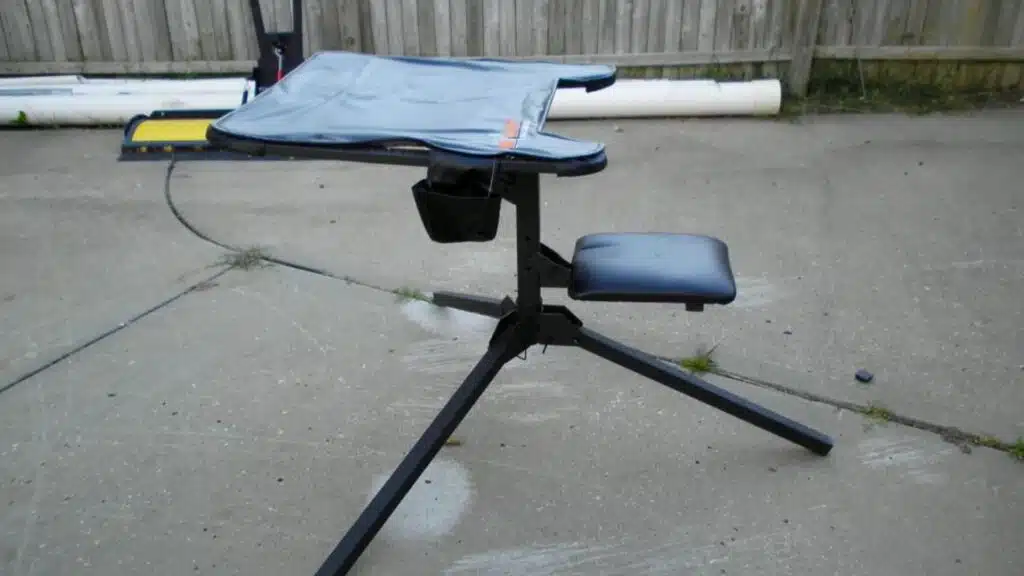
The seat spins around while the table stays put. You can turn left or right to line up different shots without getting up or moving the whole bench.
It works well when you’re shooting at multiple targets or just want to change positions without losing your setup.
4. Tripod-Leg Bench
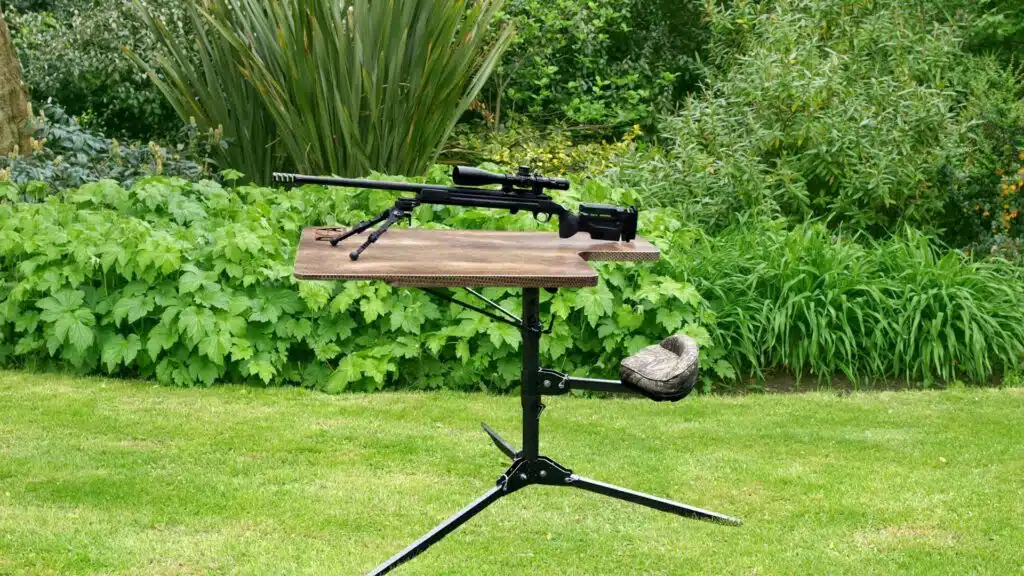
Uses three legs instead of four, which means it sits steady on bumpy ground. You know how a three-legged stool never rocks? Same idea here.
It finds its balance automatically, even on slopes where other benches would tip or feel shaky when you’re trying to shoot.
5. Covered Bench With Roof
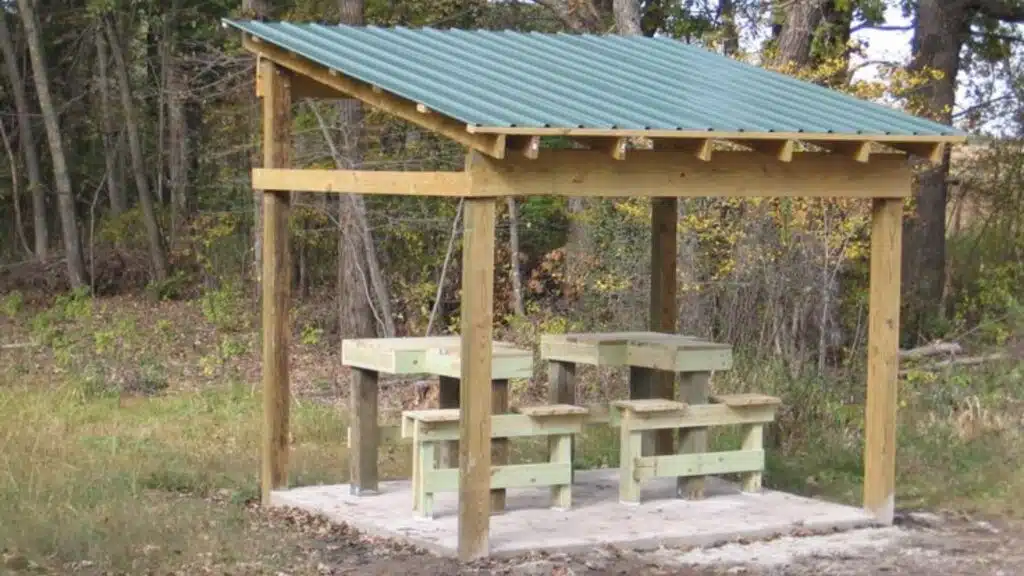
Has a roof built right over the shooting area. The cover keeps sun out of your eyes and protects you from light rain or stuff falling from trees.
It’s like having your own little shelter at the range, which beats sitting in the open when the weather isn’t cooperating.
6. Bench With Gear Storage Shelf
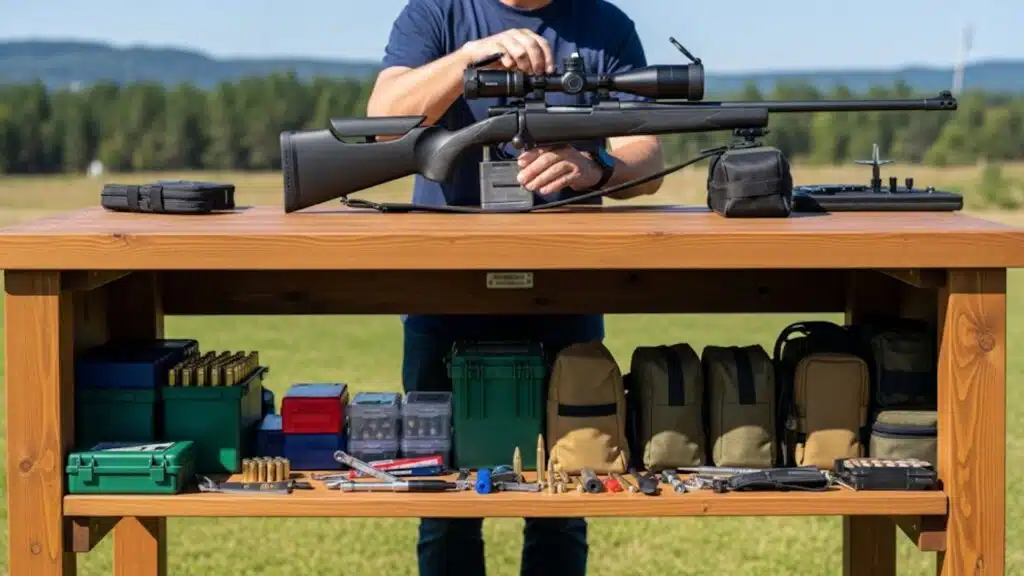
Has a shelf underneath the table where you can keep your stuff. Your ammo, tools, and shooting bags have their own spot instead of cluttering up the top.
Everything stays organized and within reach, but it’s not in your way when you’re actually shooting.
7. Wheel-Mounted Shooting Bench
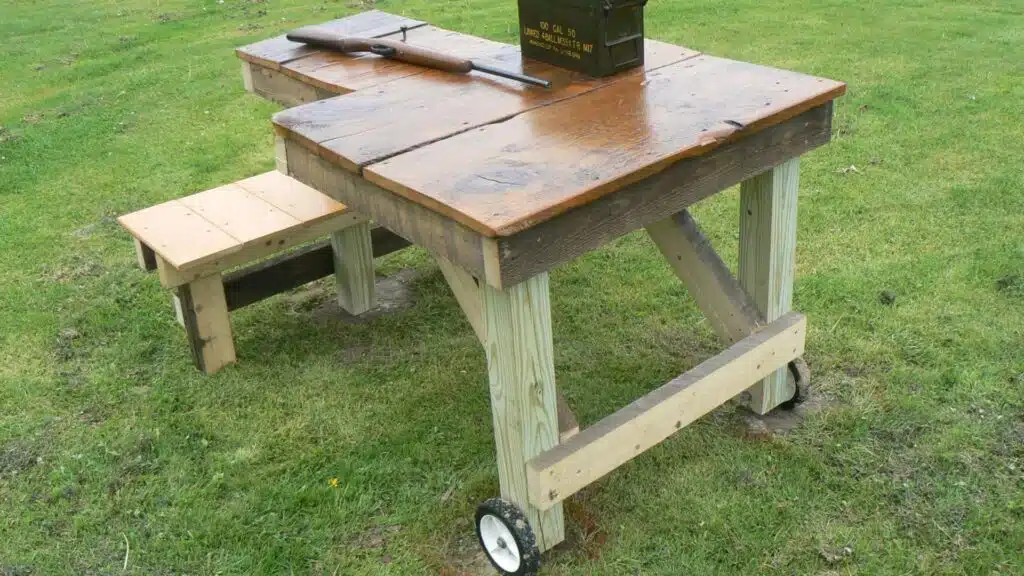
Has wheels on one end like a wheelbarrow. When you want to move it, just tip it up and roll it where you need to go.
No lifting or dragging required, and it works on grass, gravel, or pavement without much effort on your part.
Caring for Your Shooting Bench to Last Longer
A good shooting bench costs money, so you want it to last. Here are some easy ways to keep yours in good shape:
- Keep your bench dry and clean after each use to prevent rust and rot.
- Store it in a garage or shed when possible to protect it from harsh weather.
- Check bolts and screws regularly and tighten or replace them when they get loose.
- Sand down rough spots and apply fresh stain or paint every year or two.
These simple steps don’t take much time but make a big difference. Your bench will stay sturdy and look good for many years of shooting.
Safety Tips When Using a Shooting Bench
Safety comes first when you’re using any shooting bench, if you built it or bought it. These basic rules will keep you and everyone around you safe:
- Protect Your Hearing: Always wear ear protection when using your bench, since repeated gunfire can cause long-term hearing damage.
- Use Eye Protection: Shooting produces debris, gases, and recoil. Wearing safety glasses prevents small fragments from injuring your eyes.
- Keep Clear Zones: Make sure no one is standing near the muzzle or target line when you begin shooting at the bench.
- Secure Firearms Properly: Place guns flat on the bench with actions open when not in use, so everyone sees they’re safe.
- Store Ammunition Separately: Keep extra ammo off the bench until needed. This avoids confusion and helps prevent accidental loading mistakes.
Following these simple safety steps becomes second nature after a while. Good habits at the bench make shooting more enjoyable for everyone involved.
Final Words
Building a DIY shooting bench is easier than most people think. You can create a sturdy, reliable bench with basic tools and materials from any hardware store.
The step-by-step instructions walk you through everything, and you don’t need years of woodworking experience to get good results. If the basic design doesn’t fit your needs, try one of the other ideas like the folding top or wheel-mounted version.
Each design solves different problems, so pick what works best for your situation. Your DIY shooting bench will feel great and save you hundreds compared to buying one ready-made.
You’ll have something that lasts for years and fits your shooting style perfectly. Ready to start your project? Comment below and let me know which design caught your eye!


