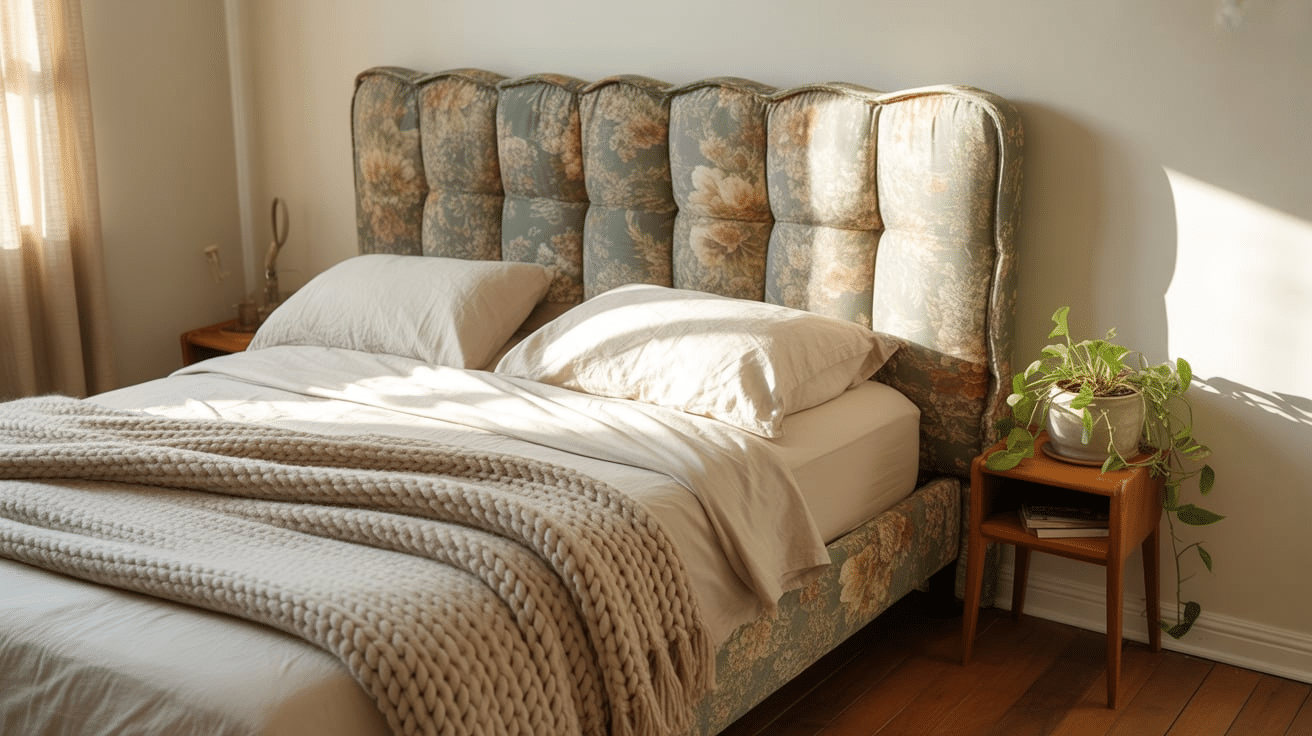
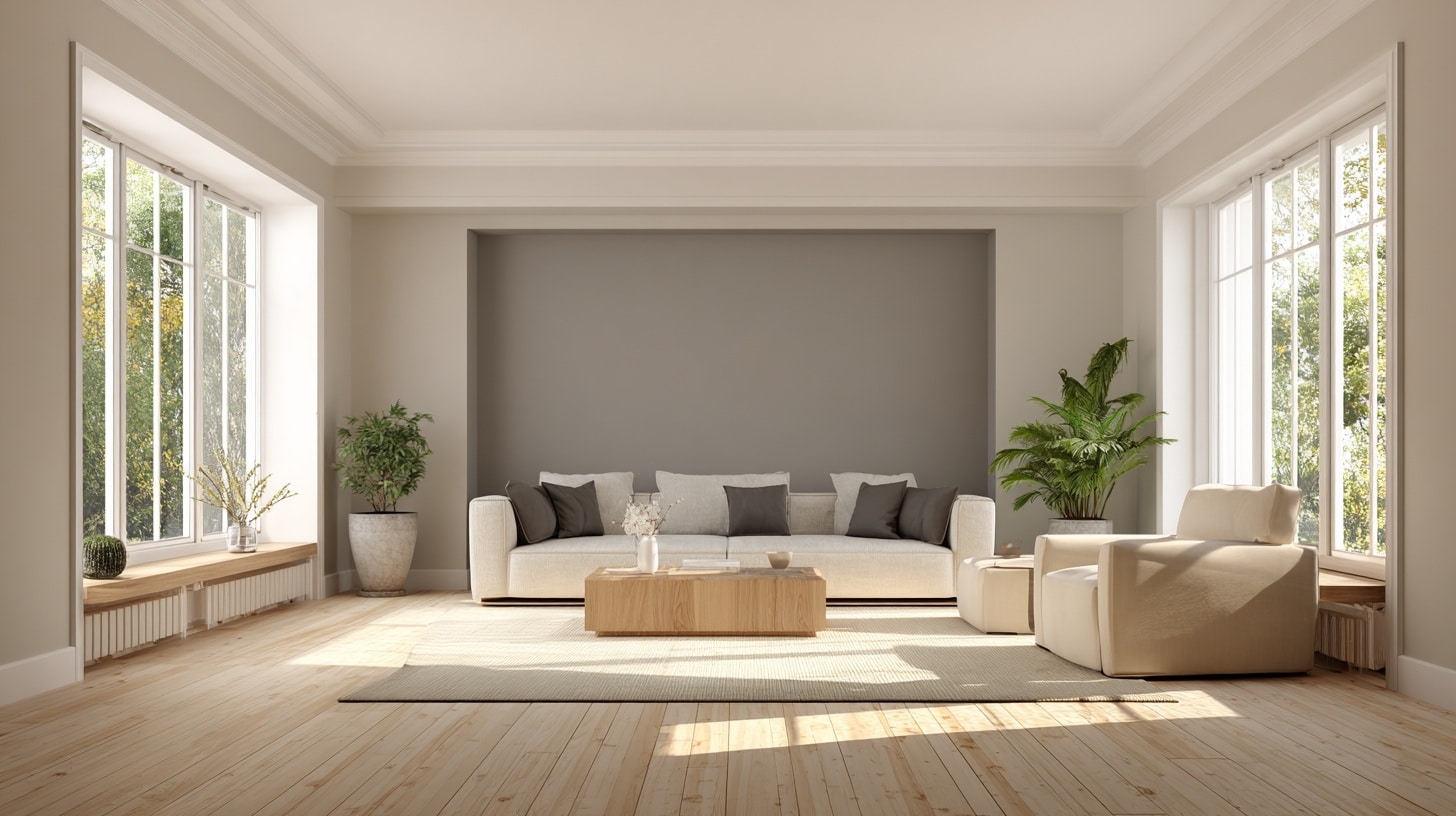
I’ve always loved how a fabric headboard can make a bedroom feel softer and more inviting. The best part? You can build it yourself without spending a fortune.
A DIY upholstered headboard lets you choose your own fabric, shape, and finish so it fits your space perfectly.
In this guide, I’ll show you how to plan your design, build the base, wrap it neatly with fabric, and mount it securely.
You’ll also find creative ideas to personalize your headboard, from unique fabrics to custom shapes and textures. By the end, you’ll have a project that adds comfort, color, and your personal touch to the room.
Why Make Your Own DIY Upholstered Headboard?
- Cost Savings: Buying an upholstered headboard from a store can be pricey. When you make it yourself, you only pay for the materials. You can often finish a custom headboard for half the price of a store-bought one, and you’ll end up with something better suited to your room.
- Custom Fit & Style: You get to decide the shape, size, and fabric. Want it wide and dramatic or low and minimal? It’s completely up to you. This way, you can match your bed frame, wall color, or bedding perfectly.
- Fun Project & Personal Touch: There’s something satisfying about building something with your own hands.
You’ll get to use basic tools, experiment with fabrics, and end up with a piece you’ll be proud of every time you walk into your room.
Planning Your DIY Fabric Headboard
Before you start cutting or stapling, take a few minutes to plan your design. This step makes everything smoother and helps you avoid small mistakes later.
- Measure your bed and wall space: Check your mattress width and add a few inches if you want the headboard to extend slightly past it. Decide how tall it should sit above the mattress and make sure there’s enough space for pillows or decor.
- Choose your shape and design: Go with a rectangle for a simple, classic look, or pick an arch or scallop for something softer. If you like texture, try vertical channels or button tufting.
- Select fabric, foam, and batting: Use medium- to heavy-weight upholstery fabric for strength. Choose foam that’s one to two inches thick and add a layer of batting for softness and smooth edges.
- Decide how you’ll mount it: Wall mounting with a French cleat gives a taller, built-in look, while attaching it directly to your bed frame makes it easier to move.
Once your plan is in place, you’re ready to gather tools and materials for your DIY upholstered headboard.
How to Build Your DIY Upholstered Headboard?
Now that you’ve planned your design and chosen your materials, it’s time to bring your project to life.
In this section, you’ll learn exactly how to make a headboard, from building the base and adding foam to wrapping it with fabric and mounting it securely.
Each step is simple, practical, and easy to follow, even if it’s your first DIY project.
Materials & Tools You’ll Need
- Plywood or MDF board
- 2×4 wood pieces
- 2″ upholstery foam
- Batting or padding
- Upholstery fabric
- Staple gun and staples
- Spray adhesive
- Scissors or a serrated knife
- Decorative nailheads (optional)
- French cleat for mounting
Step 1: Build the Base
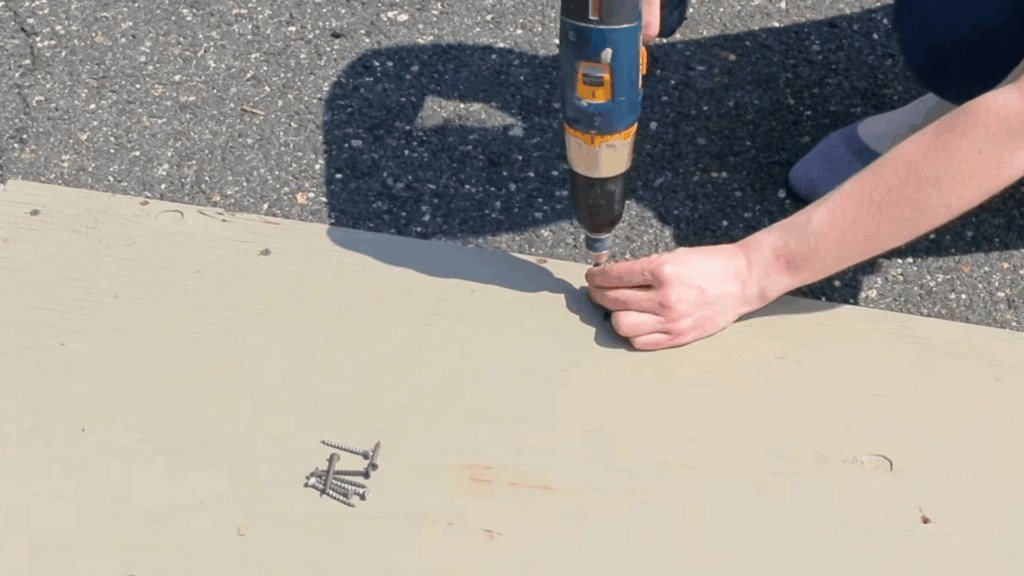
Cut a sheet of plywood to your chosen size; around 61″ × 30″ works for a queen bed. Attach one long 2×4 across the top and two shorter ones along the sides.
Screw everything in from the back to form a sturdy frame. Check that all corners are flush and even so that the foam fits cleanly later.
Step 2: Add Foam
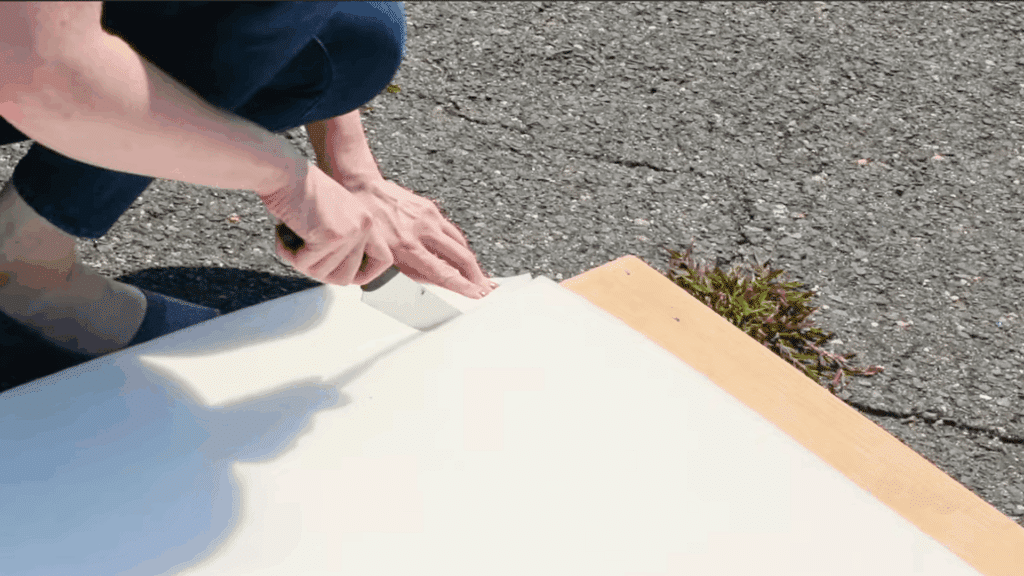
Cut 2″ of upholstery foam to fit snugly inside the wooden frame using a serrated knife. Apply spray adhesive safe for foam, then press the foam firmly onto the board.
Let it dry for a few minutes before adding the next layer. This gives the headboard its padded shape and comfort.
Step 3: Wrap with Padding
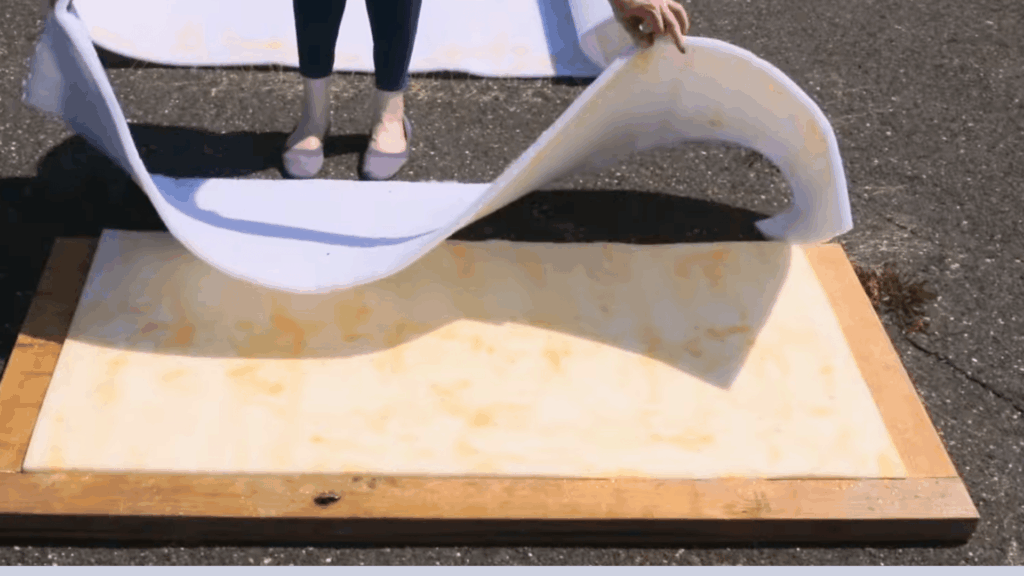
Lay batting or padding over the foam, making sure it covers the edges and wraps to the back. Staple the center of each side first, then move toward the corners while keeping the surface smooth.
Trim any extra batting for neat edges. Add a second layer if you want a softer or fuller look.
Step 4: Upholster with Fabric
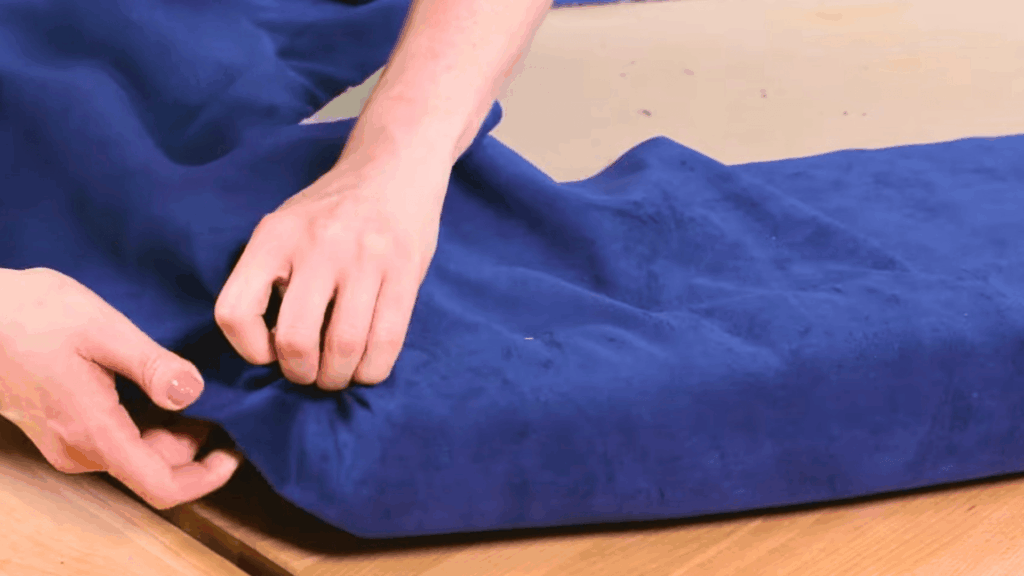
Lay your fabric face down and center the padded board on top. Start stapling from the middle of each side, pulling the fabric tight as you go.
Work outward toward the corners, keeping the fabric even. Fold each corner neatly before stapling for a clean, professional finish. Trim extra fabric from the back once you’re done.
Step 5: Add Nailhead Trim (Optional)
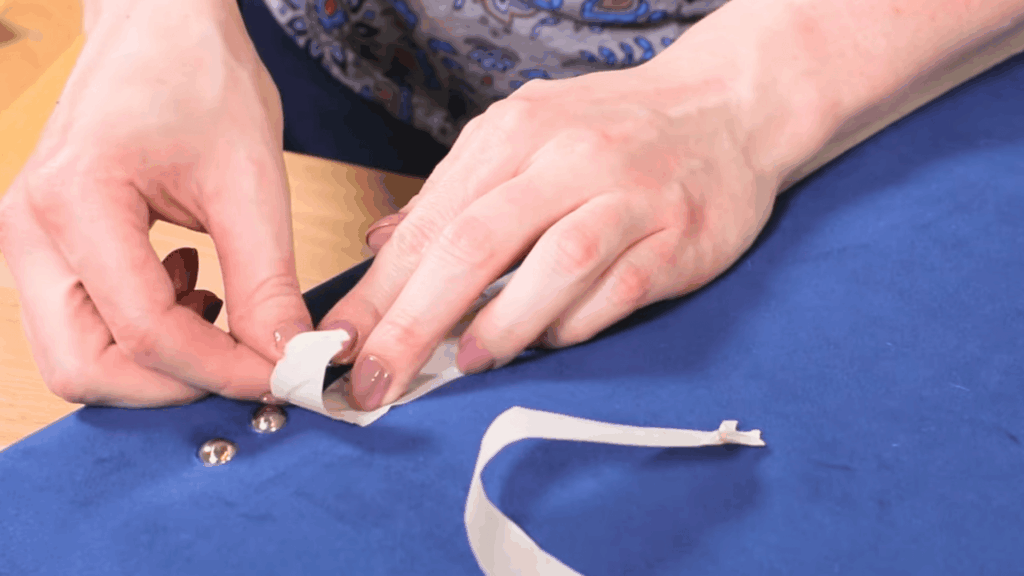
Measure two inches in from the edge and place masking tape as a guide. Mark even spacing about ¾” apart and hammer in each nail gently with a rubber mallet.
Peel the tape back as you go to reveal a straight line. Adjust any crooked nails by tapping lightly from the side. This step gives your headboard a classic, finished look.
Step 6: Mount the Headboard
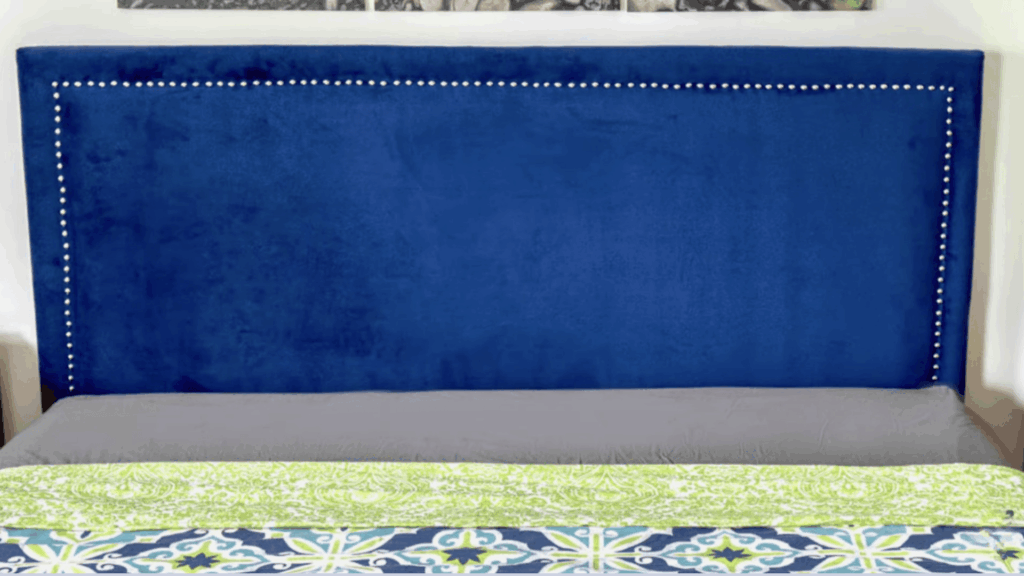
Attach one side of a French cleat to the back of the headboard, right over the padding and fabric. Secure the other half of the cleat into the wall studs so it can hold the weight.
Slide the headboard down onto the wall cleat until it locks in place. Stand back and make sure it’s centered and level above your bed.
For a more overview, watch the video by OnlineFabricStore
Creative Ideas to Customize Your Fabric Headboard
1. Pick a Fabric That Sets the Mood
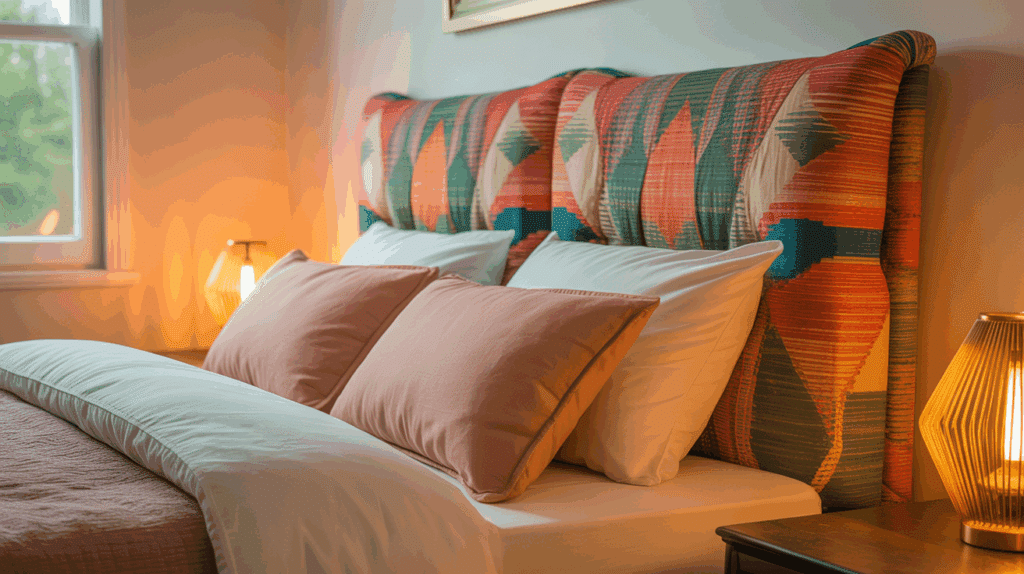
Choose bright, patterned fabric if you want your headboard to stand out. Go with soft, solid tones for a calm, relaxed feel that blends with your bedding and walls.
Think about how the color and texture will look in daylight versus evening light; it can completely change the mood of your room.
2. Play With Texture and Details
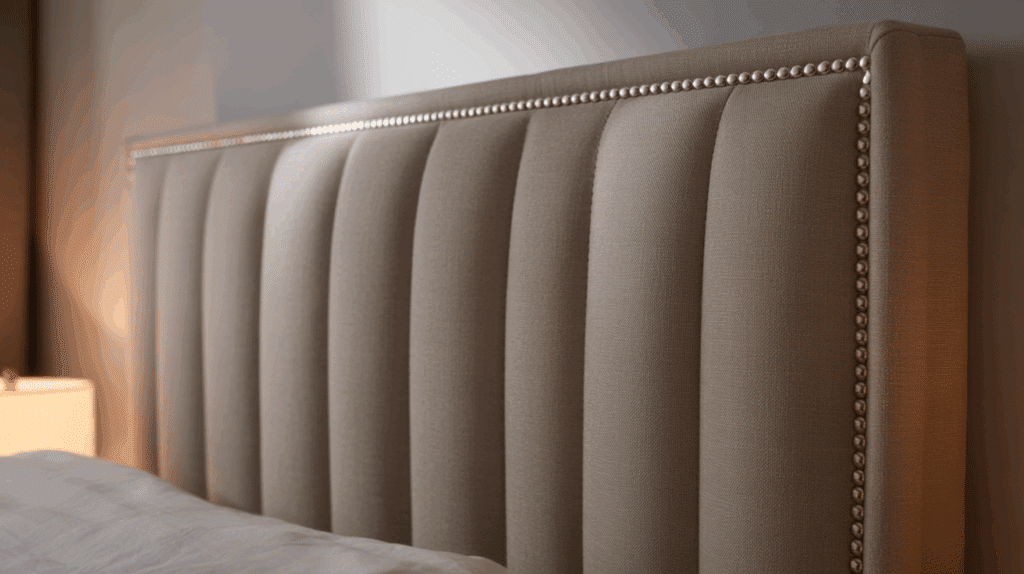
Add visual interest with channel stitching, button tufting, or a smooth flat surface. You can also use trim or nailheads around the edges for a neat, finished touch.
Even small details like piping or stitched seams can give your headboard a more custom, high-quality look.
3. Change the Height for Impact
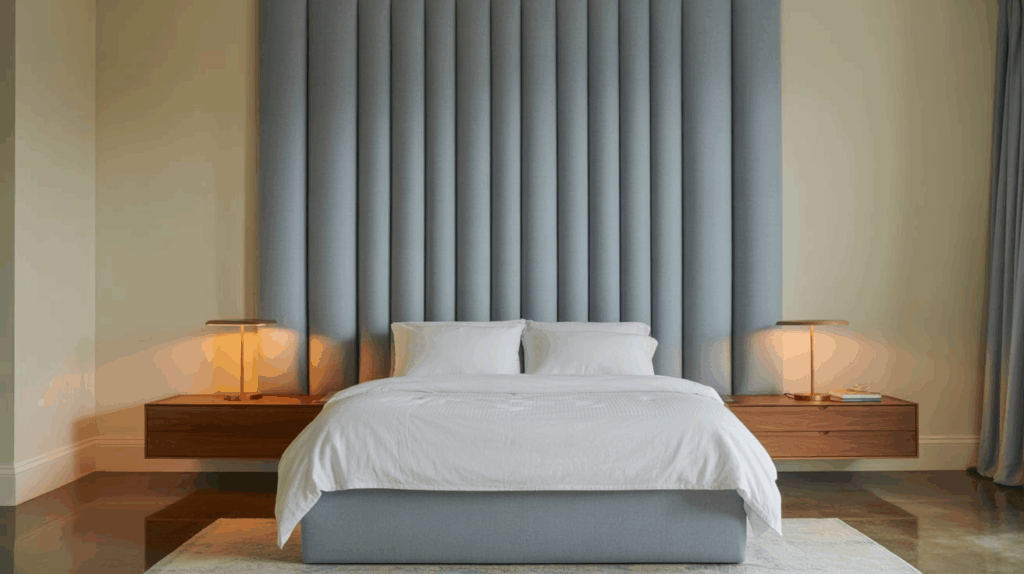
A taller headboard creates a bold statement behind your bed. Keeping it shorter gives a cozy, laid-back feel, perfect for smaller or minimalist rooms.
Adjusting the height is an easy way to balance the proportions of your bed and make the whole setup look intentional.
4. Get Creative on a Budget
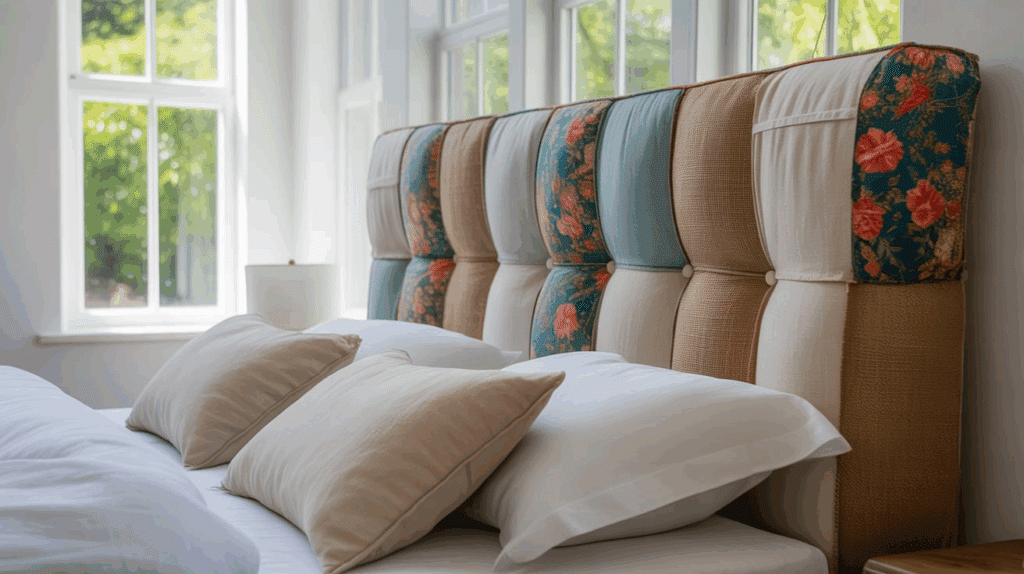
Repurpose old curtains, leftover upholstery fabric, or thrift-store finds. It’s an easy way to save money while adding character and personality to your project.
You can even mix fabrics, for example, use a patterned center with solid sides, for a one-of-a-kind design.
5. Make It Match Your Room
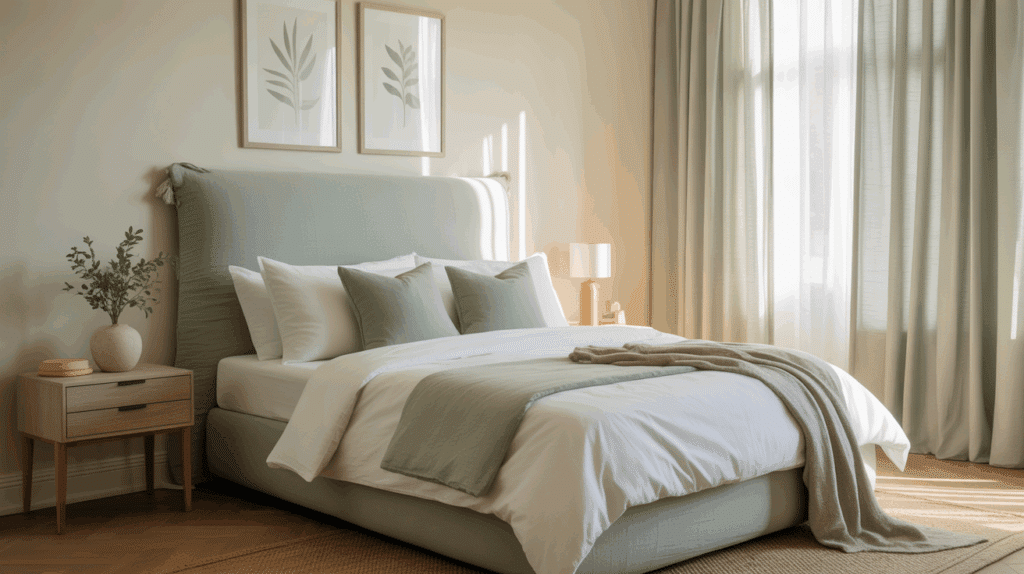
No matter what you choose, make sure it reflects your taste and fits the rest of your space. The right fabric, height, and texture will pull your whole room together.
Add small decor touches, like matching throw pillows or wall art, to tie the look together and make the space feel complete.
Care & Maintenance of Your Upholstered Headboard
With a little care, your headboard will stay fresh and last for years. Follow these simple tips:
- Vacuum regularly: Use a soft brush attachment once a month to remove dust and lint. It helps keep the fabric clean and vibrant.
- Clean stains gently: For small spots, use mild soap and warm water on a soft cloth. Dab carefully instead of rubbing to avoid damaging the fabric.
- Protect from sunlight: Keep your headboard out of direct sunlight to prevent the fabric from fading or weakening over time.
- Check hardware yearly: Tighten screws, brackets, or wall mounts once a year to make sure everything stays secure and sturdy.
A little maintenance goes a long way in keeping your upholstered headboard looking clean, fresh, and well-made.
Wrapping Up
Building a DIY upholstered headboard is one of those projects that’s easier than it looks and instantly changes your space.
You’ve learned how to plan, build, and style your own design, from picking the right materials to adding small creative touches that make it feel personal.
I hope this guide helps you feel ready to get started and confident in your plan. Take your time, enjoy the process, and have fun with the design choices.
If you liked this project, check out more of my DIY ideas and home guides for simple ways to make your space feel more comfortable and uniquely yours.

