Painting unfinished cabinets gives you the chance to control the look and quality from the very beginning.
You’re working with raw wood, so every step you take has a direct impact on how smooth and durable the finish becomes.
This guide breaks down the full process in a simple way, showing you what to prepare, how to build a strong base, and how to get a clean, even finish without guesswork.
You’ll also learn how to keep the surface looking good long after the project is done.
What You Need to Know Before Painting Unfinished Cabinets
Let’s go over a few basics before you start. This way, you know what to expect and you can avoid simple mistakes.
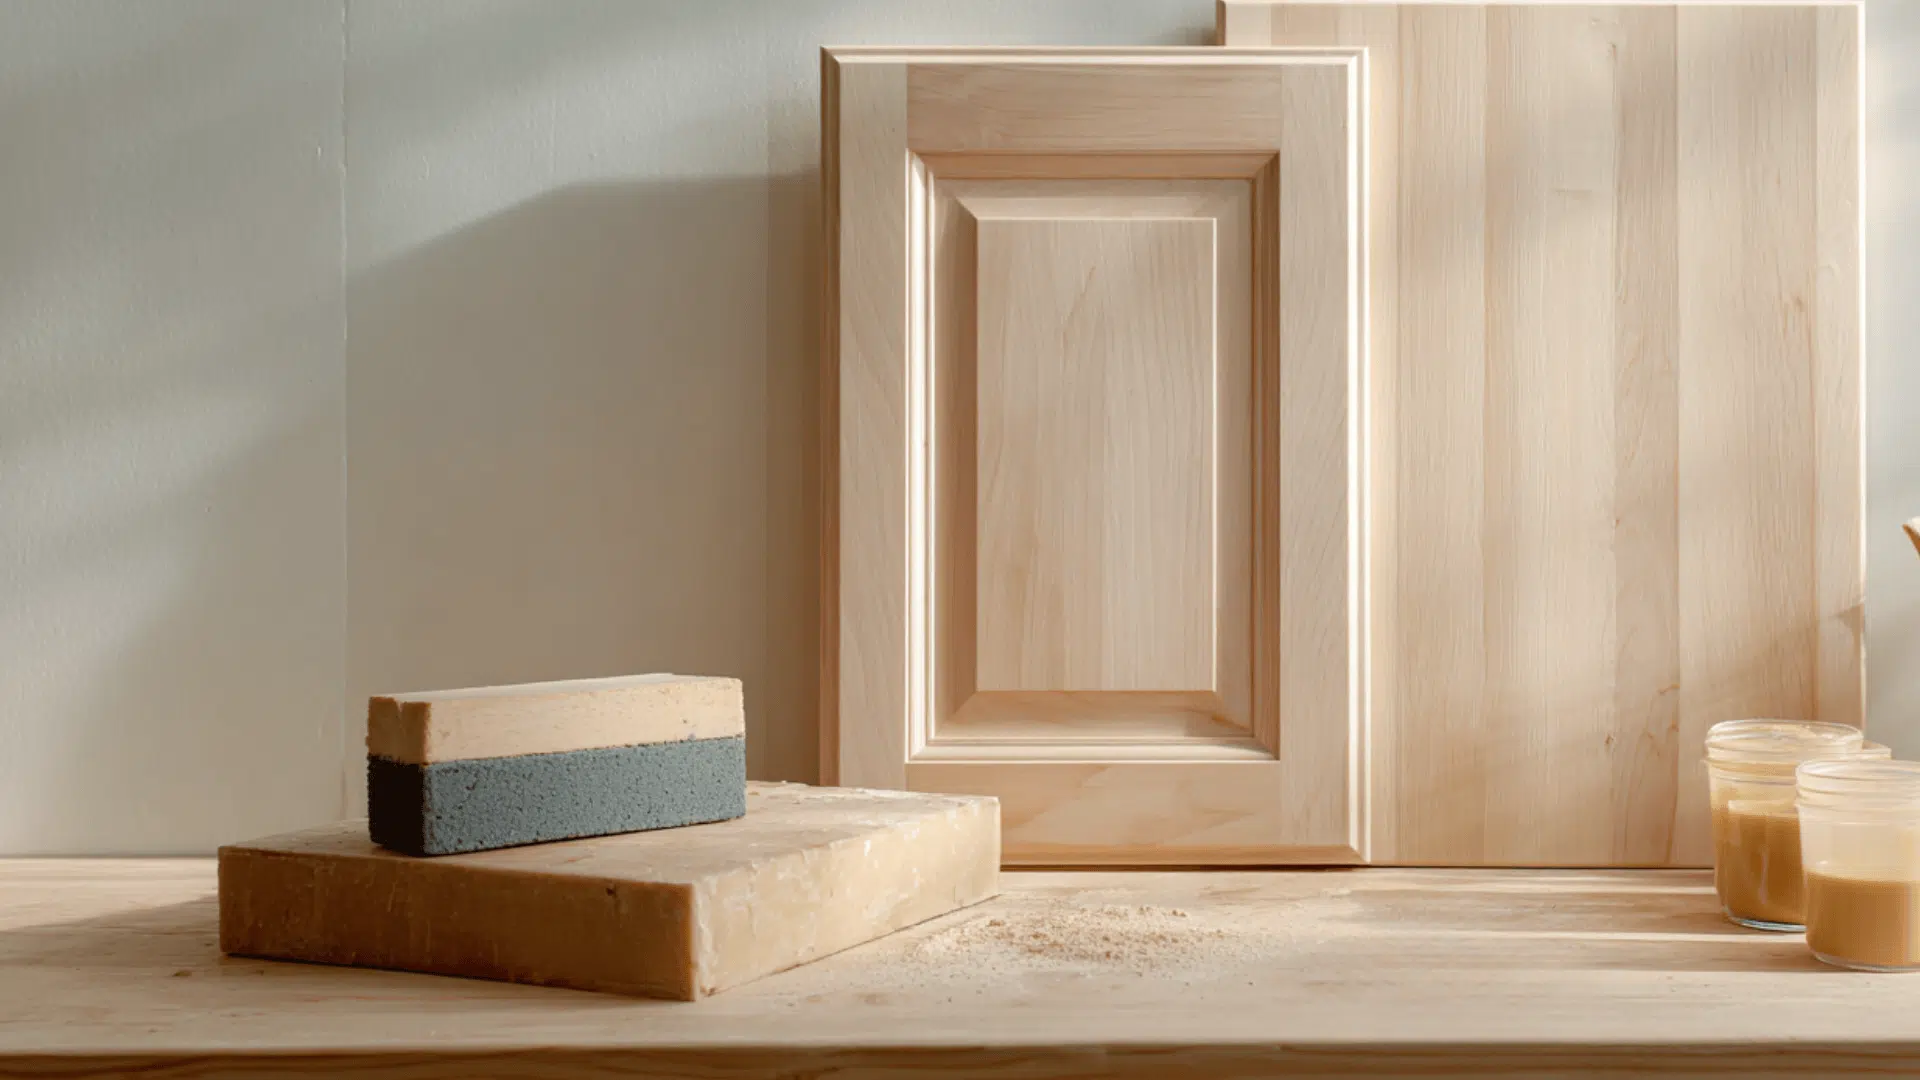
You can paint unfinished wood. It’s actually easier than painting old cabinets because you don’t have to strip anything. You’re starting with clean wood, so you have more control over how the finish turns out.
You’ll want to sand the cabinets before you do anything else. I’ve seen raw wood look smooth but still feel rough once the paint hits it. A quick sanding helps the primer stick and gives you a nicer finish.
Primer is important too. It seals the wood and stops the grain from showing through. From what I’ve seen, skipping primer always leads to problems later, like uneven color or peeling.
With the right prep, you can expect a smooth, strong finish. When you sand lightly between coats, the surface starts to look cleaner with each step. It won’t look perfect right away, but the final coat pulls everything together.
How to Paint Unfinished Cabinets: Step-by-Step DIY Guide
This guide walks you through each step so you can paint unfinished cabinets with a smooth, durable finish. Follow the process in order, and you’ll get clean, consistent results from start to finish.
Tools and Materials You’ll Need
- Sanding sealer
- Cup hooks
- Drill/driver
- Steel wool pad
- Extra-fine sanding block (around 220 grit or finer)
- Paint sprayer (like a Critter-style sprayer)
- Paint for the cabinets
- Wood filler
- Polycrylic clear finish (satin, semi-gloss, or gloss)
- Clean rags
- Mask or respirator
Step 1: Prepare Your Doors and Workspace

Remove all cabinet doors and label them so you know where they go later. Add small cup hooks to the top edges of wall doors and the bottom edges of base doors in spots that won’t show when the doors are back in place. Hang or support the doors so you can reach every side without touching wet paint.
Make sure your workspace is clean, dry, and well-ventilated. Reduce dust as much as possible. Any dust in the air can settle on wet paint and affect the finish.
Step 2: Spray the Sanding Sealer on Bare Wood

Pour sanding sealer into your sprayer. Set the pressure just under 30 PSI to start. Adjust the pressure if the spray looks too heavy or too light.
Spray the cabinet doors, edges, and frames using smooth, overlapping passes. Aim for even coverage rather than a thick coat. Make sure the sealer reaches corners and grooves. Let the first coat dry fully. If you want a smoother base, apply a second coat after the first one dries.
Step 3: Smooth the Sealer Coat

When the sealer dries, the wood may feel slightly rough. Use a steel wool pad to rub the surface lightly. The goal is to remove raised fibers without cutting through the sealer.
If any areas still feel rough, use an extra-fine sanding block or 220-grit paper for a quick pass. Do not sand in one spot for too long. When everything feels smooth, wipe dust away with a clean, dry rag.
Step 4: Apply the First Two Coats of Paint

Load your cabinet paint into the sprayer. Set the pressure to around 30 PSI. Test the spray on a scrap piece to confirm an even pattern.
Spray the doors and cabinet faces with steady, even passes. Keep the sprayer at the same distance from the surface. Apply a light to medium first coat. Let it dry. Apply a second coat in the same way and allow it to dry completely.
Step 5: Sand Between Coats and Fix Imperfections

After the paint dries, sand the surface lightly. Use steel wool first to smooth any texture. Use an extra-fine sanding block only on small bumps or uneven spots.
Wipe away all dust. Check for dents, cracks, or gaps. Fill larger spots with wood filler and let it dry. Sand filled areas with 220 grit until smooth and level. Wipe away dust again. When the surface feels even, spray a third coat of paint and let it dry.
Step 6: Seal With Polycrylic for a Durable Finish

Pour polycrylic into your sprayer. Start at 20 PSI because it is thinner than paint. Adjust if needed, often ending near 30 PSI for a fine mist. Test the spray on scrap to confirm a smooth pattern.
Spray a light, even coat over all doors, edges, and cabinet frames. Let it dry fully. Apply a second coat for better protection and an even sheen. After the finish dries and cures as directed, reinstall your doors and hardware.
Quick DIY Video Tutorial for Painting Unfinished Cabinets
For a more detailed walkthrough of the whole process, check out this video tutorial below:
Common Mistakes to Avoid when Painting Unfinished Cabinets
- Sanding Too Hard: Heavy pressure can cut through the sanding sealer or the paint. Light, controlled sanding keeps the surface smooth without causing damage.
- Skipping a Second Sealer Coat: Some areas need two coats of sanding sealer for a smoother base. One coat may not level the wood enough for a clean finish.
- Rushing Wood Filler: Deep gaps often need more than one round of filler and sanding. Moving too fast can leave dents that show through the final paint.
- Skipping the Topcoat: Leaving out the polycrylic layer makes the paint easier to scratch or wear down. A topcoat is necessary for long-term durability.
Take a moment to avoid these mistakes. Small adjustments during the process make a big difference in how your cabinets look and hold up.
Should You Seal Painted Cabinets? (And When It Matters)
A clear topcoat can help your cabinets last longer, but you don’t always need one. Here’s how to know when to use it and when it’s okay to skip it:
When to Add Polyurethane or Polycrylic
You’ll want a topcoat if your cabinets will get a lot of daily use. Kitchens, bathrooms, and high-traffic areas benefit from the extra protection.
A topcoat also helps when you want a smooth, wipeable surface that holds up to moisture, fingerprints, and cleaning.
When to Skip a Topcoat
You can skip a topcoat if you’re using a hard-drying cabinet paint that already cures to a strong finish.
Some waterborne alkyd paints don’t need an extra layer. It’s also fine to skip it on cabinets that see light use or in areas where scratches and wear are less likely.
Best Topcoats to Use
Polycrylic is a good choice if you want a clear finish that won’t yellow over time. It’s easy to apply and works well over light colors.
Polyurethane is stronger but can yellow, so it’s better for darker colors or wood tones. Choose the one that matches your paint and the look you want.
Troubleshooting Guide (Fix Common Painting Problems)
Small issues can show up even when you follow every step. Here are some quick fixes for the most common cabinet painting problems:
| Problem | How to Fix It |
|---|---|
| Brush Marks | Sand lightly with extra-fine sandpaper or steel wool, then apply a thin, even coat of paint. |
| Drips | Sand the drip flat once dry, wipe away dust, and reapply a light coat over the area. |
| Grain Raising | Sand the raised fibers smooth and add another thin coat of primer or paint if needed. |
| Uneven Color | Apply an additional coat of paint to even out the surface, making sure each layer dries fully. |
| Knots Bleeding Through Primer | Spot-prime the knots with a stain-blocking primer, then repaint the area. |
Wrapping Up
Painting unfinished cabinets is a project you can handle with steady steps and a clear plan. When you take your time with prep, use thin coats, and let each layer dry, the finish becomes smoother and stronger.
Small details like sanding lightly, checking for flaws, and sealing the surface help your work last longer.
DIY also gives you more control over the final look, which makes the process feel easier and more predictable.
Use this guide as your checklist and move through each stage with confidence. Take the first step today and begin your project.