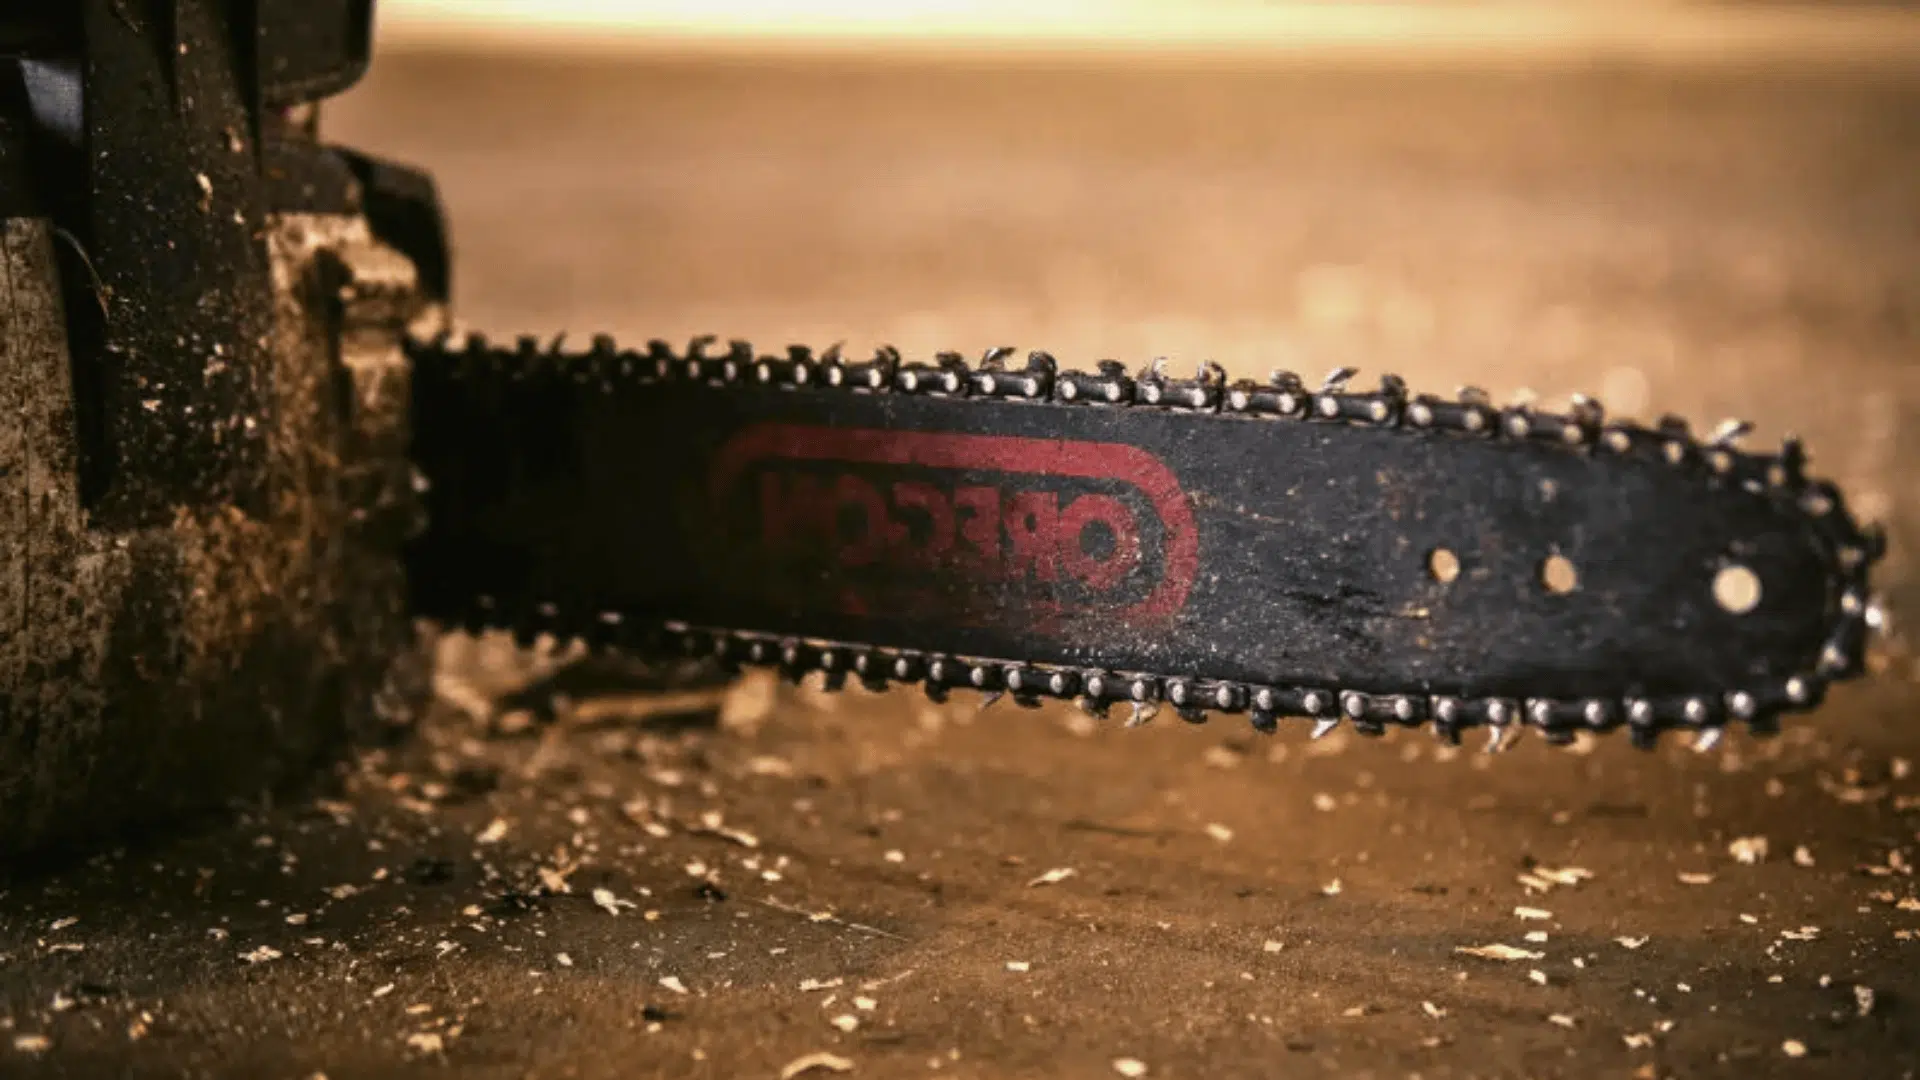
I know the hassle of running a saw that just won’t cut the way it should. A dull chain leaves dust, slows your progress, and makes simple jobs feel twice as hard.
A sharp saw is safer, easier, and keeps your motor from working too hard. That’s why learning how to sharpen a chainsaw is one of the most useful skills you can have. Whether you call it learning to sharpen a chainsaw blade or to sharpen a chainsaw chain, the process is the same.
Here, I’ll walk you through the tools, steps, and tips that make sharpening simple. You’ll see when your chain needs attention, how to handle it with confidence, and how to keep it ready for the next cut.
When Your Chainsaw Needs Sharpening
A sharpened chainsaw blade will let you know when it’s getting dull. Watch for these signs:
- You need to push hard instead of letting the saw cut on its own
- Fine dust comes out instead of larger wood chips
- Smoke appears while cutting clean wood
- Cuts turn out crooked or uneven
- The saw vibrates more than usual
- The chain pulls to one side during cuts
A sharp chain should glide through wood with little effort. Sharp teeth grab firmly and throw out solid chips, not powder.
Sharpening Schedule
Keeping your chain in good shape means knowing when to sharpen a chainsaw blade or touch up the chainsaw chain so it keeps cutting smoothly.
| Chainsaw Type | Sharpening Frequency | Usage Guidelines |
|---|---|---|
| Gas Models | Every fuel tank refill | Touch up after each tank |
| Electric Models | Every 5-10 hours | Track your cutting time |
| Heavy Use | More frequent | Dirty wood dulls faster |
| Light Use | As needed | Clean wood is easier on chains |
Gas chainsaws work best when you touch up the chain each time you fill the tank. This keeps the teeth in good shape without major work sessions.
Electric models need attention after 5 to 10 hours of use. Keep track of your cutting time to stay on schedule.
Step-by-Step Chainsaw Blade Sharpening Process
Sharpening a chainsaw blade may look tricky at first, but breaking it into simple steps makes it manageable.
Tools and Materials Required
- Round file sized for your chain
- File guide for holding the correct angle
- Flat file and depth gauge tool
- Safety gloves and eye protection
- Marker or lumber crayon
Optional: Rotary tool or bench-mounted sharpener for faster work
Step 1: Secure the Saw
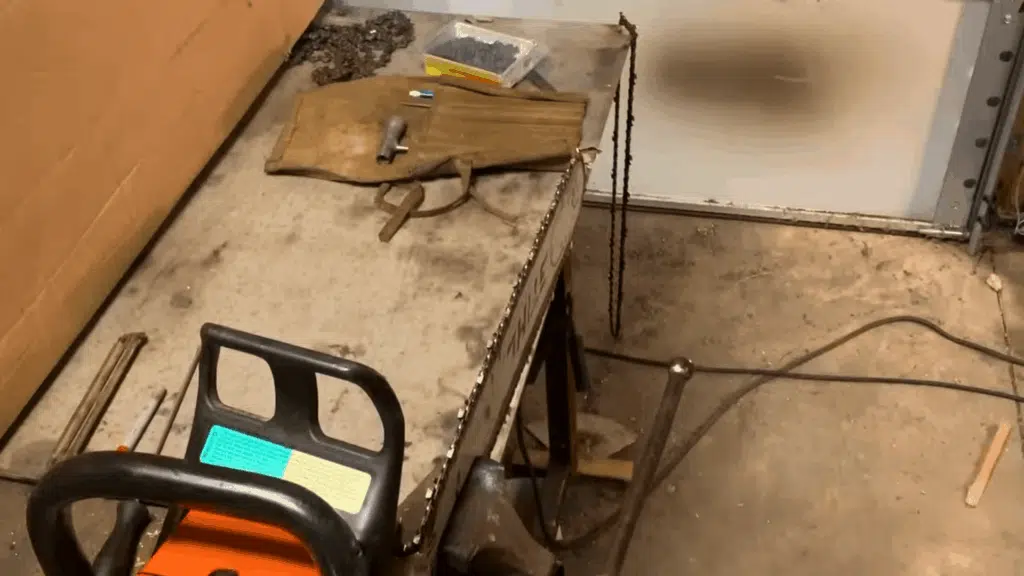
Start by making sure your chainsaw is turned off and disconnected from power. For gas models, let the engine cool before working.
Engage the chain brake, then secure the bar in a vise or clamp it firmly on a stable surface. A solid setup keeps the saw steady and makes it easier to hold the file at the correct angle.
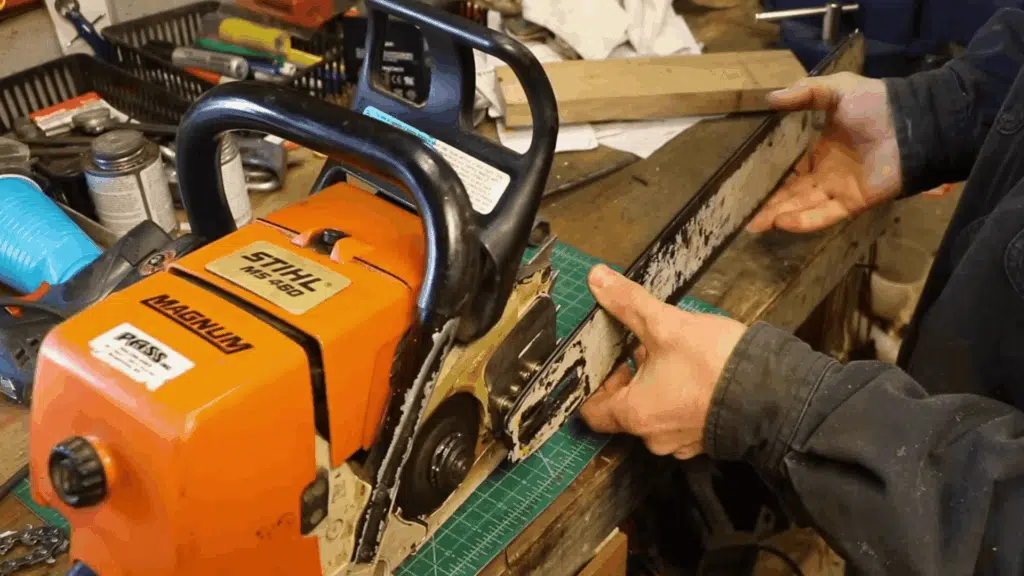
Step 2: Clean and Mark the Chain
Brush away sawdust, oil, and debris from the chain and guide bar. Use a marker to highlight the shortest cutter tooth; this will be your reference point as you work around the chain.
Marking helps you avoid sharpening the same cutter twice and ensures all teeth are filed to a consistent length.
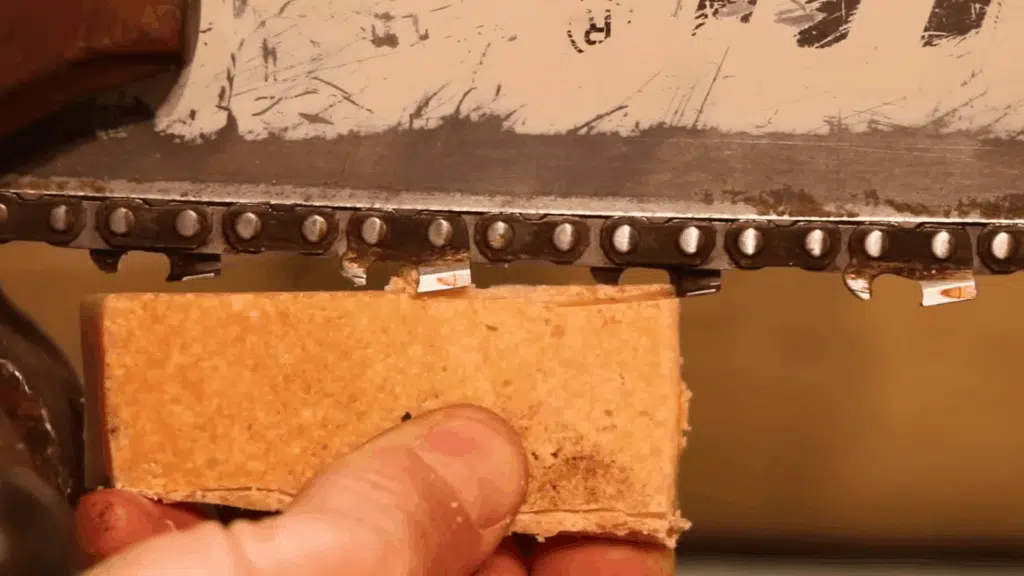
Step 3: File the Cutters

Insert the round file into the cutter, aligning it with the angle mark on the tooth. Push the file forward in smooth strokes, applying light pressure only on the forward motion.
Work on every other tooth along one side of the chain before switching sides. Keeping your strokes even and consistent helps the saw cut smoothly without drifting.
Step 4: Match Cutter Lengths and Set Rakers
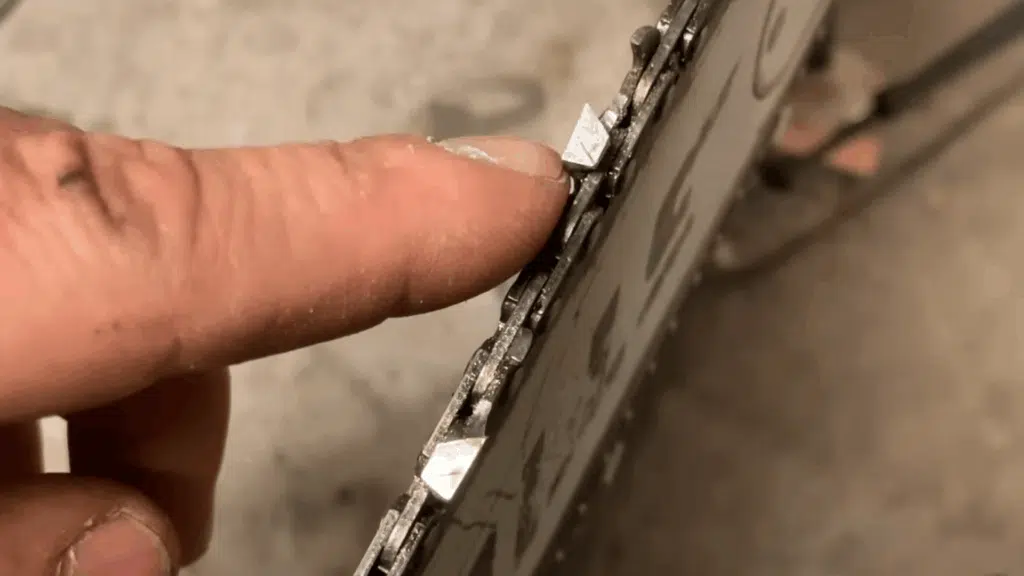
After sharpening, compare each tooth to the shortest cutter you marked earlier. File down any longer teeth until they match.
Next, check the rakers with a depth gauge tool. If a raker rises above the guide, lower it slightly with a flat file. Properly set rakers ensure the teeth bite into wood cleanly and produce solid chips instead of fine dust.
Step 5: Finish with Maintenance Checks
Before putting the saw away, run a flat file lightly along the bar edges to remove burrs that can catch fibers. Rotate the bar regularly to keep wear even on both sides.
Clear the oiling holes to maintain proper lubrication, and finally check the chain tension. A well-tensioned chain should snap back into place without sagging.
For more information, check out this video tutorial by FarmCraft101
Power Tool Alternatives
Not everyone wants to rely on a hand file every time the chain gets dull. Power tools can make sharpening quicker and easier, especially if you use your saw often.
The three most common options are listed below with their advantages and precautions:
| Method | Best For | Key Advantage | Main Precaution |
|---|---|---|---|
| Rotary Tool | Quick touch-ups | Consistent angles with less effort | Avoid overheating teeth |
| Bench-Mounted Sharpener | Multiple chains | Most precise and repeatable | Can remove too much metal |
| Electric Handheld Sharpener | Field work | Portable and faster than hand filing | Can wear teeth quickly if misused |
Each method has its place. Rotary tools are ideal for quick touch-ups, bench-mounted sharpeners suit heavy users with multiple chains, and handheld electrics balance speed with portability.
Post Sharpening Maintenance
Taking a few extra steps once the chain is sharp helps your saw stay reliable and safe to use.
- Clean sawdust and oil from the bar groove to prevent binding
- Wipe the bar surface and clear the oil holes
- Test the chain by hand to ensure smooth movement
- Keep the chain well-lubricated to reduce wear on parts
- Flip the bar occasionally for even wear on both sides
- Recheck chain tension after sharpening, since it often loosens
- Inspect links regularly and replace worn drive links promptly
- Adjust tension so the chain snaps back when pulled, but still moves freely
When to Replace the Chain?
A chain won’t last forever, and knowing the signs of wear helps you decide when sharpening isn’t enough.
Warning Signs
Sharpening only works for so long before the chain must be replaced. If the cutting teeth have become too short to file, or you notice cracks or broken teeth, it’s time for a new chain.
A stretched chain that no longer holds tension is another clear sign. Worn drive links or multiple damaged sections also mean the chain can’t perform safely, even after sharpening.
Chain Life Extension
You can extend the life of your chain with a few simple habits. Stick to clean wood since dirt and sand quickly dull the teeth. Avoid rocks and hidden metal, which cause severe damage in a single cut.
Keep the chain tension set correctly, confirm that the lubrication system is working, and store chains in a dry, clean place. These steps reduce wear and keep your chain sharp for longer.
Troubleshooting Common Issues
- The Chain Cuts Crookedly: This usually happens when tooth lengths are uneven. Re-file the shorter teeth so they match the longest one.
- Poor Cutting Speed: Dull or damaged teeth slow the saw. Sharpen the entire chain thoroughly to restore cutting power.
- Excessive Vibration: Mixed tooth lengths cause the saw to chatter. File all teeth to the same size for smoother cuts.
- Chain Binds in Cut: High-depth gauges prevent cutters from biting properly. File the rakers down to the correct height.
Final Words
Learning how to sharpen a chainsaw isn’t complicated, and the payoff is worth it every time you cut. A chain that’s sharp saves effort, keeps your saw safe, and makes your projects go smoothly.
I’ve walked you through the steps, tools, and tips that help you get consistent results. With a little practice, sharpening becomes second nature, and your saw will always be ready when you need it.
Take a few minutes before each project to touch up the teeth. That small bit of care now will save you time, fuel, and frustration later.
If you found this useful, check out more of my posts for practical ideas and helpful guidance.