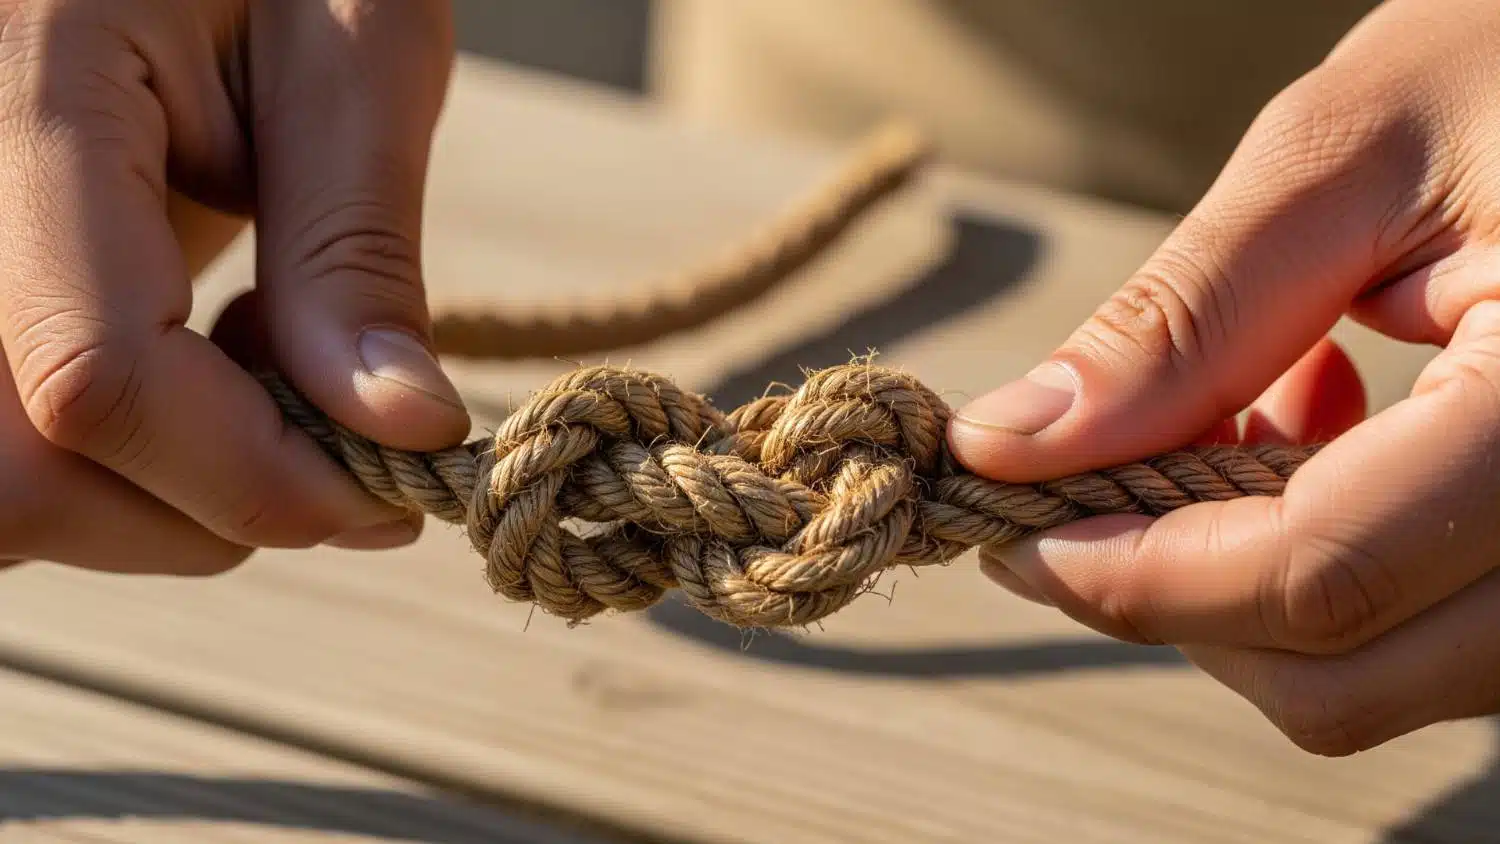
Tying rope knots can feel tricky at first, but once you know the basics, it becomes a handy skill for many situations. You might need a knot for camping, sailing, fishing, or even simple projects at home.
The good news is you don’t have to master hundreds of knots to be prepared. A small set of reliable rope knots can cover almost everything you’ll ever need.
In this guide, I’ll walk you through the essentials, explain how they work, and show you ways to practice safely. Ready to build confidence with rope?
What are Rope Knots?
Rope knots are ways of tying rope so it holds securely without slipping or coming undone. They are used in camping, climbing, sailing, fishing, and even crafts.
A basic knot is simple, quick to learn, and works for everyday needs. An advanced knot takes more practice and is usually designed for special situations like rescue or heavy loads.
To understand instructions, remember a few terms: the standing end is the part under strain, the working end is the loose end, and a bight is a rope fold.
Types of Knots Explained
Different knots are grouped into categories based on how they function. Each type solves a specific rope problem or task.
1. Loops (Fixed/Adjustable)

Loops create circles in rope that can tighten or stay fixed, making them useful in climbing, sailing, or tying objects securely. A loop knot forms either a permanent or a sliding circle in the rope.
Fixed loops, like the bowline, don’t slip under strain, while adjustable loops, like a slip knot, can tighten around objects. These knots are especially handy when you need control over rope length or grip.
2. Bends (Joining Ropes)

Bends join two ropes together, often of different sizes, ensuring they stay connected under pressure. A bend knot is used to link ropes safely and effectively. The square knot and sheet bend are two common examples.
The sheet bend works well even when the ropes differ in thickness. Bends are practical in sailing, rescue, or any setting where a longer rope is needed.
3. Hitches (Tying to Posts)

Hitches attach a rope to a fixed object such as a pole, ring, or hook. Hitch knots are designed to fasten rope to something solid. The clove hitch and two half hitches are frequently used options.
They are reliable for tasks like tying boats to docks or fastening ropes to trees. Some hitches may slip, so learning backup wraps makes them more secure.
4. Binding Knots (Securing Bundles)

Binding knots hold items together tightly, often used for packages, bundles, or bandages. A binding knot is made to compress and hold objects in place.
The constrictor knot is one of the strongest and most dependable types. These knots are common in medical situations, outdoor use, or anytime you need to hold objects together firmly until they are untied.
Essential Basic Knots for Beginners
Mastering a few simple knots gives you confidence in handling rope for daily, outdoor, or emergency tasks.
Square Knot (Step-by-Step)
This knot ties two rope ends together for bundling or simple tasks, but it should not be used for heavy loads.
- Place the two rope ends side by side.
- Cross the right end over and under the left end.
- Cross the left end over and under the right end.
- Pull both ends tight, keeping the knot flat and even.
- Test by pulling firmly; if it slips, you may have tied a granny knot instead.
Bowline (Step-by-Step)
The bowline creates a fixed loop that will not slip, making it reliable for sailing, climbing, and rescue situations.
- Make a small loop near the end of the rope.
- Pass the working end through the loop from below.
- Wrap the working end around the standing end.
- Bring the working end back down through the original loop.
- Tighten by pulling on the standing end while holding the loop.
Figure-Eight Knot (Step-by-Step)
This stopper knot prevents rope from slipping through holes or equipment and is widely used in climbing and sailing activities.
- Hold the rope and make a loop near the end.
- Pass the working end over the standing part.
- Continue under the standing part and bring it back around.
- Feed the working end through the loop from behind.
- Pull tight to form the distinct figure-eight shape.
Clove Hitch (Step-by-Step)
The clove hitch quickly secures rope to posts or rails, but it can loosen if not backed up with extra wraps.
- Wrap the rope around the post once.
- Cross the rope over itself and around the post again.
- Slip the working end under the second wrap.
- Pull both ends firmly to tighten against the post.
- Add a half hitch for extra security if needed.
Sheet Bend (Step-by-Step)
This knot joins two ropes, even of different thicknesses, and is more secure than a square knot for joining ropes safely.
- Form a bight (U-shape) in the thicker or more stable rope.
- Pass the working end of the second rope through the bight.
- Wrap the working end behind both parts of the first rope.
- Bring the working end back under itself.
- Pull tight to secure the ropes together.
Practice Tips: Use a thick rope to see movements clearly and practice repeatedly until each knot feels natural.
Quick Comparison Table for Different Knots
Comparing knots side by side helps you choose the right one quickly by looking at function, strength, and practical use.
| Knot | Type of Knot | Common Use | Strength | Speed to Tie | Difficulty | Notes / Best Use Case |
|---|---|---|---|---|---|---|
| Bowline | Loop | Sailing, climbing | High | Medium | Medium | Secure fixed loop, reliable and versatile |
| Sheet Bend | Bend | Joining ropes | Medium | Medium | Easy | Works on ropes of different sizes |
| Clove Hitch | Hitch | Tied to a post | Medium | Fast | Easy | Can slip if not backed up |
| Figure-Eight | Loop | Stopper knot | High | Medium | Easy | Prevents rope from slipping through openings |
| Square Knot | Bend | Bundling, non-critical | Low | Fast | Easy | Good for simple tasks, unsafe under load |
| Constrictor | Binding | Securing bundles tightly | Very High | Medium | Medium | Excellent binding, hard to untie |
Use this chart as a quick reference when deciding which knot to practice or use. It shows at a glance how each knot performs and where it’s most effective.
Trusted Resources Online to Learn Knots
When learning rope knots, having reliable resources makes the process faster and clearer.
A few websites stand out as trustworthy references. AnimatedKnots.com offers step-by-step animations with clear visuals, making it one of the best tools for beginners and advanced learners.
NetKnots.com organizes knots by category, such as fishing, climbing, or camping, so you can quickly find what you need.
Combining these resources gives you both practical instruction and technical knowledge. Bookmarking them ensures you always have quick, dependable guidance for any knot-tying situation.
Advanced Knot Skills to Explore
Once you’re comfortable with basic knots, you can begin practicing advanced techniques that expand your rope-handling ability.
One-handed knots are especially valuable when one hand is injured or occupied, allowing you to tie securely with limited movement.
Speed-tying challenges help build muscle memory and improve efficiency, which is particularly useful in rescue work, climbing, or sailing, where time is of the essence. Beyond practical use, knots also serve artistic purposes.
Decorative knot art, such as macramé or paracord crafts, changes functional skills into creative and visually appealing projects.
Developing these advanced skills improves both utility and creativity, providing you with confidence in practical and decorative knot applications.
Safety Tips for Rope Knots
Safety should always come first when working with knots. Following a few key habits helps prevent slips, strains, or accidents.
- Leave Long Tails: Always leave extra rope at the ends to keep knots from slipping loose under strain.
- Test Before Use: Pull firmly on the knot before applying real weight to ensure it holds securely and doesn’t shift.
- Back Up Hitches: Add extra wraps or half hitches when tying to posts, especially if ropes may move or get wet.
- Avoid Weak Knots: Never use unreliable knots like the square knot in life-critical tasks or heavy load situations.
- Stand Clear When Testing: Stay out of the rope’s line of tension during testing to avoid injury if it slips suddenly.
These safety practices make knots more dependable, giving you confidence that they will perform well in real-world use.
Conclusion
Learning rope knots is less about memorizing dozens and more about practicing a few until they feel natural.
With the steps, safety tips, and resources we covered, you can start tying with confidence right away. These knots will serve you well in outdoor trips, repair tasks, or craft projects.
A little practice each week will turn these skills into second nature. Remember, the more often you tie them, the stronger your technique becomes.
Keep finding other helpful knot guides and related posts to expand your skills even further.