Looking for an affordable way to add instant style and texture to your boring flat ceiling? Shiplap on ceiling installations uses overlapping wooden boards that create clean horizontal lines across any room overhead.
I’ve seen how this popular DIY project completely alters spaces without requiring professional contractor skills or huge budgets.
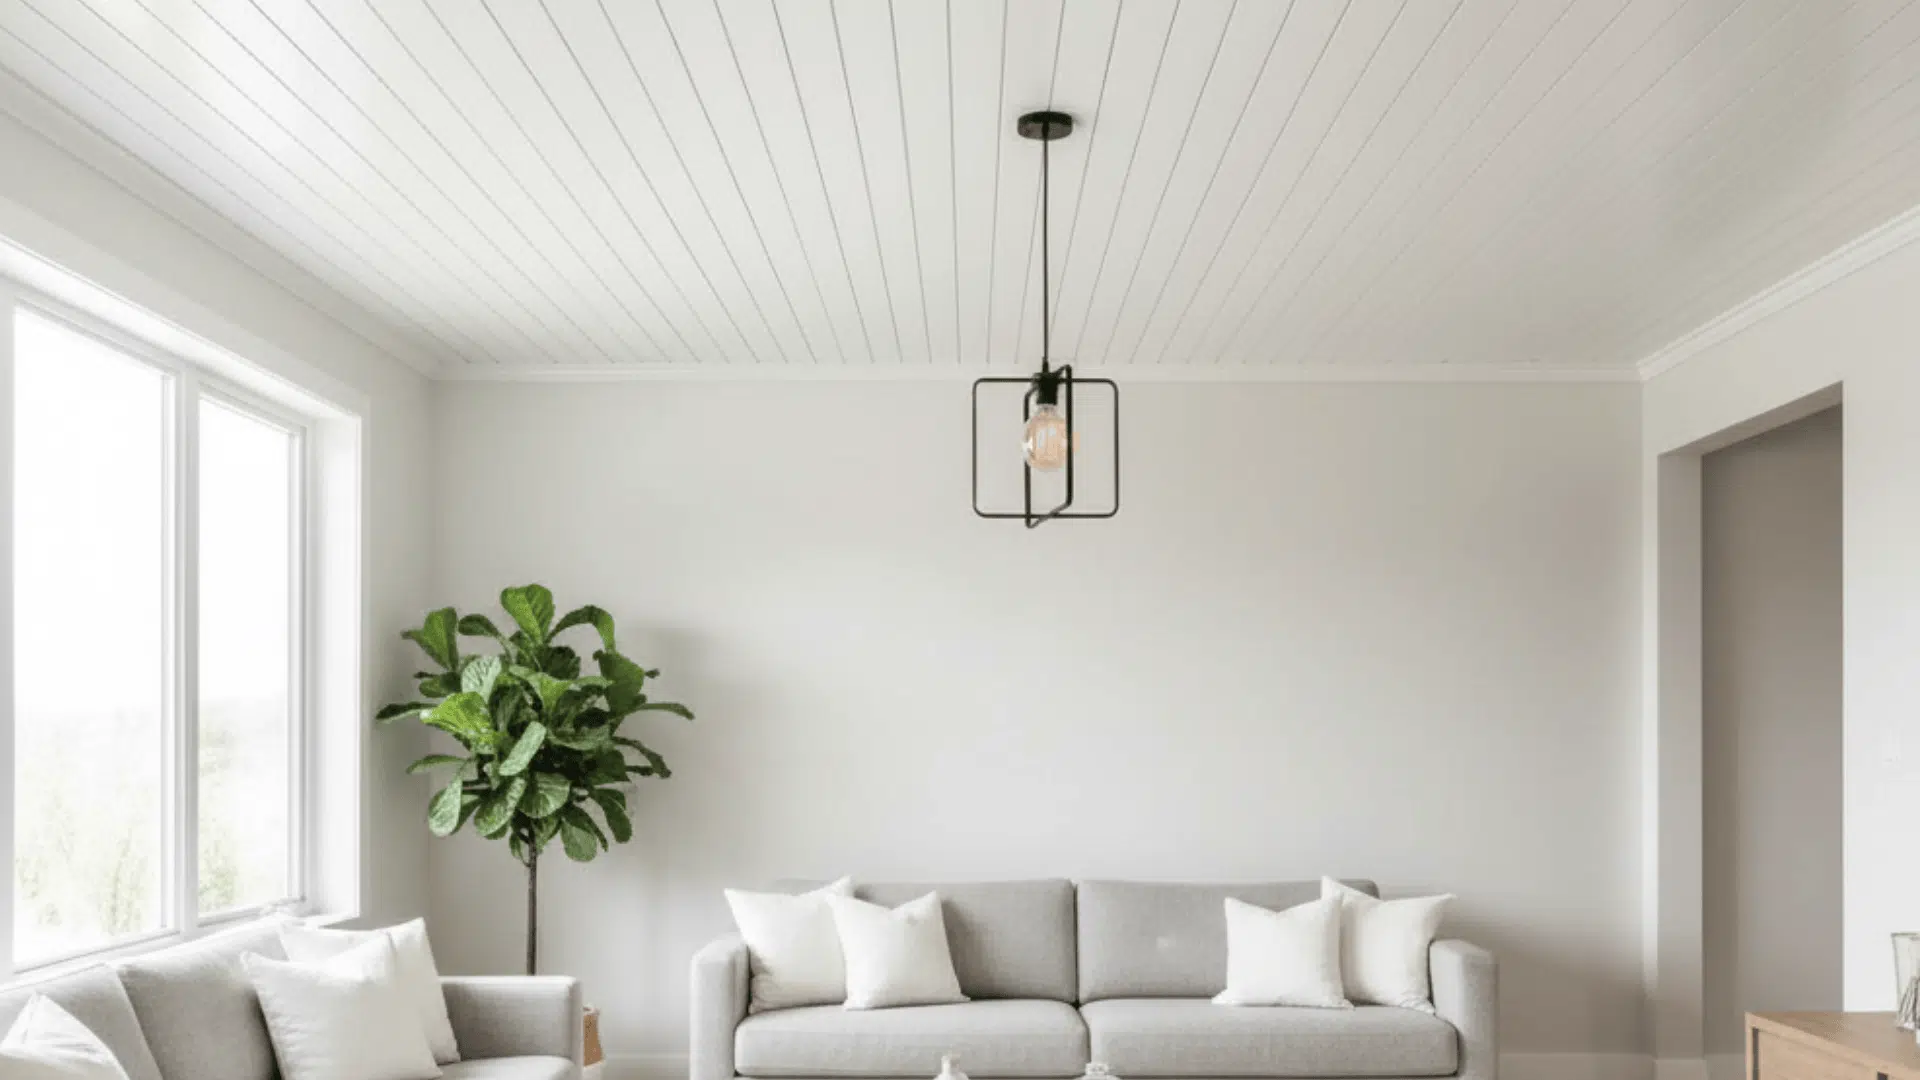
The boards hide ceiling imperfections while creating character that works with farmhouse, modern, coastal, or rustic design styles.
You’ll need basic tools, some patience, and the right technique to avoid common mistakes that waste materials. Let me show you exactly how to install shiplap on ceiling surfaces step by step for beautiful results.
Here’s Why Shiplap on the Ceiling is a Great Choice
Shiplap for ceilings works beautifully in almost any room because it hides imperfections while adding instant character.
You can create modern, rustic, coastal, or farmhouse looks just by changing paint colors or stains. This flexibility makes shiplap perfect whether you’re updating an old ceiling or finishing new construction.
The boards adapt well to flat, vaulted, or tray ceiling designs, requiring no special modifications. Installation is straightforward enough for confident DIYers, saving money on contractor costs.
Shiplap also adds visual interest that plain drywall ceilings simply can’t match in any space. The timeless appeal means your investment won’t look dated in just a few years.
Installing Shiplap on Ceiling: Materials You Must Have
Installing a shiplap ceiling involves several tools and materials that vary in price. Here’s a breakdown of the estimated cost ranges for each material you may need:
| Material | Cost (USD) |
|---|---|
| Shiplap boards (pre-primed) | $2 – $7 per sq ft |
| Stud finder | $10 – $270 |
| Ladder | $40 – $150 |
| Nail gun | $60 – $300 |
| Air compressor | $50 – $200 |
| Finish nails | $6 – $12 per box |
| Construction adhesive | $2 – $5 per tube |
| Interior paint | $25 – $60 per gallon |
| Miter saw | $100 – $400 |
| Drill/driver and bits | $30 – $120 |
| Level | $10 – $40 |
| Safety glasses | $3 – $20 per pair |
NOTE: These costs are estimated and may vary based on your location, materials chosen, and specific project requirements.
How to Install Shiplap on the Ceiling: Step-by-Step Guide
Installing shiplap on your ceiling converts any room into a stylish space with texture and character. Following these organized steps ensures your project goes smoothly without costly mistakes or safety issues:
Step 1: Find and Mark Your Ceiling Joists

Start by locating one joist using a stud finder. If the ceiling is rough, slide it over cardboard. Mark that joist, then measure 16 inches to mark the next ones across the wall.
Put small screws at joist marks on opposite sides. Snap blue chalk lines between screws to show every joist. These lines guide nails so the boards bite framing, not drywall.
Step 2: Prep the Room and Pre-Paint Your Boards

Remove light fixtures and cut power at the breaker for safety. Pre-paint the primed shiplap with a foam roller, then let the boards dry flat.
Painting first avoids drips over furniture and speeds final touch-ups later. Stage boards, clear the room, and set up sawhorses. Keep a simple cut list ready so you can work faster with fewer trips outside.
Step 3: Hang the First Rows Straight and Secure

Hold the first board tight to the wall and nail along each chalked joist line. If your ceiling is bumpy, apply small Xs of construction adhesive to the board backs.
Keep boards snug, then continue across the room while nailing every joist. Stagger end joints like flooring on the next rows. Always break seams over joists to keep everything strong and tidy.
Step 4: Tackle Lights, Corners, and Tricky Cuts

Measure carefully for light openings, trace a semicircle with a round object, and cut with a jigsaw. Lightly sand edges for a clean fit before lifting the board.
For inside corners, notch or rip off the tongue where needed so rows turn the corner smoothly. Keep checking your chalk lines as you go. Adjust cuts if walls are slightly out of square.
Step 5: Finish Holes, Touch Up, and Rehang Lights

Fill nail holes with spackling, let it turn white, then sand smooth using fine-grit. Do quick paint touch-ups for a spotless look. Rehang lights only after the power stays off at the breaker.
Match ground to ground, white to white, and black to black carefully. Tighten everything and test the power. Step back and enjoy your new clean shiplap ceiling.
For more information, watch the detailed video explanation by Sasser House:
Common Shiplap Ceiling Issues and Quick Repairs
Even experienced DIYers run into problems when installing shiplap ceilings for the first time. Knowing what can go wrong helps you fix issues quickly before they become bigger headaches:
| Mistake | What It Looks Like | Easy Fix |
|---|---|---|
| Missing Joists | Boards sag or bounce when touched because nails hit only the drywall | Add thin shim strips behind boards, then re-nail into actual joists for solid support |
| Wavy Seams | Board edges don’t line up, creating uneven, crooked rows across the ceiling | Pull boards down, re-nail along chalk lines, and use construction adhesive for stability |
| Gapping Reveals | Visible gaps between boards that look messy and unfinished throughout the room | Fill small gaps with paintable caulk, smooth with finger, then touch up with paint |
| Nail Blowouts | Nails split wood or poke through the board’s face, creating ugly damage | Pull damaged board, pre-drill nail holes, replace board, then fill and paint holes |
| Paint Flash | Unpainted edges show when boards settle, creating visible lines between each piece | Touch up exposed wood with a small brush, blend carefully, or caulk, then paint the seams |
Most mistakes are easy to correct with simple tools and a little patience. Catching problems early during installation saves time and ensures your ceiling looks professional when finished.
Real Experience: Reviewing Shiplap Ceiling Over Time
A shiplap ceiling looks good after 6 to 24 months, but some seams and joints may show small cracks or gaps with time.
Paint can fade or peel in rooms with high sunlight or moisture, especially bathrooms or laundry areas. Joints move slightly when humidity changes, so regular inspection helps.
Cleaning is easy; run a vacuum brush or use a soft cloth to clear dust and dirt from grooves. In humid spaces, repainting may be needed every few years to keep the finish smooth.
Next time, use more caulk on seams and prime the boards well before painting. For real user stories and tips, check out this Reddit discussion.

That’s a Wrap
Installing shiplap on ceiling surfaces takes effort but delivers dramatic room conversions that boost home value.
I hope these instructions give you confidence to tackle this rewarding weekend project without hiring expensive professionals.
Remember that preparation and patience matter more than perfection when working overhead on ceiling installations.
Your first attempt might have small mistakes, but these add a handmade character that makes your space unique.
The key is taking your time, following safety precautions, and not rushing through important steps.
Thinking about trying this yourself? Please let me know in the comments which ceiling you’d like to tackle!