When I started researching roofing projects, the phrase “what is a square in roofing” kept appearing everywhere. It may sound technical, but it’s actually a simple and practical way to measure roof size.
Using this unit makes it easier for you and a contractor to speak the same language, plan materials, and understand costs.
In this guide, I’ll explain what a roofing square is, how to calculate it, why it matters for ordering and budgeting, and the tools that make the process safer.
By the end, you’ll see how this one term can make roofing decisions far less confusing.
What is a Square in Roofing and Why Does it Matter?
A roofing square is the basic unit used to measure the area of a roof. One square equals 100 square feet, or a 10-by-10-foot section, and many contractors also refer to it as a roof square.
Understanding roofing squares is about simplifying every step of a roofing project, from planning and pricing to ordering and installation.
Using this standard unit helps homeowners and contractors communicate clearly, compare estimates fairly, and ensure materials are used efficiently.
1. Clear Communication Between You and Contractors
Roofing projects involve multiple people, homeowners, contractors, and suppliers, and miscommunication can quickly lead to errors.
Using roofing squares gives everyone a shared language. When a contractor says your roof is “30 squares,” you instantly know they’re referring to 3,000 square feet of total surface area.
This consistency removes guesswork and keeps discussions about pricing or materials clear and accurate.
2. Simplified Material Planning
Most roofing products, such as shingles, underlayment, felt, or metal panels, are packaged and sold by the square.
Knowing your roof’s total squares helps you calculate exactly how much material you need without wasting money on extras or risking shortages mid-project.
This standardization keeps projects efficient and predictable, especially when ordering from different suppliers.
3. Accurate and Comparable Cost Estimates
Because labor and materials are both priced per square, contractors base their bids on your total square count.
That makes it easier for you to compare quotes side by side. Whether one company charges $150 per square and another charges $175, you can quickly see the difference and understand what you’re paying for.
Roofing squares make budgeting simpler and far more transparent.
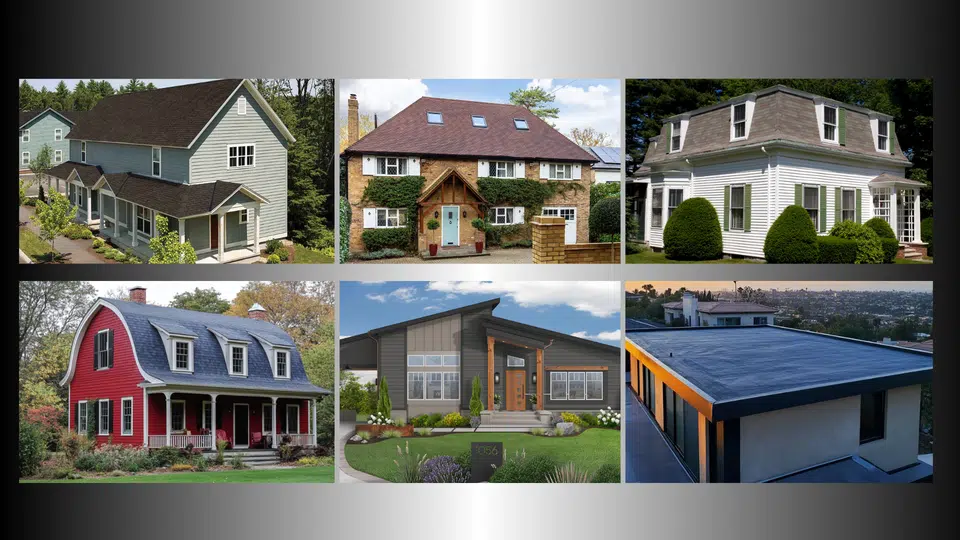
4. Consistency Across Roof Styles
Not all roofs are flat or simple. Many homes feature complex designs, such as hips, gables, or multiple slopes.
The roofing square brings consistency to these variations. Regardless of your roof type, every 100-square-foot section counts as one square.
Here’s how it applies across common styles:
| Roof Type | Description | Why Roofing Squares Help |
|---|---|---|
| Gable Roof | Two sloping sides meeting at a central ridge | Combines both planes into one easy total for material orders |
| Hip Roof | All sides slope downward toward the walls | Keeps calculations consistent even with multiple angles |
| Mansard Roof | Steep lower slope and flatter top section | Converts complex shapes into clear totals for budgeting |
| Gambrel Roof | Dual slopes on each side, like a barn roof | Simplifies multi-angled designs into easy square counts |
| Shed or Flat Roof | Single slope or low-pitch surface | Maintains the same unit system for smaller or modern builds |
This universal method enables contractors to accurately estimate materials, labor, and costs, regardless of the complexity of your roof design.
5. Reduced Waste and Project Delays
When you know your roof’s exact square count, you avoid the common pitfalls of overordering or running short.
Having the right materials from the start means fewer supply runs, fewer leftover bundles, and a smoother installation timeline.
That precision also reduces storage needs, helping to keep your project site organized and efficient.
6. Confidence in Budgeting and Planning
Finally, roofing squares give you control. Instead of relying solely on a contractor’s estimate, you can do your own math, verify totals, and ask informed questions.
That knowledge helps you plan your budget, anticipate labor costs, and make confident decisions throughout the project.
In short, roofing squares take the mystery out of roofing and replace it with straightforward, measurable facts.
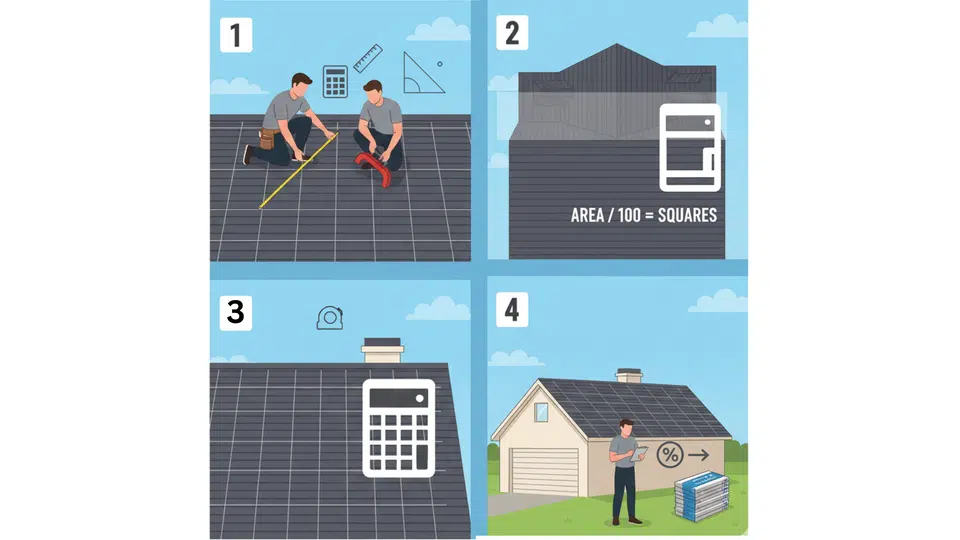
How to Calculate Roofing Squares
Once you understand what a roofing square is, you can accurately measure your roof in squares to plan materials and costs.
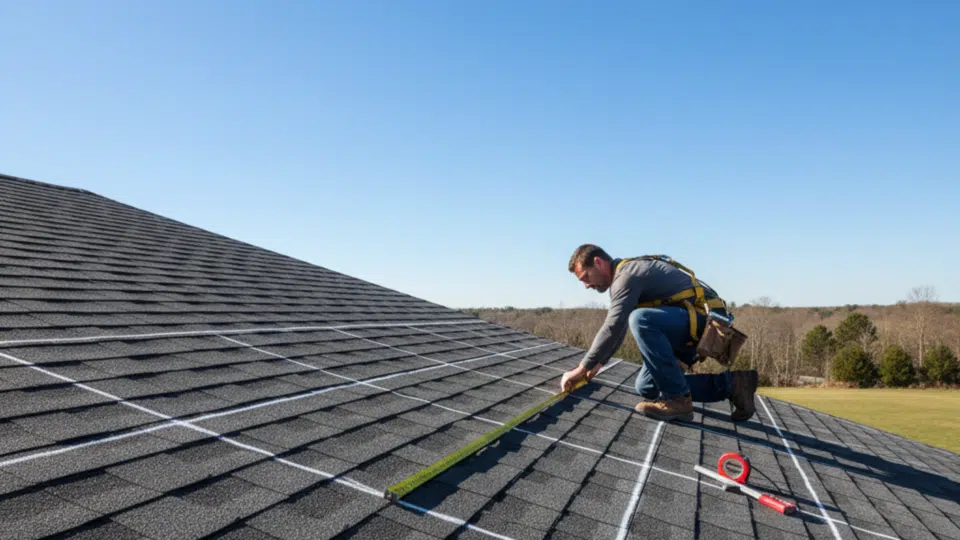
Step 1: Measure Total Roof Area
Start by measuring the length and width of each roof plane separately. Include any overhangs to ensure accurate totals. Complex roofs with multiple angles should be broken into smaller sections and measured individually.
Combine all the measurements for a final square footage total.
Step 2: Adjust for Roof Pitch
After finding the total area, adjust for the slope using a pitch factor. Steeper roofs have more surface area than flat roofs do.
The table below shows common roof pitches and their multipliers. Use these numbers to adjust your square footage and get a more accurate total roof area.
| Roof Pitch (Rise/Run) | Multiplier (Pitch Factor) |
|---|---|
| 3/12 | 1.03 |
| 4/12 | 1.05 |
| 5/12 | 1.08 |
| 6/12 | 1.12 |
| 7/12 | 1.16 |
| 8/12 | 1.20 |
Once you’ve found the right pitch factor, multiply it by your total roof square footage. This quick step ensures your material and labor estimates reflect the roof’s actual surface area, not just its footprint on the ground.
Step 3: Divide by 100
Divide the adjusted roof area by 100 to convert it from square footage to roofing squares. This formula, (Area × Pitch Factor) ÷ 100, gives you the total number of squares you’ll need to order.
Knowing this figure helps with material planning and ensures your project stays on budget and on schedule.
Step 4: Add Waste Percentage
No roof installation is perfect, so allow for extra waste. Typical waste allowances range from about 5–10 percent for gable roofs to 10–15 percent for hip or complex roofs.
This additional material addresses cuts, overlaps, and mistakes that may occur during installation. Including waste in your calculations prevents delays and keeps your roofing project running smoothly.
DIY Measurement Tips
Before you start measuring, consider two simple methods to collect accurate roof data safely without the need to climb up.
- Use a long tape or laser tool to measure from the ground safely without climbing.
- A pitch gauge or measuring wheel makes collecting accurate data easier and faster, especially for large or steep roofs.
Roofing Squares for Different Materials
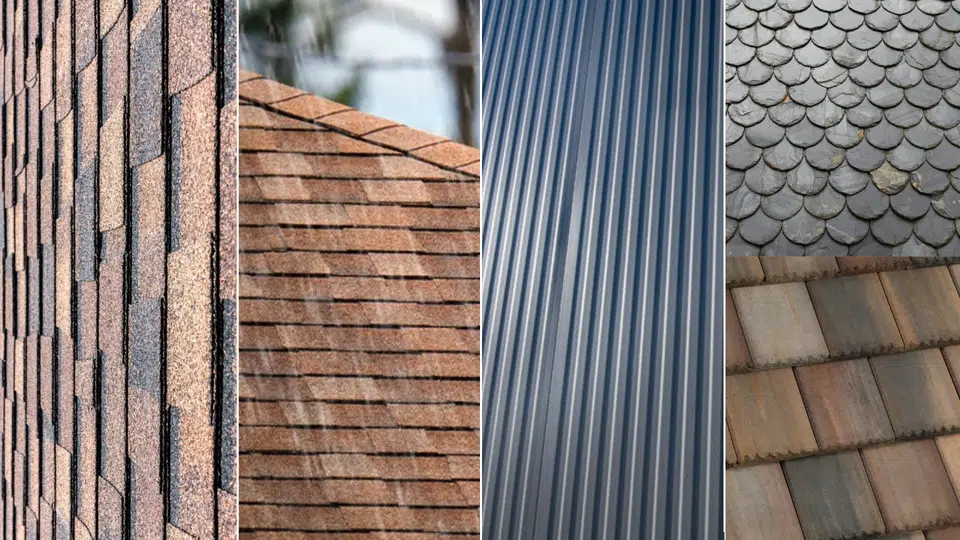
Before ordering materials, it’s essential to understand how different roofing products cover squares, allowing you to plan accurately.
| Material Type | Coverage per Square (Approx.) | Key Details | Planning Tip |
|---|---|---|---|
| Asphalt Shingles | 3 bundles = 1 square | Most common roofing material; easy to order and install | Order in full squares for simple estimates and minimal waste |
| Architectural (Laminate) Shingles | 3–4 bundles = 1 square | Thicker, premium shingles with added weight and depth | Check manufacturer specs before ordering; coverage varies slightly |
| Metal Panels | Varies by width and overlap | Panels come in different profiles and lengths | Review manufacturer data for exact coverage; account for overlap loss |
| Tile or Slate | Highly variable | Dense, heavy materials with varying sizes and overlaps | Measure the roof carefully and confirm per-square coverage before purchase |
Knowing these differences helps you plan enough product and avoid shortages regardless of the style or material you select.
How Roofing Squares Simplify Shingle Orders
Roofing squares turn complex math into a single, easy step. Because one square equals 100 square feet, it’s simple to translate your total area into the number of bundles or packages you’ll need.
Most standard asphalt shingles are sold in three bundles per square, meaning each bundle covers about 33.3 square feet.
For example:
If your roof measures 27 squares, you’ll need about 81 bundles of shingles. Adding 10% for waste brings your total to around 89–90 bundles, ensuring full coverage even with cutting and overlap.
How Roofing Squares Affect Cost
Once you know how many roofing squares your home has, you can estimate costs with much greater accuracy.
Because roofing materials and labor are both priced per square, this unit is the foundation of every quote, supply order, and project budget.
Average Cost per Roofing Square
The price of a roofing square depends on the material, location, and the complexity of labor. On average:
- Asphalt shingles: $120–$180 per square installed
- Architectural shingles: $180–$250 per square installed
- Metal roofing: $300–$600 per square installed
- Tile or slate roofing: $600–$1,000+ per square installed
These figures include both materials and installation. Costs can rise in urban areas where labor rates are higher, or when roofs require additional safety equipment or setup time.
Example: A 25-square asphalt shingle roof might cost around $3,500–$4,500, while a metal roof of the same size could range from $7,500–$12,000, depending on style and region.
Factors That Influence Roofing Costs
Not all roofs cost the same per square. Several key factors affect the total price:
| Factor | How It Affects Pricing |
|---|---|
| Material Type | Premium shingles, metal, slate, or tile are more expensive than standard asphalt. |
| Roof Pitch & Complexity | Steeper or multi-angle roofs require more time, safety gear, and precise cutting. |
| Tear-Off Work | Removing old shingles or layers adds labor and disposal fees before the new installation begins. |
| Roof Height | Multi-story homes need scaffolding, longer ladders, and extra time for hauling materials. |
| Accessibility | Tight driveways, fences, or landscaping can make loading materials slower and costlier. |
| Regional Labor Rates | Roofing costs vary by location, and cities and high-demand areas tend to be more expensive. |
| Extra Features | Chimneys, skylights, or complex valleys require extra flashing and trimming, raising labor time. |
Each of these details influences the amount your contractor charges per square foot and helps explain the differences between quotes.
How Roof Size Impacts Labor and Safety Costs
The larger and steeper your roof, the more labor and safety measures it requires. Roofers often charge higher rates for complex or elevated work because of the time, equipment, and risk involved.
- Steeper roofs need safety harnesses and take longer to complete.
- Taller homes may require scaffolding or lifts to facilitate the movement of materials.
- Limited-access areas, such as narrow driveways or heavily landscaped areas, can delay setup and delivery.
You can help control costs by clearing paths for workers and discussing safety requirements prior to the project’s start. These simple steps prevent delays and keep your budget predictable.
Planning for Realistic Estimates
When budgeting, remember that contractors usually include a waste allowance of 5–15% in their square calculations. This covers material cuts, overlaps, and minor errors that may occur during installation.
For instance, a 30-square roof with a 10% waste factor means you’ll actually need 33 squares of material — a small but important adjustment when pricing out your job.
Common Mistakes When Calculating Roofing Squares
Before you start measuring, here are the frequent mistakes people make when figuring out roofing squares and quick ways to fix them:
- Misjudging roof pitch: Always use a pitch gauge or verified slope chart to ensure your multiplier matches the actual roof angle.
- Forgetting overhangs: Include all overhangs and extensions in your measurements so your total square footage reflects the entire roof surface.
- Skipping waste allowance: Add at least 5–15% extra material depending on roof style to cover cuts, overlaps, and installation errors.
- Mixing square feet with squares: Divide total adjusted square footage by 100 to convert to squares before ordering materials or quoting costs.
How Roofing Squares Work in Real Life
Let’s say your roof measures 2,400 square feet. If it has a 6/12 pitch, you’ll multiply that area by a pitch factor of 1.12, giving you about 2,688 square feet of total roof surface.
Next, divide 2,688 by 100 to convert square feet into roofing squares. That’s roughly 27 squares.
This kind of calculation is what many homeowners use when estimating roof size before calling a contractor.
Real-world projects often show similar results, confirming how practical and accurate this method can be for planning materials and budgeting.
By understanding your total squares early, you make ordering shingles, underlayment, and labor estimates far simpler and more reliable.
Helpful Tools and Calculators for Roofing Squares
Measuring a roof accurately doesn’t have to involve climbing ladders or taking risks. With today’s tools and technology, you can find your roof’s total square footage safely and quickly from the ground.
1. Measuring Tools for DIY Use
If you prefer to take measurements yourself, these tools make the process simpler:
- Laser distance measurer: Lets you record roof dimensions from the ground with excellent accuracy.
- Measuring wheel: Great for walking the perimeter of your home to get total length and width.
- Pitch gauge or smartphone app: Measures your roof’s slope angle so you can apply the correct pitch factor.
- Long measuring tape: A low-cost option for small or flat roofs when laser tools aren’t available.
These basic tools help you collect accurate data before using any online calculator.
2. Digital Roofing Calculators
Several websites and mobile apps can instantly convert your measurements into roofing squares. You simply enter the roof’s length, width, and pitch, and the calculator does the math for you.
Some of the most popular options include:
- Roofr Calculator: A free online tool that estimates roof squares, material needs, and costs.
- GAF Roof Measurement Tool: Designed by a major roofing manufacturer for precise material planning.
These digital tools save time and eliminate guesswork, especially for complex or multi-section roofs.
3. Professional Measuring Services
If you’d rather skip manual measuring, professional roof-measurement services and drone technology can do the work for you.
- Drone scans capture detailed roof dimensions, including slopes and valleys, without stepping on the roof.
- Services like EagleView provide highly accurate roof reports using aerial imaging. Many contractors use them to create precise material and labor estimates.
While these services come with a small fee, the accuracy can prevent costly material errors later in your project.
Final Thoughts
I hope this guide helped you understand how roofing squares make planning, budgeting, and communication with contractors so much easier. Here’s a quick recap of what you learned:
- What a roofing square is and how it’s calculated
- Why contractors use squares for estimating materials and costs
- How roof pitch, size, and complexity affect pricing
- The best tools and calculators for safe, accurate measurements
- How roofing squares connect directly to shingle bundles and materials
Extra Tip: Always keep a small bundle or leftover material from your roofing project, as it’s useful for quick repairs later.
If you found this helpful, check out more practical roofing guides and DIY tips on my website to plan your next project confidently.