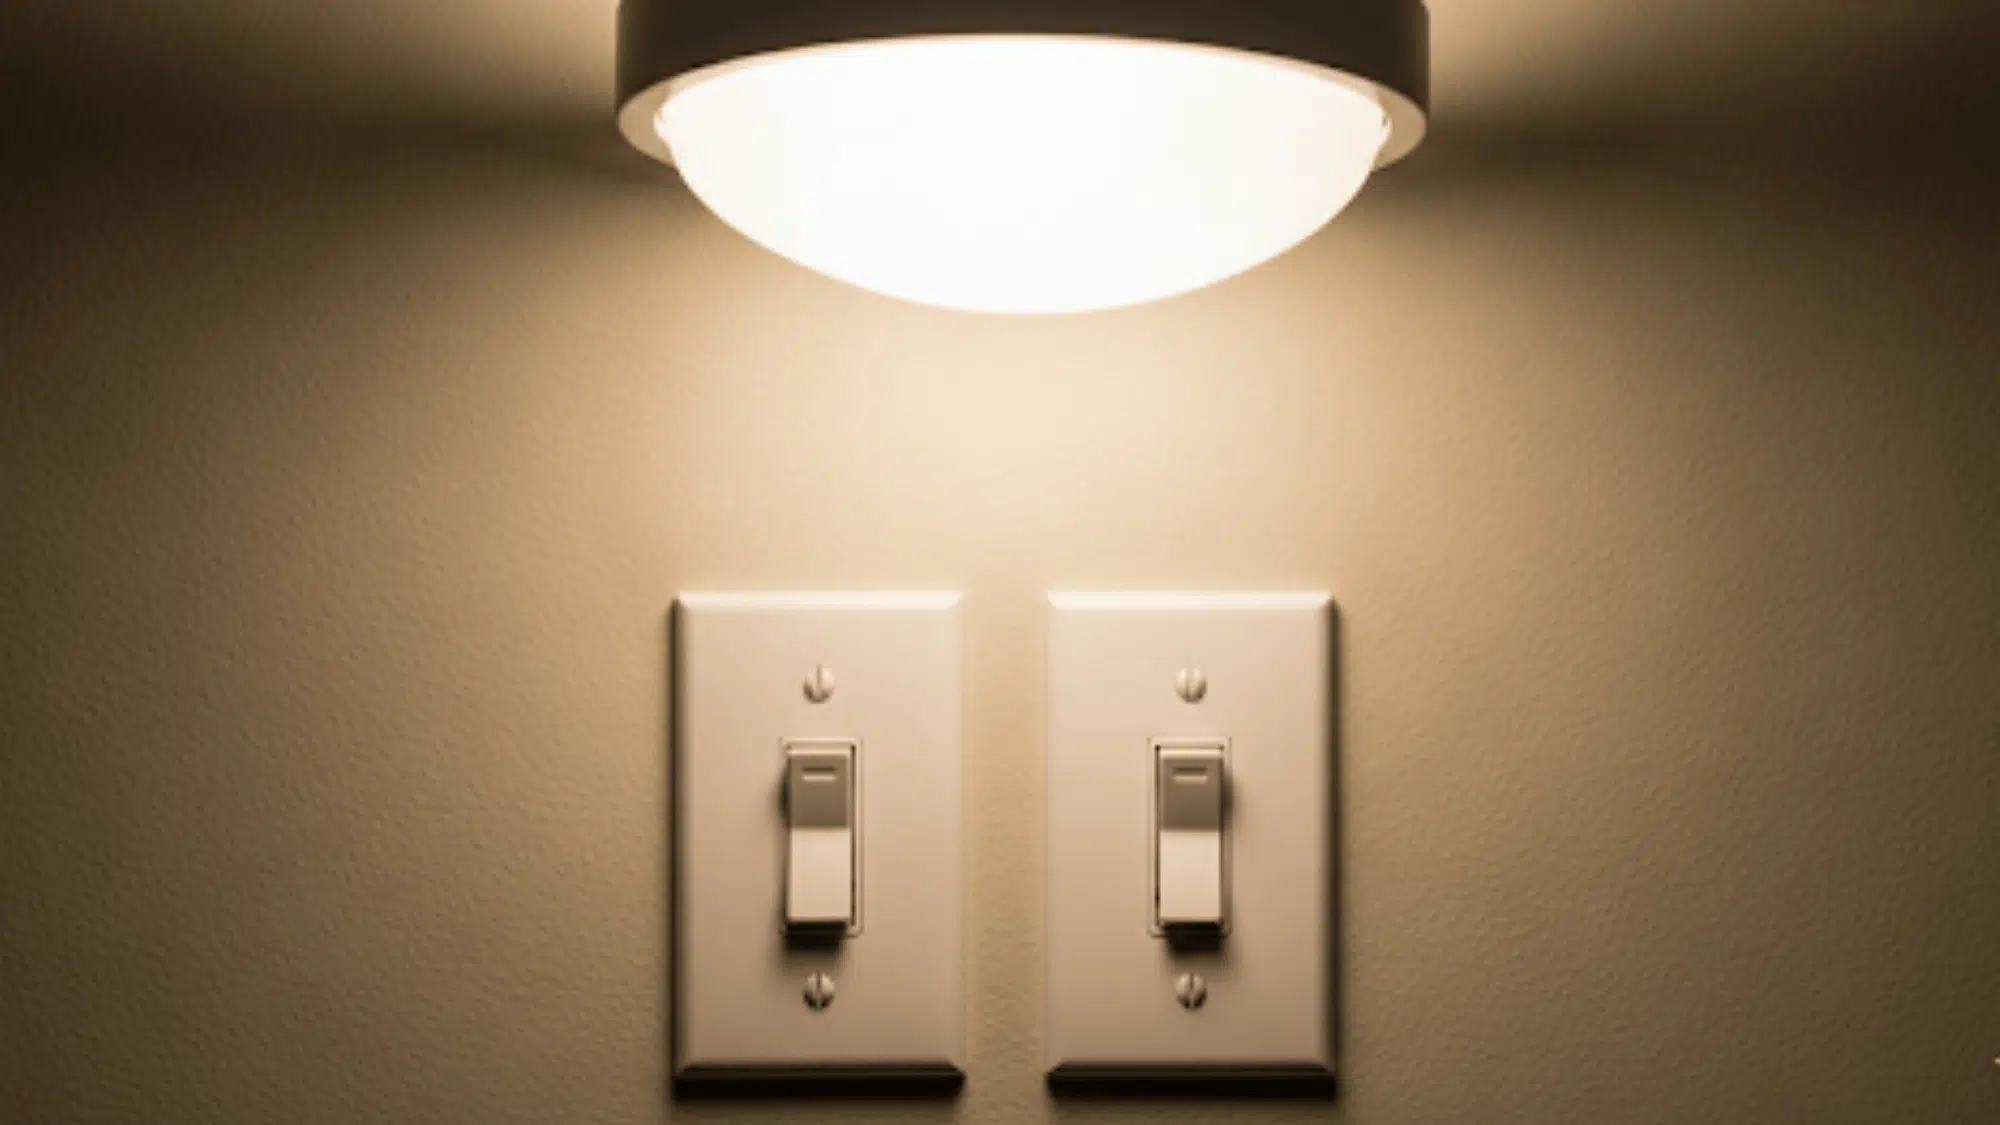
If you’ve ever wanted to control a single light from two spots, like at the top and bottom of a staircase, or both ends of a long hallway, you’ll need to know about wiring a 3-way switch.
This setup is one of the most valuable electrical upgrades in a home, as it provides convenience and flexibility.
In this detailed guide, I will cover what a three-way switch wiring is, provide step-by-step wiring instructions, discuss common mistakes, find variations, offer troubleshooting tips, and even compare it with 4-way switches.
What is a 3 Way Switch?
A 3-way switch is a special type of light switch that works in pairs. Unlike a regular single-pole switch (which only has ON and OFF positions), a 3-way switch lets you control a light from two different places.
Example: Turn on the light when you enter the stairs, then turn it off at the top, without having to go back down.
Key features of a 3-way switch:
- Three terminals: common, two travelers, and a ground.
- Works in pairs (you always need two switches for one light).
- Perfect for hallways, staircases, and large rooms.
Step-by-Step Guide on Wiring a 3 Way Switch
Wiring a 3-way switch may seem tricky at first, but with the right tools, preparation, and careful steps, you can safely control a light fixture from two different locations.
Tools and Materials You’ll Need
Before you start wiring a 3-way switch, gather these essentials:
- Two 3-way switches
- Light fixture
- Electrical wire (12/2 or 14/2, depending on circuit)
- Wire stripper and pliers
- Screwdriver
- Wire nuts
Follow these steps carefully to wire a 3-way switch and avoid mistakes.
1. Turn off the Power
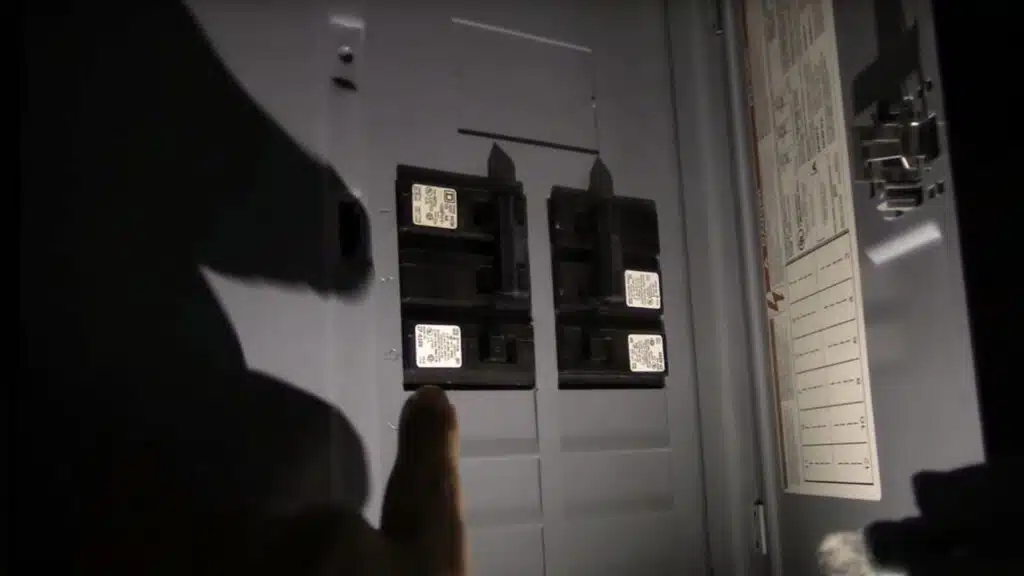
Before you begin any electrical work, turn off the power to the circuit at the main breaker box. Use a non-contact voltage tester to confirm that the power is off at both switch locations.
Carefully unscrew the faceplates and switches from the wall boxes, being mindful of the wires.
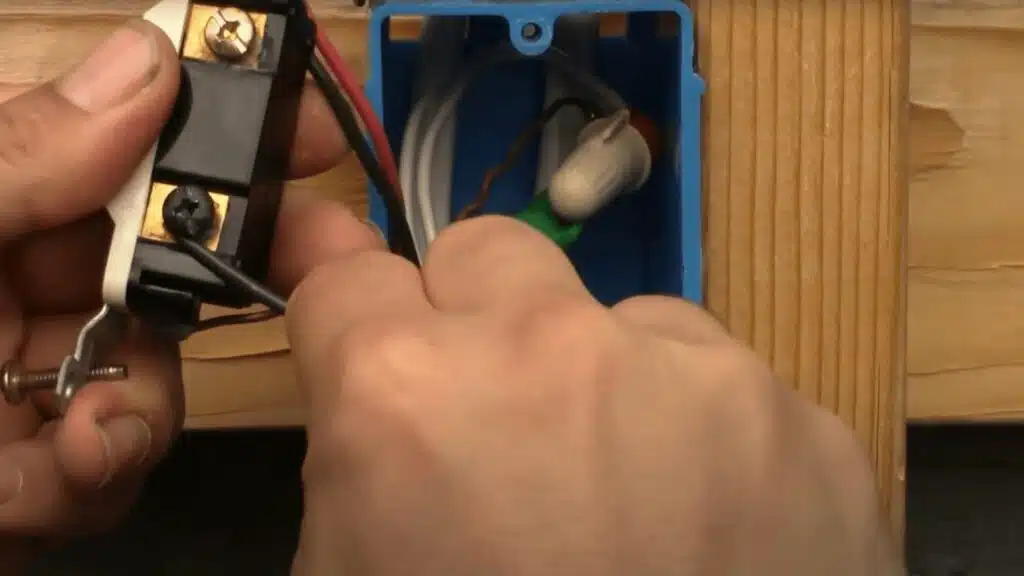
2. Identify the Common and Traveler Wires
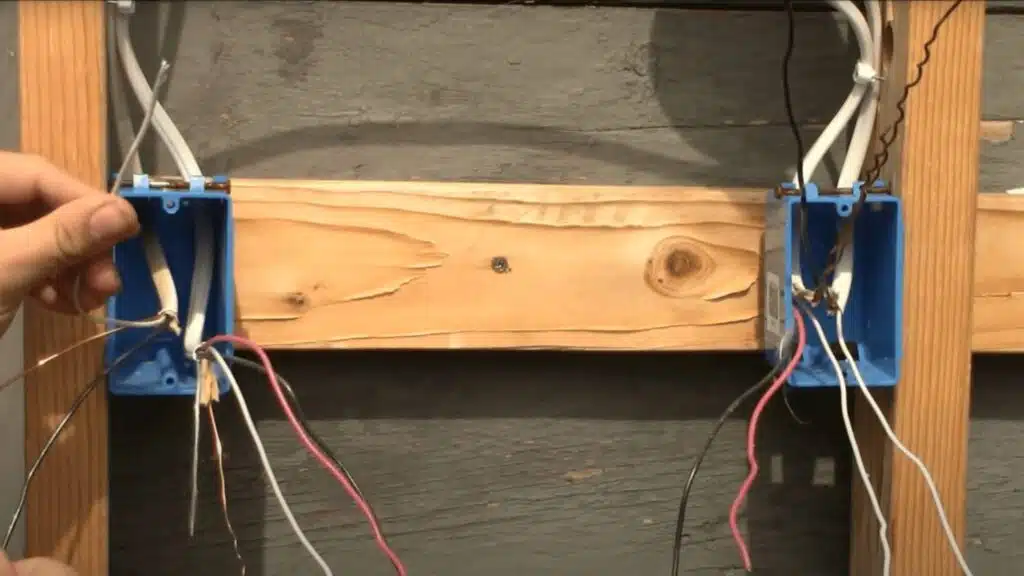
A 3-way switch has three screw terminals plus a ground screw. One screw is a different color (often black or dark) and is the common terminal, which connects to the hot wire.
The other two (often brass or light-colored) are the traveler terminals. These connect to the two traveler wires that run between the switches.
3. Connect the Wires to The First 3-Way Switch
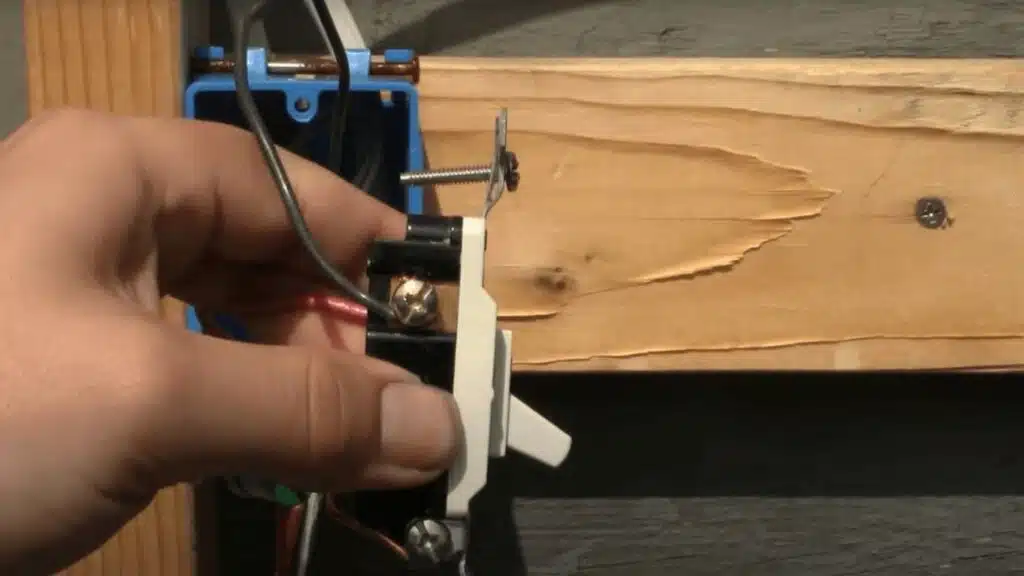
Connect the hot wire from the power source to the common terminal on the first switch. The two traveler wires from the 3-wire cable should be connected to the two traveler terminals.
Connect the bare ground wire to the green ground screw. The neutral wire will be capped with a wire nut as it bypasses the switch.
4. Connect the Wires to The Second 3-Way Switch
At the second switch location, connect the traveler wires coming from the first switch to the two traveler terminals on the second switch.
Connect the wire that goes to the light fixture (the “switched hot”) to the common terminal. Again, connect the ground wire to the green ground screw and cap the neutral wire.
5. Install the Switches and Test the Circuit
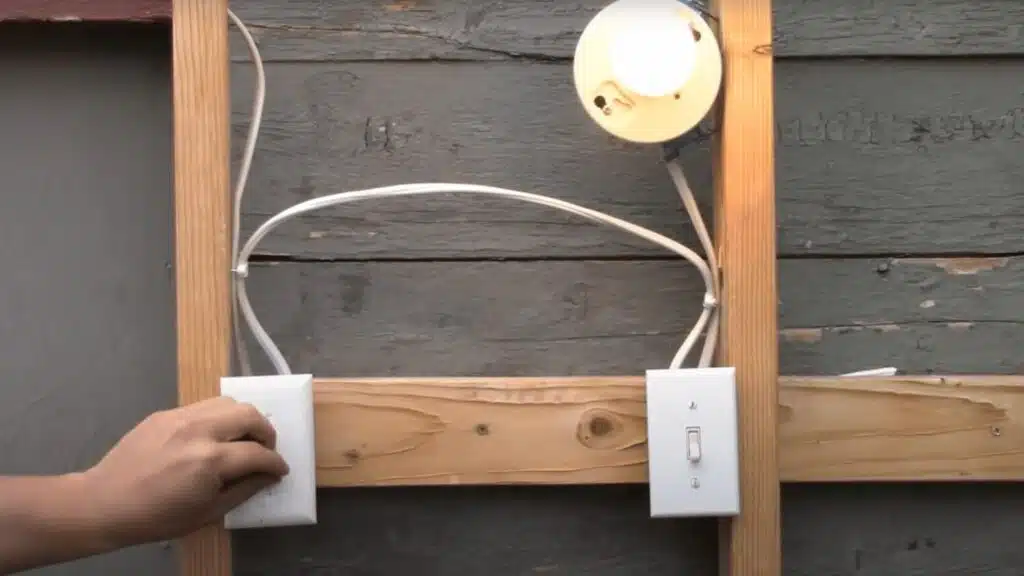
Gently tuck the wires and switches back into their electrical boxes and secure them with the mounting screws. Replace the faceplates.
Turn the power back on at the breaker box. Test the switches by turning the light on and off from both locations to ensure the circuit is working correctly.
Pro Tip: Keep wires organized with labels or tape to avoid confusion.
For a more detailed guide and process, watch this tutorial by Skills And Trade:
Diagram Guide for 3 Way Wiring
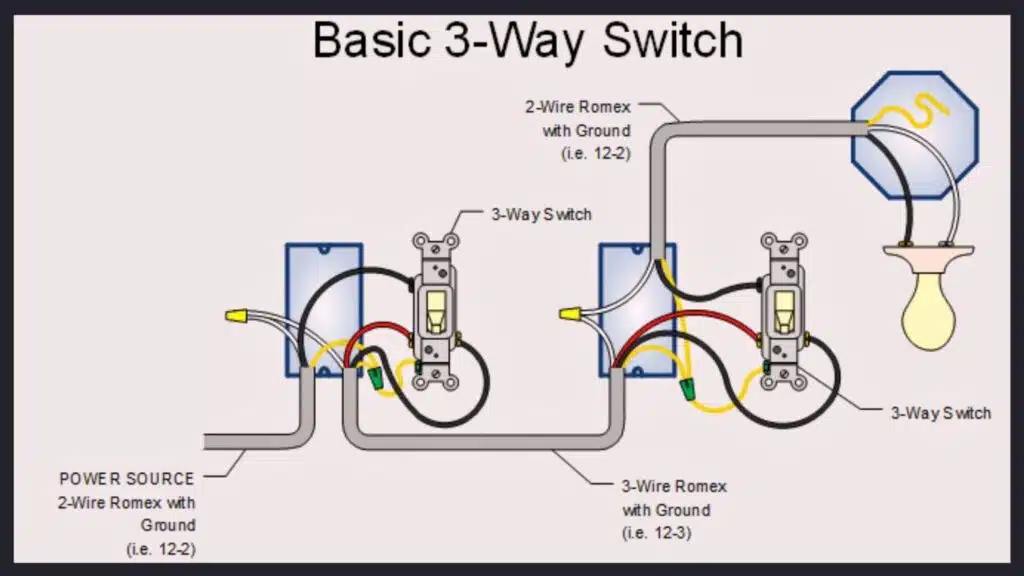
Think of a 3-way wiring setup as a triangle: the power source connects to the common screw of the first switch, two traveler wires link both switches, and the light fixture connects to the common screw of the second switch.
The neutral wire runs straight to the light, and ground wires ensure safe operation.
Common Mistakes to Avoid
When working with electrical wiring, even small mistakes can lead to big safety risks, costly repairs, or unreliable switch performance. Pay attention to these points:
- Mixing up common and traveler wires is a frequent error, often causing switches to malfunction or create unsafe conditions. Always label wires clearly before disconnecting anything.
- Forgetting to ground both switches can leave your system vulnerable to electrical faults or shocks. Proper grounding ensures safety and compliance with electrical codes every time.
- Using the wrong gauge wire can overload your circuit, creating fire hazards or tripping breakers. The gauge must always match the breaker’s rating for safe operation.
- Not tightening wire connections fully can cause arcing, heat buildup, and loose circuits. Double-check every screw and connector to ensure a firm and reliable connection.
- Skipping a thorough final test after installation often hides wiring mistakes. Always flip switches, check continuity, and confirm everything works before closing the wall plates.
Community Discussions & Forums for DIY Help
Even the best guides can’t cover every unique wiring setup, which is why online communities are so helpful.
These platforms, like Reddit and DoItYourself.com Forums, can help troubleshoot, share photos, and get advice from seasoned DIYers and professionals:
Pro tip: When posting in forums, include clear wiring diagrams, photos of your setup, and details about breakers or switches. This helps others give you precise, safe advice without the guesswork.
Safety Tips & When to Call a Professional
Here are some essential guidelines to keep your electrical projects safe and stress-free.
- Always shut off power at the breaker before starting any electrical work.
- Double-check all connections before restoring power to prevent shocks or equipment damage.
- Watch for warning signs of faulty wiring, such as flickering lights, sparks, or unusual heat around outlets and switches.
- If a step feels uncertain or you notice warning signs, hire a licensed electrician to ensure safety and NEC compliance.
Final Thoughts
Wiring a 3-way switch is a great way to make your home more convenient, especially in places like stairways and hallways.
The key is understanding how the common, traveler, neutral, and ground wires all work together. Once you know where each wire goes, the process becomes much easier to handle.
Always take your time, label wires clearly, and test everything before closing up the wall boxes. This will save you from mistakes that are hard to fix later.
If you encounter problems such as flickering lights, sparks, or loose switches, shut off the power and review your work. If you ever feel unsure, call a licensed electrician. Safety is more important than DIY pride.
Frequently Asked Questions
Do Both Switches Need to Be 3 Way Switches?
Yes. You can’t mix a regular switch with a 3-way switch in the same setup.
Can I Add a Third Switch Later?
Yes, but you’ll need to add a 4-way switch between the two 3-way switches.
Why Does My 3 Way Switch Hum or Spark?
That’s a sign of a loose connection. Turn off the power and tighten the wires.