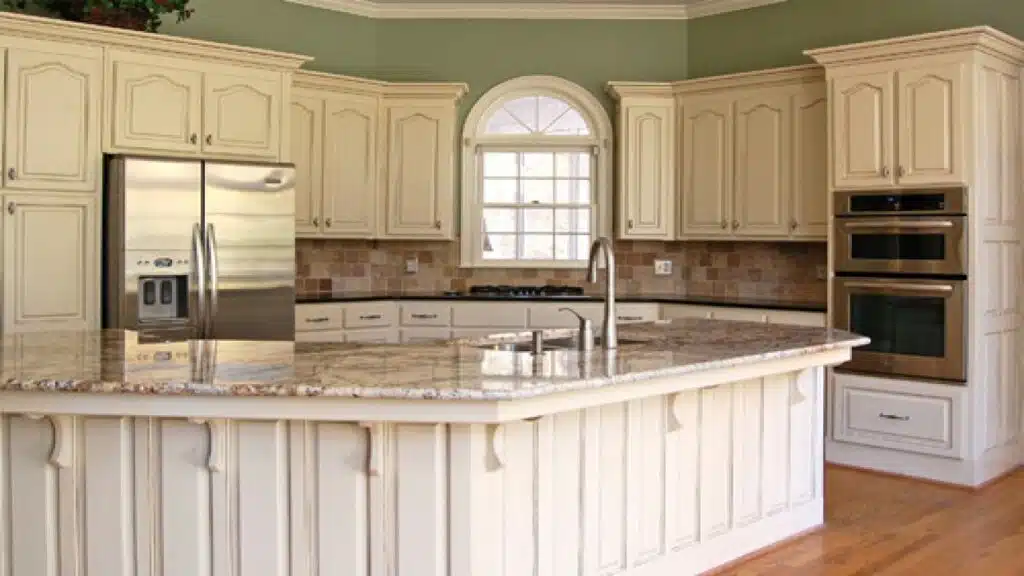
Do you want to give a smooth and professional finish to your kitchen cabinets? If your kitchen cabinets look outdated and lustreless, then painting them can be the best way to transform their appearance. But if you have never tackled a painting project or don’t follow the steps properly, you could waste hours and end up with dirty-looking cabinets and chipped paint.
Painting kitchen cabinets is one of the best ways to make them look fabulous without spending a huge amount of money. You need to have the required tools, a bit of professional knowledge, and lots of patience to carry out the kitchen cabinet painting project successfully.
You’ll have to remove the cabinet hardware, prime, paint, clean the surfaces and allow the cabinets to dry before reorganizing the cabinets and reinstalling the hardware.
Follow these step-by-step instructions to paint your kitchen cabinets like a pro and breathe new life into your kitchen.
Expert Tips and Tricks for Painting Kitchen Cabinet
Transform your kitchen cabinets from drab to fab by following the step-by-step kitchen cabinet painting guide. We’re revealing all the tips and tricks required to give your kitchen cabinets a professional finish.
1. Gather All the Supplies and Materials
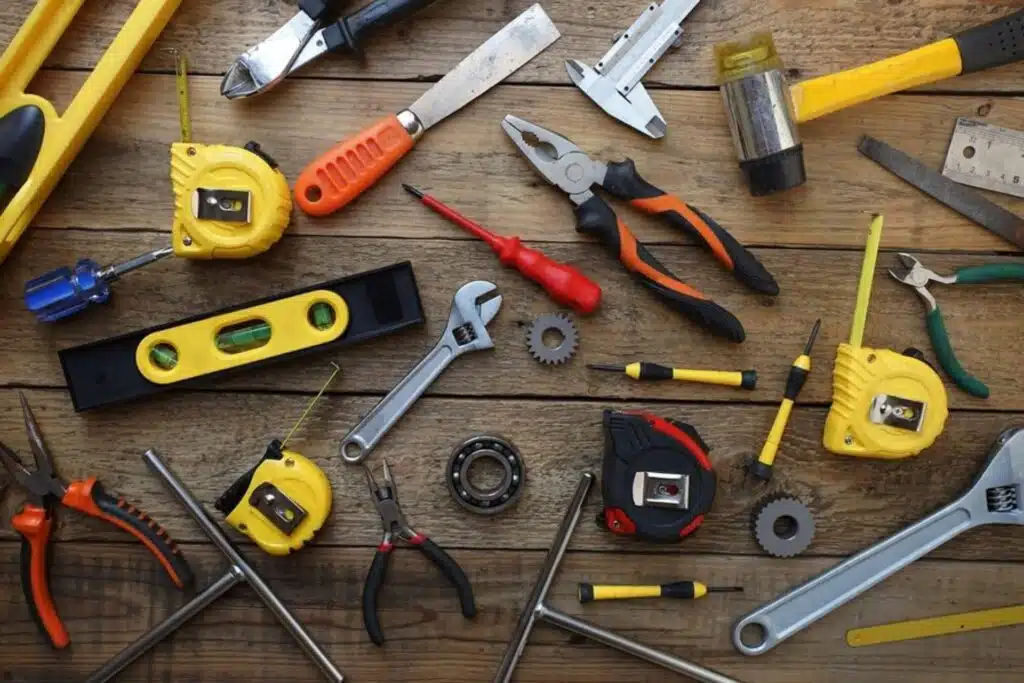
With the right painting tools, you can achieve beautifully painted cabinets. Some of the basic supplies and materials needed for painting kitchen cabinets are as follows-
- Degreasing Agent
- Ladder
- Putty Knife
- Sponges
- Paint trays and liners
- Shop vac
- Paint
- Sandpaper
- Drill or Screwdriver
- Wood Filler
- Applicators(Sprayer, roller and brush)
- Painter’s Tape
- Rubber Gloves
- Caulk
Once you have collected these painting tools and supplies, gather them into one central area where you can access them easily. If you are worried about getting paint on the floor, then you can lay a tarp down in the area where you will be doing the work.
2. Remove the Drawers and Doors
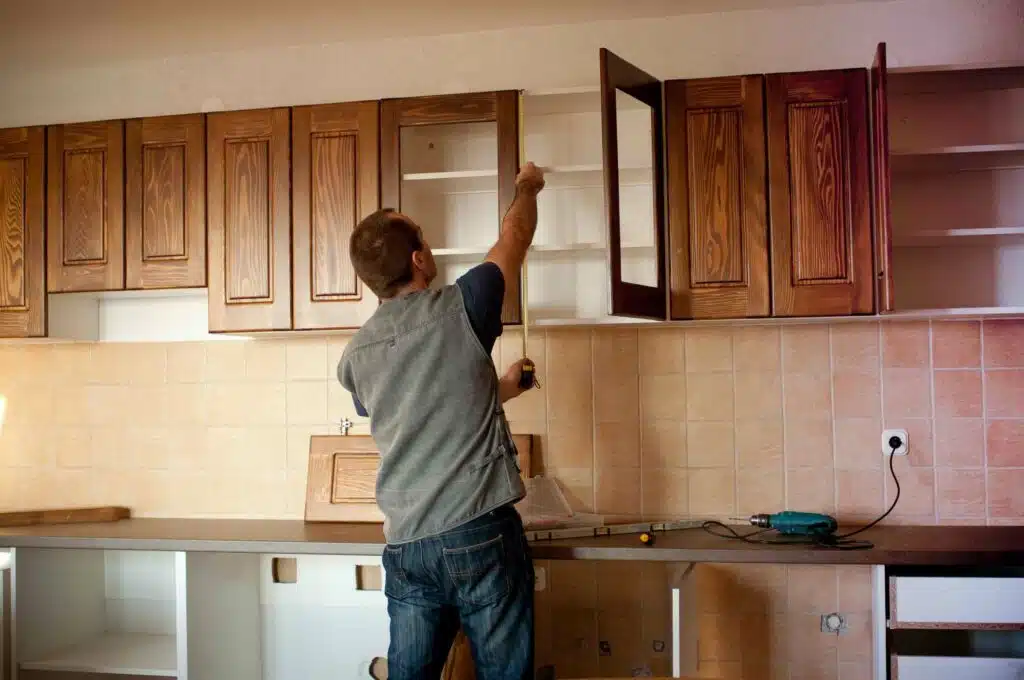
Before you start applying paint on the cabinets, you need to ensure that they are ready to be worked upon. Remove the drawers and doors from the cabinet and uninstall the hardware. You should never paint over handles and handles as it affects the way the door functions. Use a screwdriver or cordless drill to remove hardware and hinges. After that, use tape to label where the drawers and doors should return for easy reassembly.
Write its exact location (e.g., “below backsplash, above the sink, left”) to ensure there is no guessing where it goes later. Once you have removed all hardware from drawers, doors, and cabinets, organize them in plastic bags.
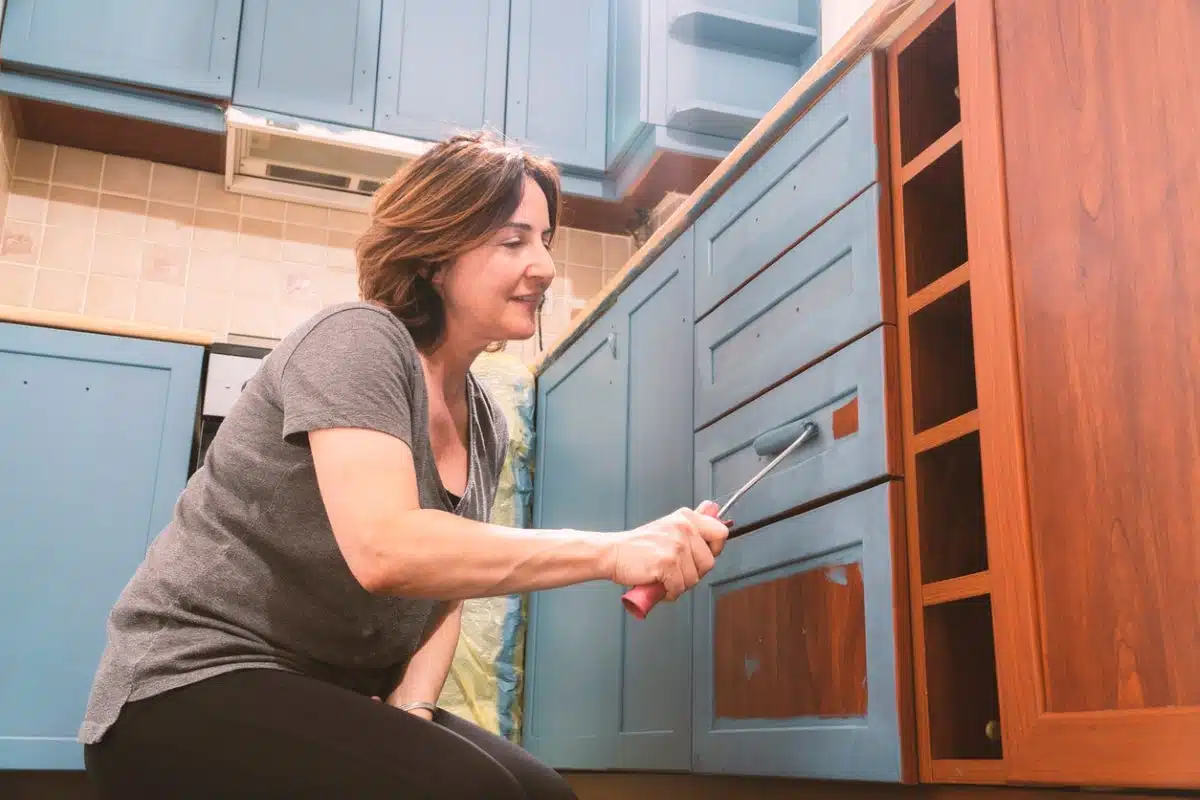
3. Clean the Kitchen Cabinets Surface

Another important step that you need to follow while painting kitchen cabinets is cleaning the surface of the cabinets properly. Many times the cabinets are filled with grime and gunk, and cleaning them is important to achieve a smooth paint finish. You can clean your cabinets with hot water and white vinegar.
If your cabinets have tons of cooking grease, you can use a heavy-duty degreaser and scrub with stripping pads to remove the heavy grease. You can use Dirtex powder cleaner if your cabinets are not very greasy. Clean your cabinet doors by detaching them from the frame.
The drawer fronts and doors should be removed for painting, and else you will have to climb up and down a ladder to clean the cabinets. Clean the doors outside, else drips from chemical cleaners can ruin your floor.
4. Select a Good Coverage Paint
Choose paints that have been formulated with kitchen cabinets, trim, doors, and other high-touch surfaces in the home in mind. If you’re looking for a resilient finish, you can opt for oil-based paints.
They make the surface of the cabinet easy to clean. But they take a long time to dry, so if you do not have that much patience, you can go with the latex paints. Latex paints dry quickly and have lower levels of VOCs. You can opt for a fresh, bold color or a classic look with a crisp white shade. If you think two colors are more fun, you can paint lower cabinets in a darker color and upper cabinets in a lighter color to create a two-toned look.
This kitchen trend is the perfect way to give your cabinets a signature look. Whatever color you choose, pay special attention to selecting high-quality and long-lasting paint to ensure a clean and long-lasting finish.
5. Prime the Cabinets
You must prime your kitchen cabinets if you want to achieve a professional paint finish. Primer provides a base for the paint to stick to and helps the paint adhere better. It also blocks any discolorations, wood knots, or existing stains from showing through the coat of fresh paint. Skipping this step can lead to uneven surfaces, peeling, and visible brush strokes. Follow these steps to prime the cabinets:
- Lay down a drop cloth to catch any drips. It is also important to cover your backsplash and walls before painting.
- Use a good-quality paintbrush or high-density foam roller to apply an oil-based, stain-blocking bonding primer to the cabinets.
- If the existing finish on the cabinet is oil-based, use an oil-based primer. This will ensure that the latex paint will adhere. You can also use Shellac-based primers to create a strong, durable bond on various surfaces.
- Apply primer evenly and ensure that it is coating each part of your cabinet. You can start from corner edges and fill in broader areas.
- Use paint rollers for a smooth finish.
- After completion, allow the primer to dry. It can take two hours or more, depending on temperature levels and weather conditions where you live.
- Once the primer is dry, it’s time to sand the cabinets again. You can use a sanding block or 220-grit paper for sanding all surfaces lightly. Focus on areas that may have pools or drips (i.e., anywhere two flat areas meet and inside corners).
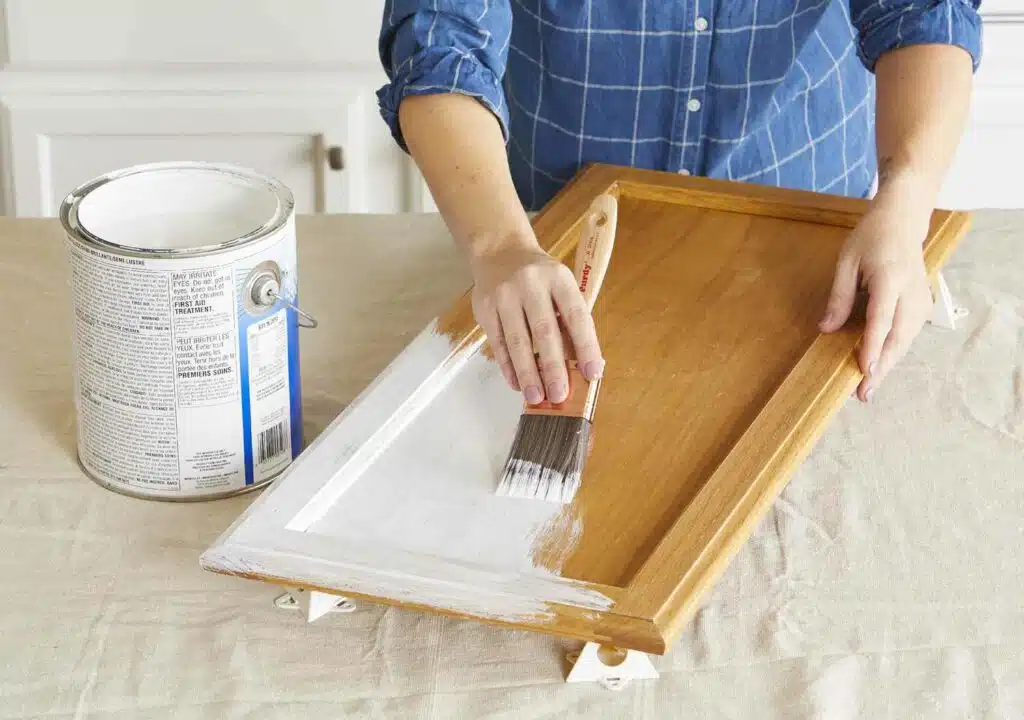
6. Apply the Paint
Once the primer has dried completely, you can start the painting process. Follow these steps to get the best results:
- Coat all cabinet surfaces with latex paint in either a semi-gloss or satin finish. These 2 sheets are perfect for striking a balance between shine and durability.
- Use a brush to coat small areas and a mini roller to coat larger areas. Painting cabinet doors and other large areas can go faster if you use a microfiber or foam paint roller instead of a brush.
- Watch for runs and drips while painting, especially in millwork details and in the corners.
- You don’t need to apply a protective clear coat over the top of the kitchen cabinets. If you want extra insurance, do a second coat of your paint.
- Give enough time for the paint to dry before reinstalling your cabinet.
- For estimated drying time, you can consult the manufacturer’s instructions. The drying time is usually anywhere from two to eight hours.
7. Reinstall the Hardware and Cabinet Doors

Once the paint has completely dried, it’s time to reinstall the hardware and cabinet doors. This is when the labeling you had done while removing the doors and drawers will benefit you. Use gloves when reinstalling the hardware and cabinet doors, or else you might leave fingerprints on your newly painted doors. With proper care and maintenance of the newly painted kitchen cabinets, you can expect them to last 8-10 years.
Mistakes to Avoid While Painting Kitchen Cabinets
There are a few mistakes that you must avoid while painting kitchen cabinets to get professional results.
- You should never start the painting process without removing the doors and the hardware. This will prevent drips and allow you to paint every surface of the cabinet, outside and inside. Keep the cabinet doors in a garage or an unused space to avoid bumping into them while the paint is drying.
- Never skip the prep work, or else you’ll get chipped and poor-quality paint results. Repainting kitchen cabinets is a time-consuming and tricky process, and if not done right, it could end up looking worse in just a few months.
- Before you start painting, sand the surface of the cabinets, fill in any uneven areas or cracks with wood filler, and allow it to dry. Once sanded, use a lint-free tack or damp cloth to remove the debris and dust.
- Don’t make the mistake of carrying out the kitchen cabinet painting process without labeling the cabinets and hardware that you have removed. You might face difficulty in remembering what goes back where if you don’t label the cabinets and the hardware. To make reattaching the doors easier, number each cabinet door using a marker. Place the hardware in a small bag and label them with the coordinating cabinet number.
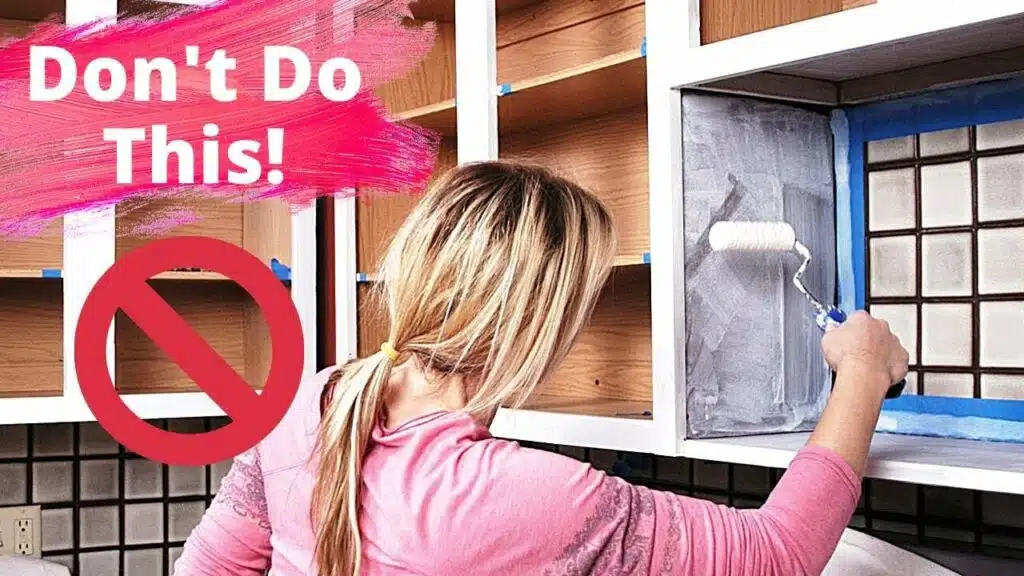
- Don’t ruin the floors, backsplash, and other areas while painting the kitchen cabinets. Cover everything appliances, counters, and floors in a plastic or tarp cover to protect them from paint drips and splatters.
- Don’t apply a thick layer of paint on your kitchen cabinets, as it can easily chip off. It is recommended to apply multiple layers of thin paint to ensure that they last longer and look good. Wait before applying the next coat if you want to achieve professional results.
- It is a no-brainer to carry on the painting process without priming your cabinets. Primer creates a barrier so that the paint lasts for a longer time, and you get a high-end finish. Wait for the recommended time until the primer dries before carrying out the painting process.
- Don’t use the wrong paint finish, as it can lead to unsatisfactory results and a poor-quality paint job. Using latex or regular paint on high-gloss surfaces may lead to uneven patches, peeling, and cracking as the paint won’t bond well with the surface. To make it easier to wipe clean the cabinets, use a slightly shinier paint finish.
Conclusion
Spruce up the look of your kitchen by applying a fresh coat of paint to your kitchen cabinets. The process is less costly and simpler than installing brand-new cabinets, and you can get professional results with a little know-how.
Follow the tips and tricks mentioned above if you’re feeling intimidated to paint your kitchen cabinets. Gather all the required tools and supplies and avoid making painting mistakes to achieve the look that you always desired.
By painting kitchen cabinets, you’ll get the added satisfaction of having contributed to enhancing your kitchen’s style and aesthetic. So get ready to transform the look of your cabinets by taking the cabinet painting DIY route.
Frequently Asked Questions
A Newly Painted Kitchen Cabinet Will Last for How Many Years?
A newly painted kitchen cabinet will last for eight to nine years, depending upon the care and maintenance. You may have to repaint them after every three to four years if you don’t maintain your kitchen cabinets well.
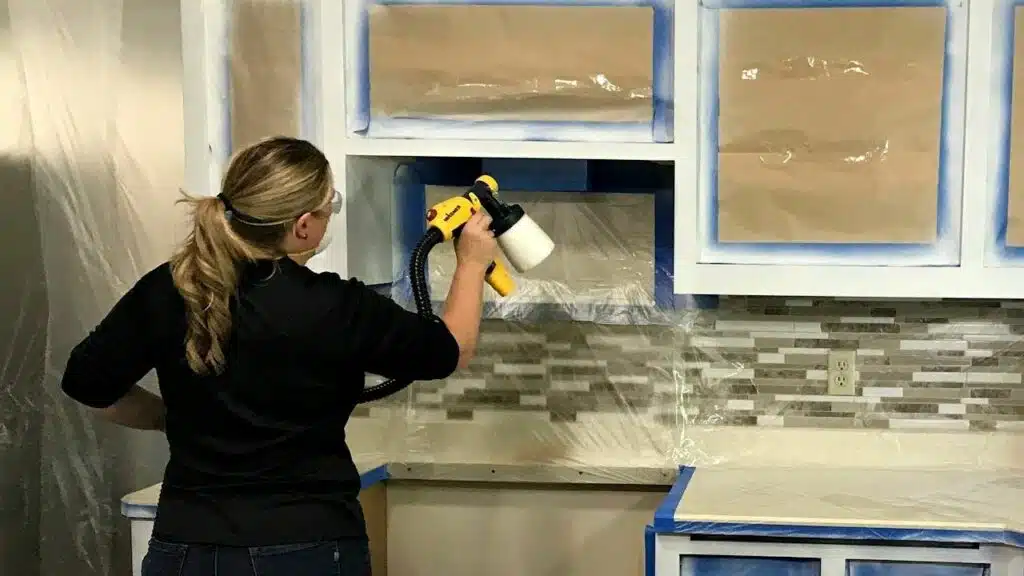
How Can You Get a Smooth Finish on Kitchen Cabinets?
If you want to get a smooth finish on your kitchen cabinets, you must use a paint sprayer. Paint sprayers eliminate roller marks and brush strokes completely, giving a professional paint finish to your cabinets. Painting with a paint sprayer is also faster than using a paintbrush or paint roller.