You’re probably here because you want to make your drywalls look better. Maybe you’re redoing a room or just tired of plain, flat walls.
Choosing the right drywall texture types can help your space feel more put-together and fresh without doing anything too fancy.
Here, I’ll break down the most common wall textures. I’ll explain how each one looks, how it works, and which one to pick.
I’ve learned a lot about these styles while helping others figure out what suits their space best.
So if you’re not sure where to start, or you just want clear info, this will help you decide what makes the most sense for you. Let’s keep it easy and useful.
What to Know Before Choosing a Drywall Texture Type?
Before picking a drywall texture, it helps to know what works best for your space. Wall texture can hide small marks, cracks, or dents, which makes it great for busy areas.
If you’re going for a flat, clean look, a smooth finish might be better. But if you want character or want to hide flaws, texture works well.
Drywall textures can also change the feel of a room. A rough texture can add warmth to a rustic or traditional room. Smoother or lighter textures fit better with modern styles. Think about what look you’re going for.
Different rooms also need different things. For example, a textured drywall in a hallway can handle bumps better.
Ceilings often use a light texture to help hide uneven spots. Bedrooms or living rooms may need something cleaner or softer-looking.
If you want to try it yourself, simple textures might be okay. But for detailed styles, a pro can help.
Top Drywall Texture Types
If you’re trying to figure out how to make your walls stand out, choosing the right texture can help.
Below are the most common drywall texture types, each with a short report to help you identify what you have or decide which one fits your project best:
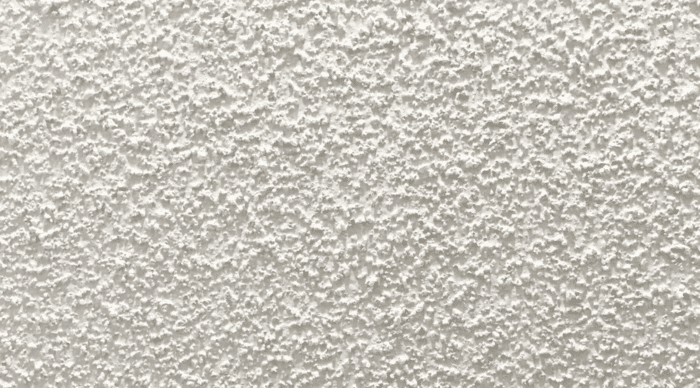
1. Orange Peel
This drywall texture looks a lot like the skin of an orange; bumpy but not too rough. It’s sprayed on and then left to dry, giving a soft and clean look. Orange peel works well in almost any room and hides small marks on the wall.
It’s popular because it looks smooth from far away but still covers flaws. It’s also easy to clean, which makes it great for hallways or living rooms.
2. Knockdown
Knockdown starts like orange peel but is slightly flattened with a tool before it dries. This creates a soft, uneven surface that adds depth without looking too busy. It works well in large areas like living rooms or ceilings.
Knockdown helps hide marks and dents while still giving a neat look. It’s not too hard to clean and can go with both modern and traditional styles.
3. Popcorn
Popcorn texture is thick and bumpy. It was used a lot on drywalls in older homes. It helps hide flaws and even blocks some sound, which is why it’s often found in bedrooms or hallways.
But it can be hard to clean and doesn’t match modern styles well. If it’s damaged, it’s tricky to fix. Some people remove popcorn to get a more updated look, but it’s still seen in some homes today.
4. Skip Trowel
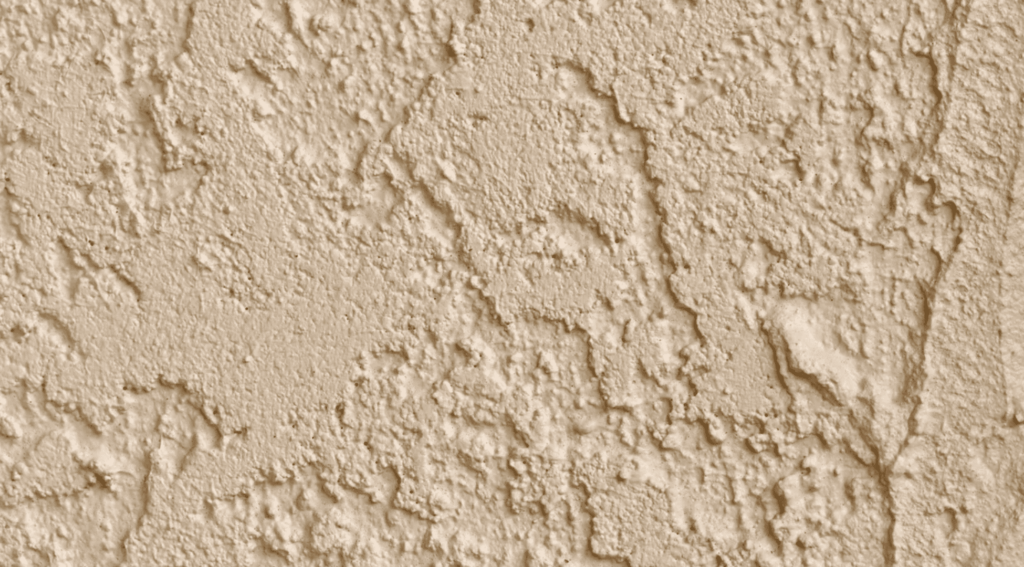
This texture is made with a flat tool that spreads thin layers over the drywall. Some spots are left bare, giving it a random, soft pattern. Skip trowel looks a bit more hand-done and adds charm to bedrooms or living spaces.
It fits well with older or traditional home styles. It takes some skill, so many people get help from a pro. It’s not too heavy, so it won’t make the room feel closed in.
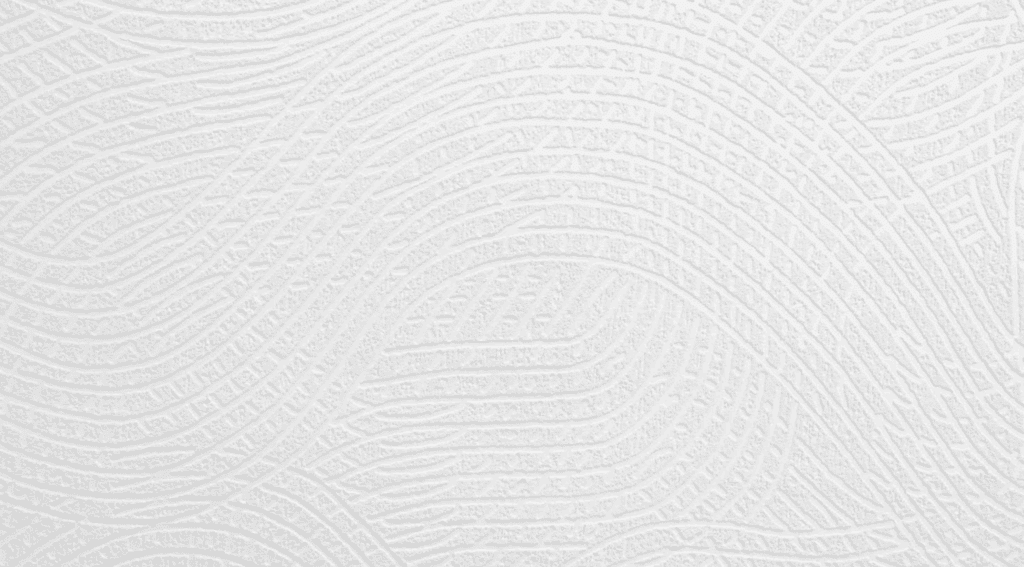
5. Sand Swirl
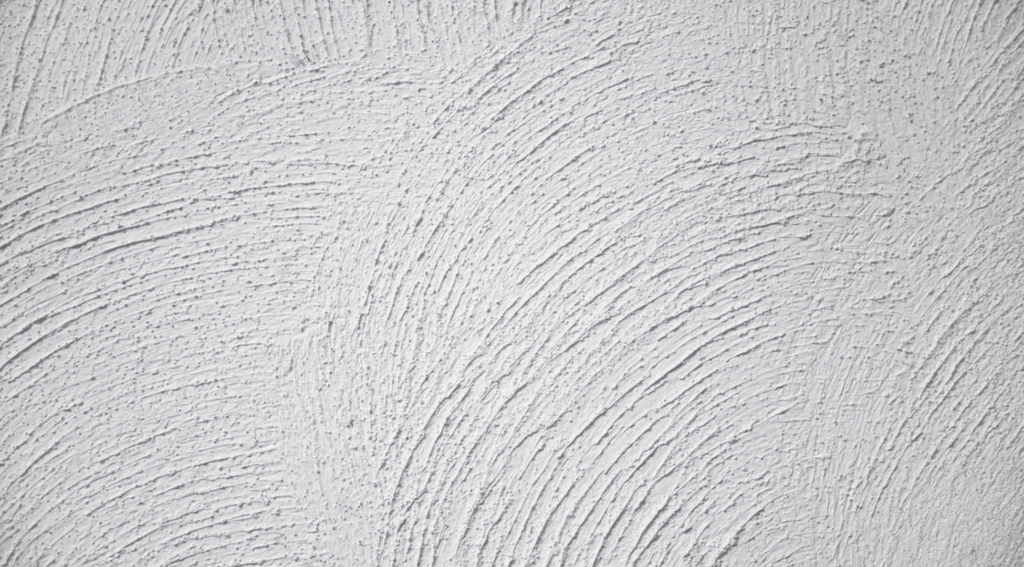
Sand swirl has a smooth look with soft swirls across the wall. It’s made by mixing sand into the paint or plaster, then using a brush to create round patterns.
The sand gives it a grainy feel, but it’s still not too rough. This drywall texture works well in bedrooms or dining rooms and gives the walls a gentle pattern that catches the light. It can be done with just a brush and steady hands.
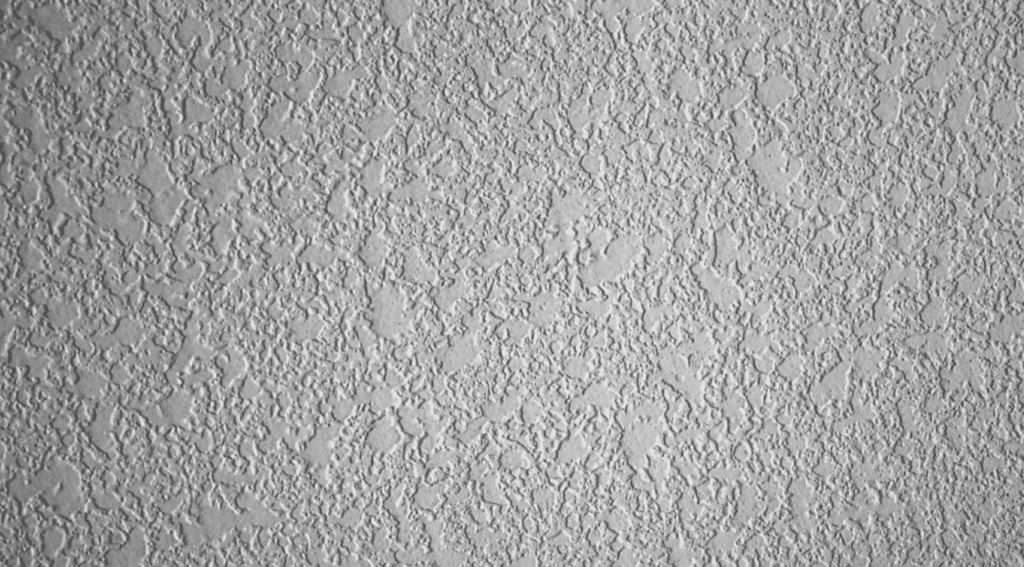
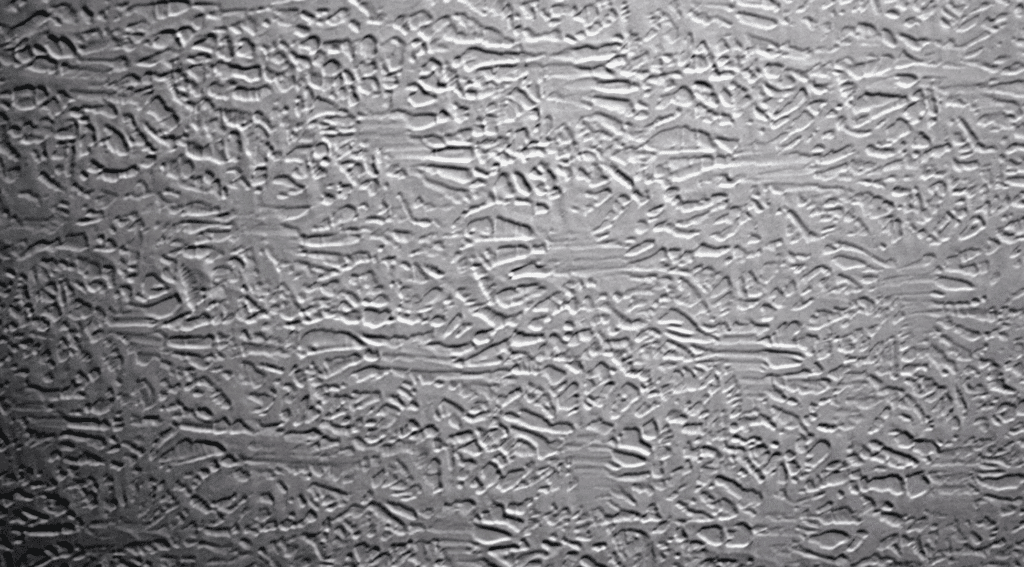
6. Slap Brush
This one is made by dipping a large brush into a thick mix and slapping it onto the wall. It leaves random patterns of lines or splashes.
Slap brush textures look busy but hide wall damage well. They’re often used on ceilings or in casual spaces. This method is messy but fun for people who like a bold look. It’s best to test a small area first to see if you like the effect.
7. Comb Texture
Comb texture has a clean, lined look. A comb-shaped tool is pulled across wet mud or plaster to make straight or curved lines. It’s often used for creative designs or a bold pattern on one wall.
Comb textures work well in small areas like entryways or bathrooms. It gives the wall a handmade style. This texture takes time to apply evenly, but it’s not too hard if you go slow and plan the design.
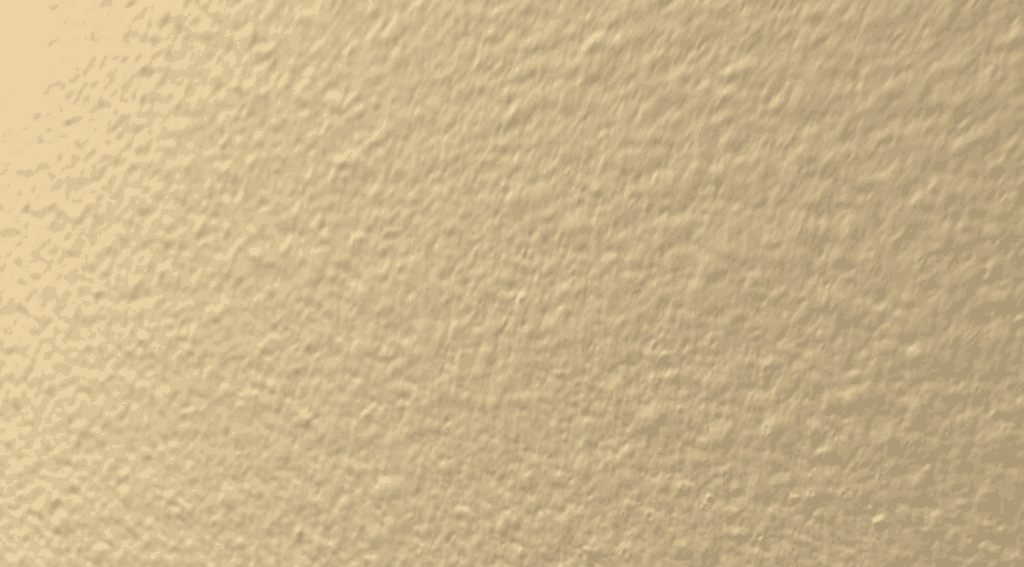
8. Spray Sand
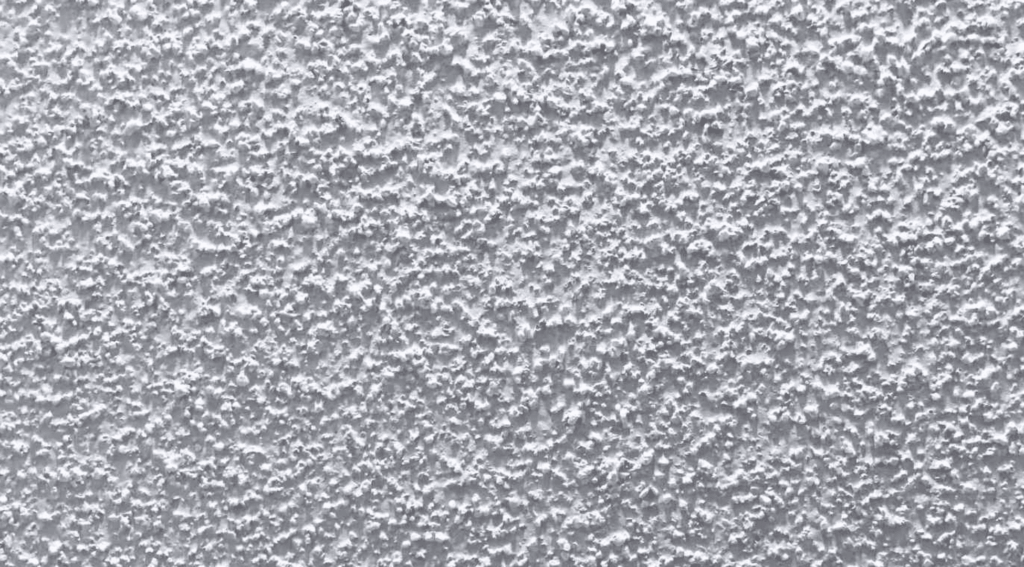
Spray sand texture is a fine-grained coating sprayed onto the wall. It looks soft and light but gives a textured feel. It’s good for ceilings or large walls where you want just a bit of pattern.
Spray sand can help hide flaws and doesn’t shine too much in the light. It’s easy to touch up later if it gets damaged. This texture is also good if you don’t want a bold look.
9. Smooth Finish

A smooth finish has no texture at all. The drywall is sanded flat and painted for a clean, even surface. It’s the hardest to keep perfect because it shows every little mark or dent.
But it also looks neat, fresh, and modern. Smooth walls are great for small rooms or spaces where you want a simple look. They work well with any color or style but may need more upkeep over time.
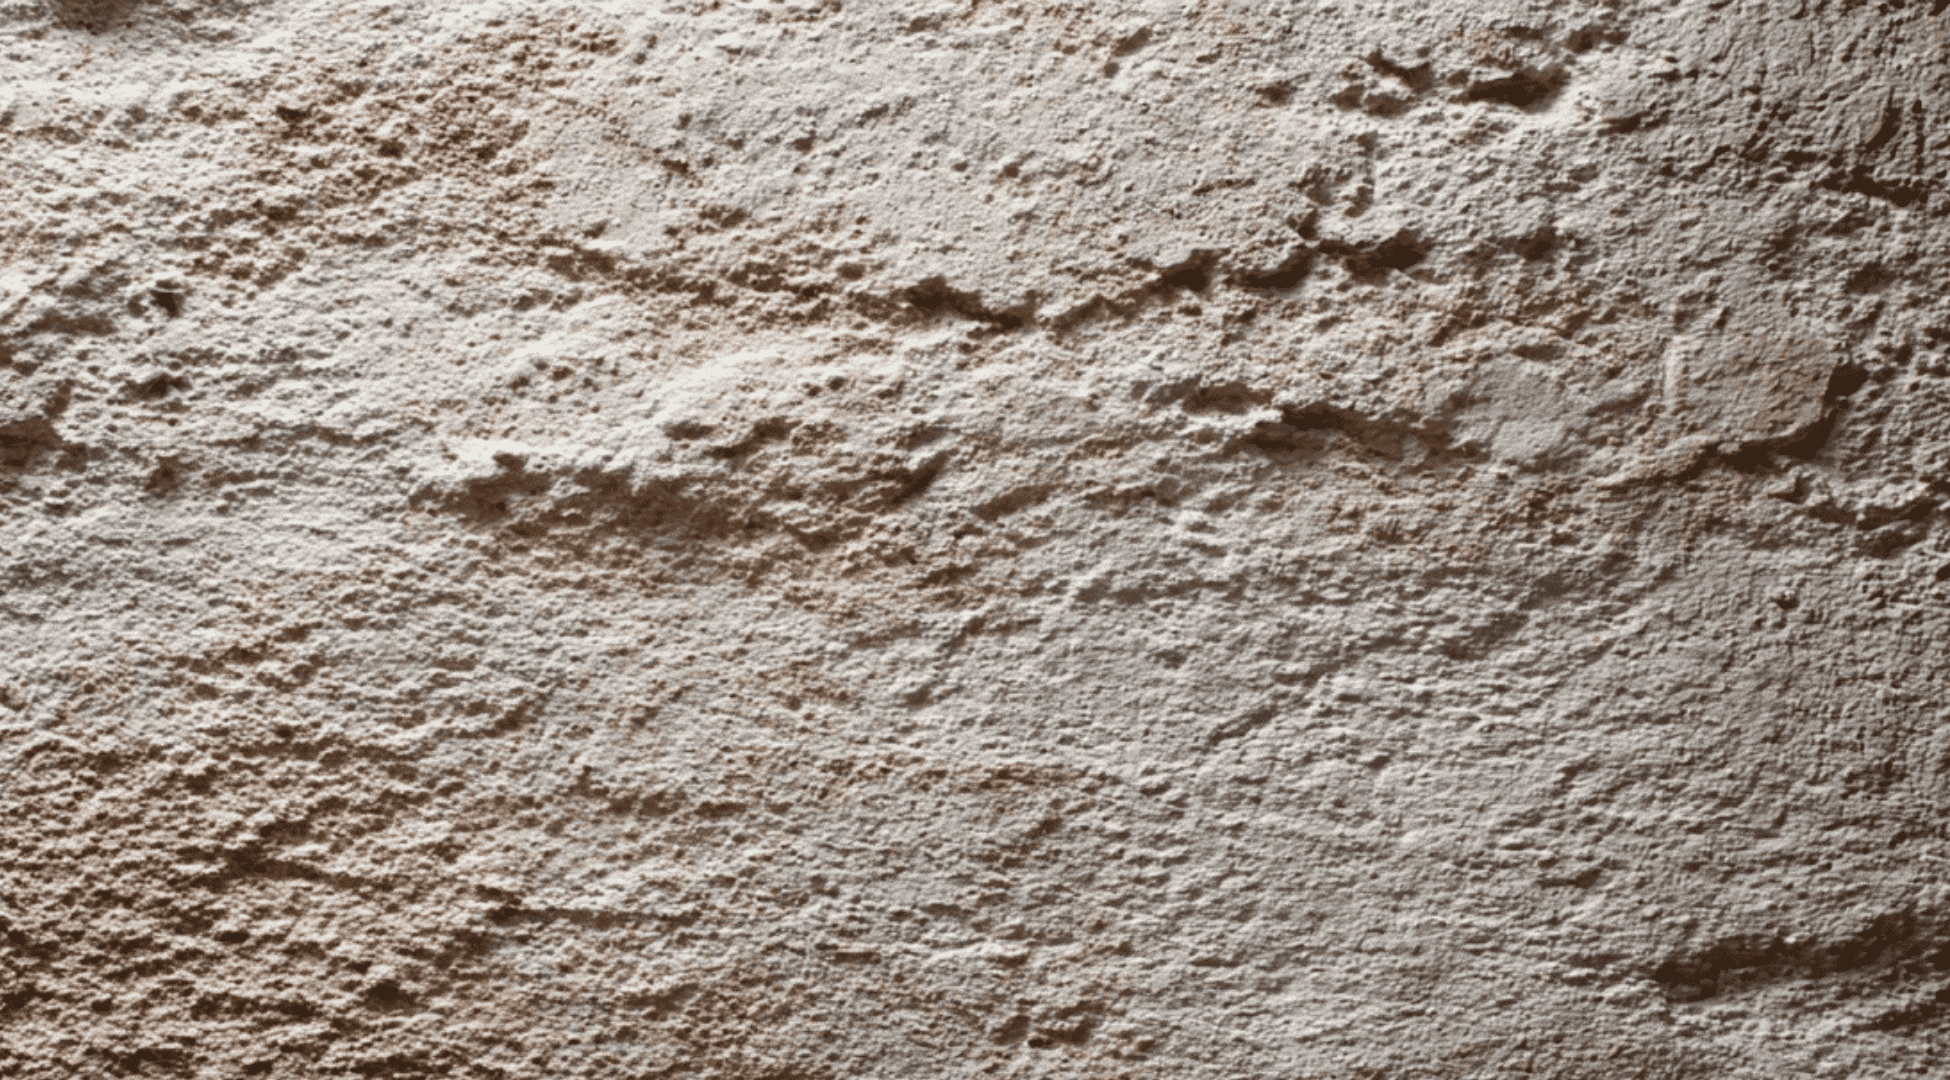
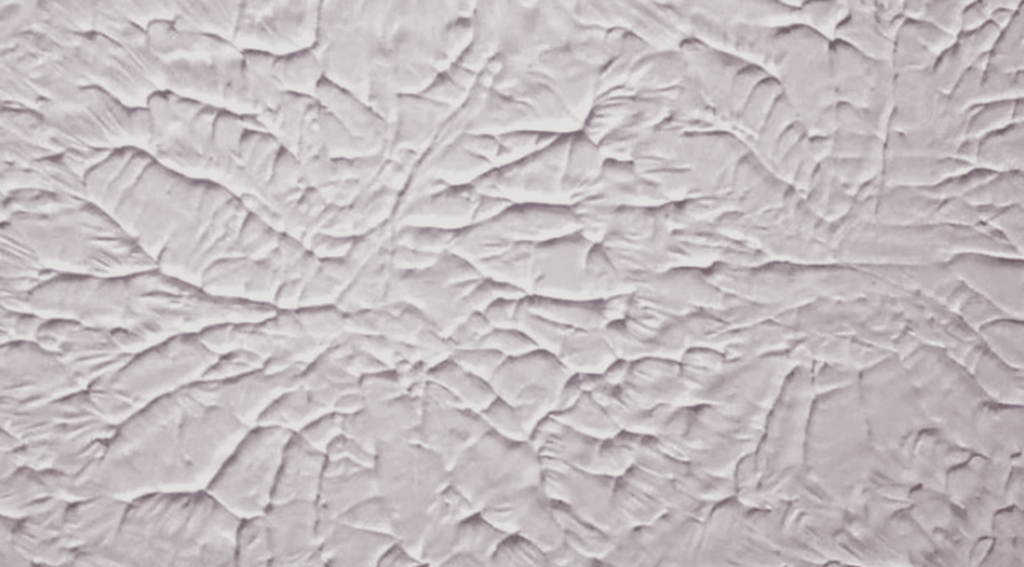
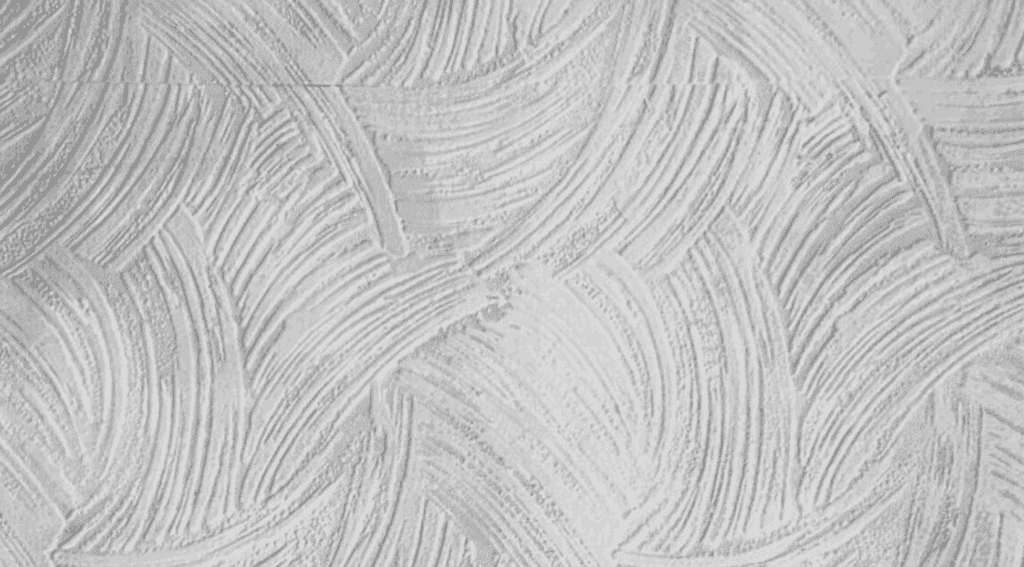
10. Hawk and Trowel
This texture uses two tools: a hawk to hold the plaster and a trowel to spread it. It makes wide, sweeping marks on the wall that look handmade.
Hawk and trowel walls are thick and bold. They give a classic feel to a room, often used in living rooms or dining rooms. This style is common in older homes. It needs a steady hand, so many people let a pro do it for them.
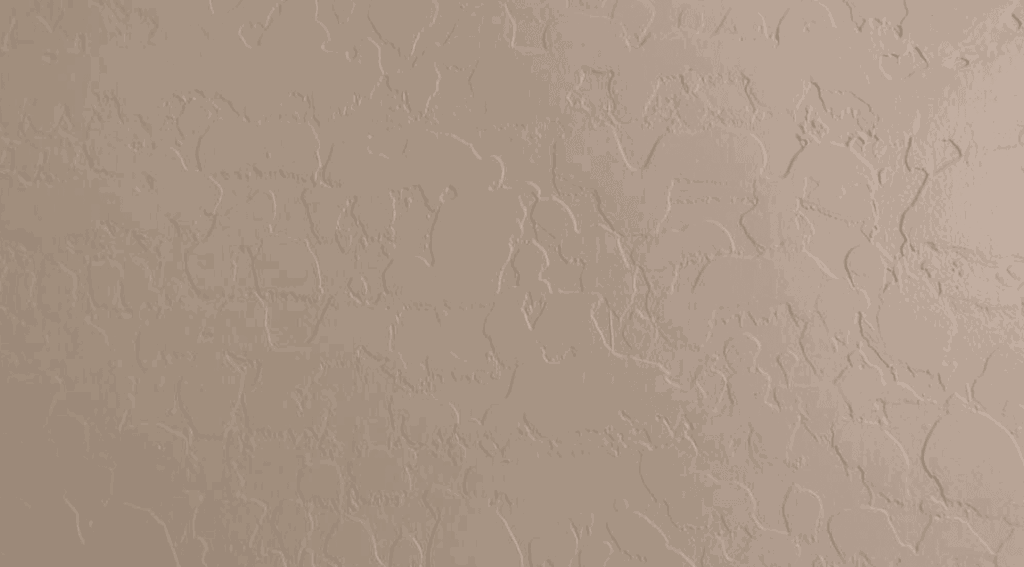
11. Venetian Plaster
Venetian plaster looks smooth and shiny, almost like stone. Layers are applied and polished to give a rich, soft finish. It can have light color changes that make it look deep and detailed. It works well in fancy spaces like dining rooms or hallways.
Venetian plaster is harder to apply, so most people hire someone to do it. But once it’s done, it’s strong and lasts a long time without much upkeep.
12. Lace Texture
Lace texture is made by spraying a base layer and then adding a top layer with a pattern. It looks like lace fabric, full of small, random designs. This drywall texture covers up wall flaws and adds a bit of style without being too heavy.
It’s often used in ceilings or bedrooms. Applying it takes practice, but the result looks soft and clean. It works well in homes with classic or simple styles.
13. Rosebud
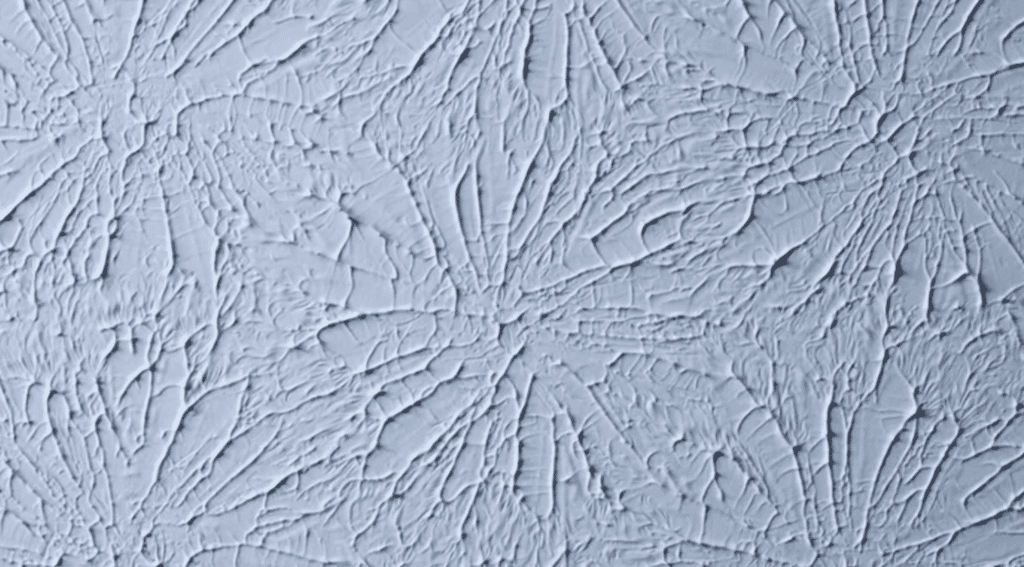
This texture makes small shapes that look like rose petals. A brush is pressed flat into the wall in a repeating way, creating soft, flower-like patterns. It’s often used on ceilings to give a calm, gentle look.
Rosebud hides small flaws well and is easy to do if you keep the pattern steady. It’s a nice option for bedrooms or other quiet areas. The look is soft and a little fancy without being too bold.
14. Crows Foot
Crows foot is also called stomp texture. It’s made by pressing a stiff brush into the wall and pulling it away. This creates sharp marks that look like bird footprints.
The design is bold and hides a lot of damage. It’s often used on ceilings or in older homes. Crows foot is great if you want something eye-catching but still useful. It’s one of the easier ones to apply by hand.
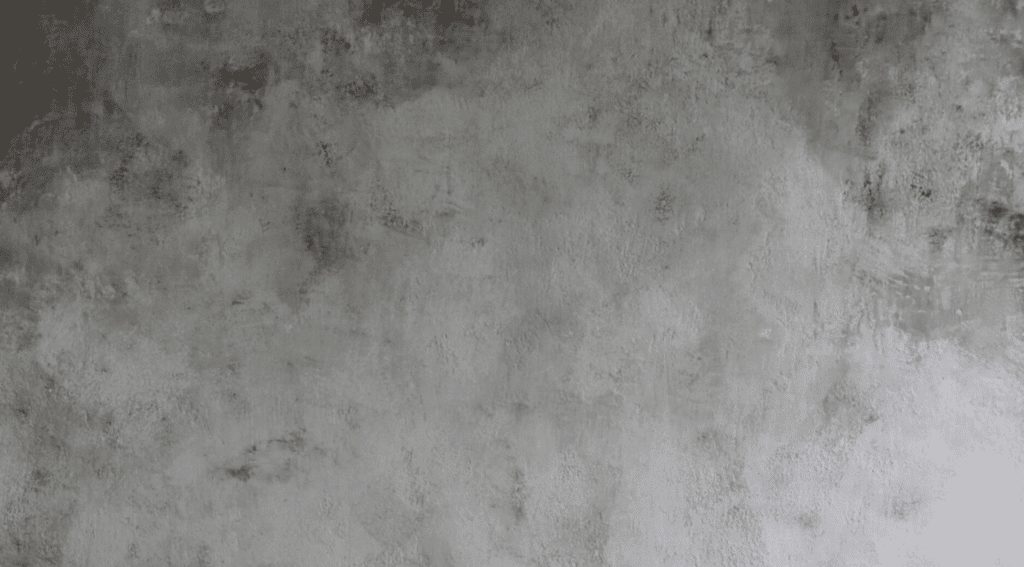
15. Brick or Stone Imprint
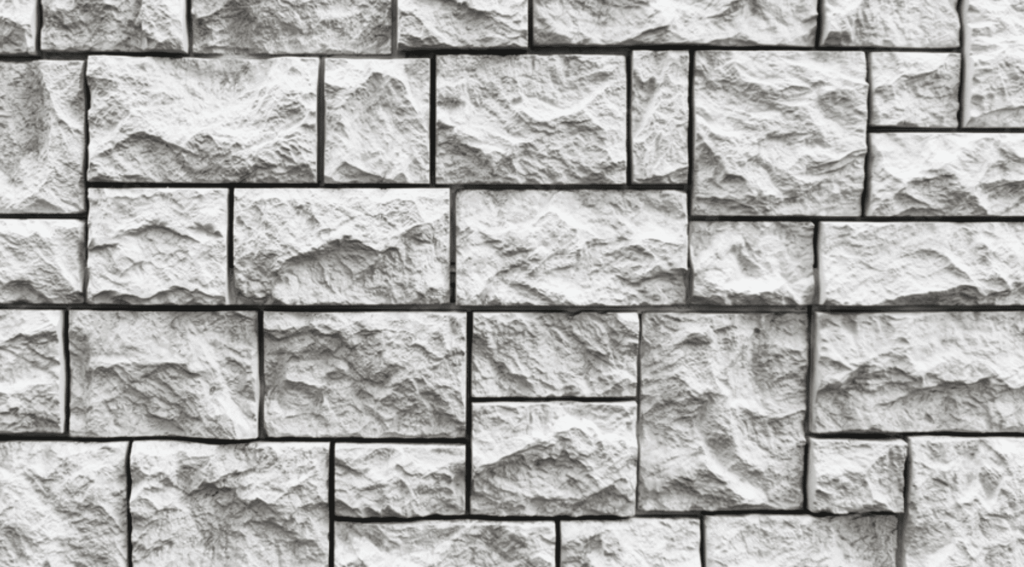
This texture looks like brick or stone. It’s made using molds or stamps pressed into wet plaster. After drying, the wall is painted to look real. It gives a strong and bold feel to any room.
This type works well as an accent drywall in living rooms or entryways. It can be tricky to do right, so many people ask a pro for help. The finished look feels solid and adds character.
How to Choose a Drywall Texture for the Walls in Your Home?
Picking a drywall texture depends on what you want the room to feel and look like. Start by thinking about the room’s purpose.
Busy areas like hallways or kids’ rooms might need a texture that hides dents or marks, like orange peel or knockdown. For a soft, calm space like a bedroom, something lighter like skip trowel or rosebud works well.
Next, think about style. Modern homes usually look better with smooth walls or simple textures. Traditional or rustic homes can handle bold textures like hawk and trowel or lace.
Also, think about how much time and money you want to spend. Some textures are easy to do yourself, while others need a pro. And if you ever want to paint or fix the walls later, smooth surfaces are easier to handle.
Choose based on the room, the style, and how much work you’re ready for.
Drywall drywalls Maintenance & Painting Tips
Textured walls can look great, but they do need some care to stay that way. You can paint over them, but it helps to know a few tricks to keep things looking fresh and lasting longer.
Here are some simple tips to make it easier:
- Yes, you can paint over textured drywall, just use a thicker roller.
- Use primer first to help the paint stick better and cover evenly.
- Clean the surface with a damp cloth before painting to remove dust.
- Use a soft-bristle brush to clean deep textures without damage.
- For touch-ups, dab the area with a sponge instead of brushing it fully.
- Avoid harsh cleaners that might wear down the texture.
- To remove texture, sand or scrape it carefully, but this takes time.
- A skim coat can help flatten walls if you want a smooth finish.
- Seal your walls with paint that has a durable finish for longer life.
With the right care, your textured drywalls can stay clean, fresh, and in good shape for years. A little upkeep goes a long way.
Conclusion
Choosing the right drywall texture types made more sense to me once I really looked at what each one does, and now you’ve got that same info, too.
I hope it’s clearer for you now, whether you want to hide marks, add character, or just give your space a fresh look.
If you’re still unsure which drywall texture you have, take a close photo in good lighting and compare it to the textures above; that’ll help you match it faster.
One quick reminder: think about cleaning and touch-ups later. It’ll save you stress.
If this helped you even a bit, I’ve got more like this. Check out the other blogs on the website for more easy-to-follow tips to help with your space!