I’ll be honest: when I first heard about painting granite countertops, I thought it sounded ridiculous. Granite is supposed to be this permanent, high-end material you invest in once and never touch again, right?
But here’s the thing: DIY granite makeovers have become surprisingly popular, and people are getting impressive results without tearing out their perfectly functional countertops.
The short answer is yes; you can absolutely paint granite countertops. It’s not as crazy as it sounds, but it does require proper preparation, the right materials, and a solid sealing process to make it last.
I’m going to walk you through the entire step-by-step process, break down the real pros and cons based on what actually works, and share experiences from people who’ve already done this in their own kitchens.
Understanding Granite Countertops
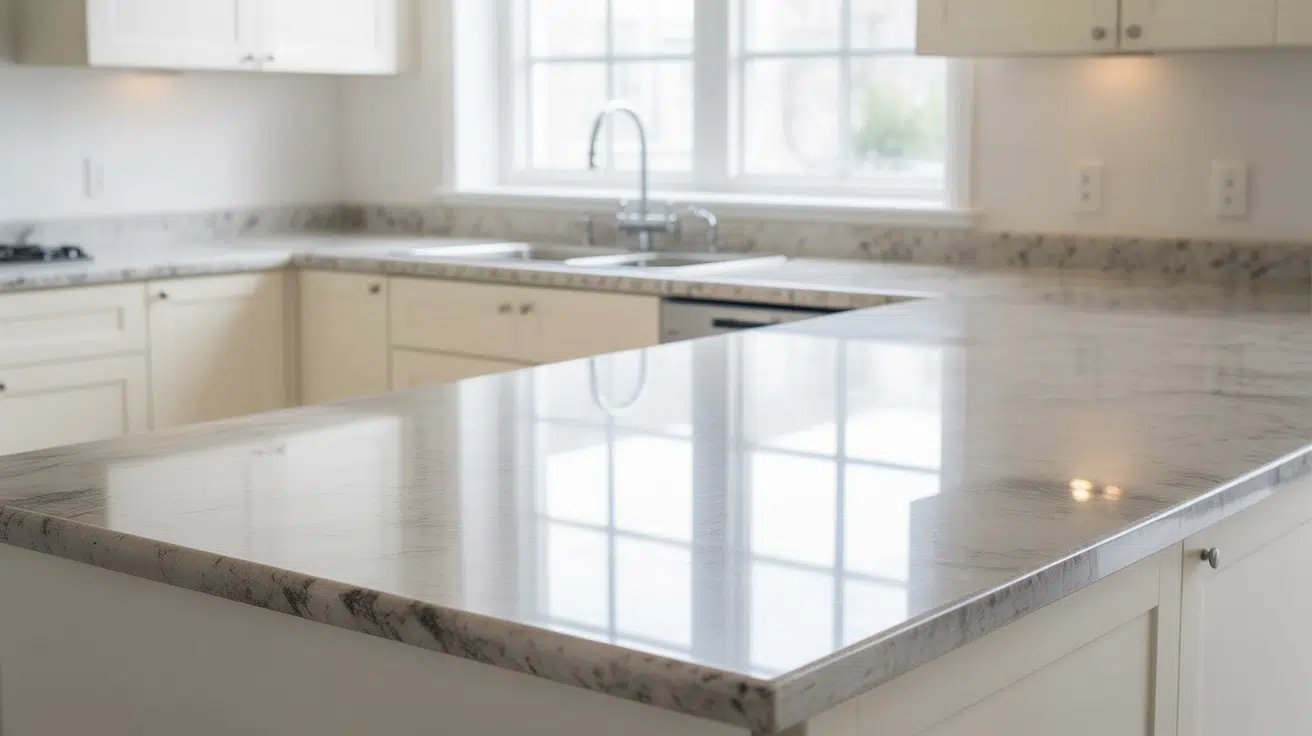
Granite is a natural stone that’s been a kitchen staple for decades, and understanding its properties helps explain why painting it requires special treatment.
The surface is incredibly smooth and relatively non-porous once sealed, which means paint doesn’t naturally adhere the way it does to wood or drywall.
You’re also covering up those natural patterns and veining that originally made granite appealing. Plus, granite handles heat beautifully and resists scratches better than most materials.
Here’s what you need to know before committing: painting granite is permanent. You can’t just wipe it off if you change your mind, and it may impact your home’s resale value since buyers often expect original granite in upscale kitchens.
Can You Paint Granite Countertops: Pros & Cons
Painting granite countertops can be a quick way to change your kitchen or bathroom without a full remodel. The table below shows the main benefits and drawbacks so you can decide if it’s right for you.
| Pros | Cons |
|---|---|
| Affordable alternative to replacement. Costs far less than a new granite installation. | Risk of peeling and chipping. May not hold up under heavy use despite proper prep. |
| Temporary or permanent color change. Refresh your look without committing to new slabs. | Extensive prep required. Cleaning, sanding, and priming take significant time and effort. |
| Modernizes outdated countertops. Instantly updates kitchen or bath style with fresh color. | Decreases resale value. Reduces the premium appeal buyers expect from natural granite. |
| No demolition needed. Quick transformation without tearing out existing counters. | Voids warranties. Original granite warranties won’t cover painted surfaces. |
Please note this important fact before painting granite-
Painted granite needs regular maintenance and re-sealing every few years to maintain durability, especially in high-traffic areas.
The Countertop Painting Process Explained
Painting granite countertops takes patience, the right products, and careful steps. Each stage builds on the last, so following the process closely is the key to a finish that looks good and lasts as long as possible.
Materials and Tools Required
Before you start, gather these supplies:
- Countertop painting kit
- Painter’s tape
- Drop cloths
- Foam rollers and brushes
- Sandpaper (150–220 grit)
- Degreasing cleaner
- Acetone
- Rubber gloves
- Respirator mask
Step 1: Remove Fixtures and Protect Surfaces

Take off the cooktop and any hardware that could get in the way. Cover nearby walls, cabinets, and floors with painter’s tape and plastic sheeting so epoxy and paint don’t drip where you don’t want them.
Double-check that all edges and corners are sealed off, since epoxy can run and harden quickly once poured.
Step 2: Apply Primer

Roll on a white base primer in two thin coats, letting each coat dry for about an hour.
This gives a smooth, even surface and prevents the granite color from bleeding through your paint or epoxy. Work in sections so the primer stays even, and don’t rush the dry time between coats.
Step 3: Add Veining or Color Details

Sketch your veining design on paper before starting. Use gray paint to draw veins, mist lightly with water to soften lines, and dab highlights with a sponge for a natural, marble-like effect.
Keep a reference photo nearby so you can match the look you’re aiming for on each section.
Step 4: Pour and Spread Epoxy

Mix resin and activator for 3–4 minutes according to the kit instructions. Pour in an “S” shape over the countertop, guide it with a roller while it self-levels, and smooth the underside edges to prevent hardened drips.
Work steadily, as epoxy sets fast, and have a second person help for quicker coverage.
Step 5: Let It Cure and Finish Cabinets

Remove the protective plastic before it bonds to the surface. Allow the countertop to cure for seven days without setting anything on it. If you are painting cabinets as well, consider hiring help for a faster and cleaner finish.
Taking your time at this stage ensures the countertop hardens completely and stays durable for months.
Watch the detailed YouTube video here by Lauren Nicole Jones
Painting Granite Countertops: Real Homeowner Experiences

A Reddit discussion on the Home Improvement community showed that most homeowners strongly discourage painting granite countertops, saying it’s a downgrade from a luxury finish to a short-term fix that chips easily and rarely holds up over time.
Some mentioned that granite’s smooth surface makes it hard for paint or epoxy to stick properly, while others suggested removable options like vinyl wraps for a safer update.
Personally, I think both sides make fair points; painting granite isn’t for everyone, but if you’re careful with prep, use the right products, and just want a short-term refresh, it can be a creative, budget-friendly way to change the look of your space without a full remodel.
Alternatives to Painting Granite Countertops
If painting doesn’t feel right for your kitchen, several other options provide longer-lasting results. Some are still budget-friendly, while others are true long-term investments.
| Option | Cost Range | Lifespan | Notes |
|---|---|---|---|
| Epoxy Resurfacing | $50–$150 per sq. ft. | 5–8 years | Professional coating system over existing counters |
| Concrete Overlays | $70–$150 per sq. ft. | 7–10 years | Thin concrete layer poured and sealed, industrial look |
| Laminate Overlays | $5–$15 per sq. ft. | 10–15 years | New laminate bonded to the old surface |
| Granite Remnants | $800–$1,500 installed | 15–20 years | Best for small kitchens or vanities |
| Quartz Countertops | $50–$120 per sq. ft. | 20+ years | Durable, low-maintenance, wide style range |
Final Thoughts
So, can you paint granite countertops? Yes, but only if you go into it knowing the limits. You’ll save money, get a fresh look, and gain time before a full remodel.
At the same time, you’ll need to be careful with upkeep and accept that it won’t last like natural stone.
I like to think of this project as a short-term upgrade that buys you breathing room. If your budget is tight or you just want a change right now, it can make sense.
Take it slow, use good products, and you’ll enjoy the results for a few years. For more ideas and practical tips, check out my other posts on home projects.