Tired of living in one giant room with no privacy or struggling to find a quiet space to work from home? Learning how to build a wall yourself creates the separate spaces you need without spending thousands on contractors or renovations.
You don’t need special skills or fancy tools to transform your home layout and boost your property value. Just a clear plan, basic supplies, and some patience will help you divide that oversized bedroom or create a home office.
I’ll walk you through simple steps that anyone can follow, so you feel confident every step of the way. By building your own wall, you save money and gain a useful skill at the same time. Let’s get your project going with clear, easy instructions!
Define Your Wall Purpose First
Before you pick up a single tool, think about what you need this wall to do. You might be splitting one big room into two separate spaces. Maybe you want to add some shelves or cabinets right into the wall itself. Some people need to keep noise from traveling between rooms.
Your wall’s job matters because it changes how you build it. A simple room divider can be basic and lightweight. But a wall for soundproofing needs extra insulation and special materials. Storage walls require stronger framing to hold the weight.
Take five minutes to write down your main goal. This helps you choose the right materials and avoid wasting money on stuff you don’t actually need.
How to Build a Wall: Step-by-Step Guide
Building a new wall yourself is easier than you think when you break the project into simple, manageable steps. I’ve outlined the complete process from gathering materials to applying the final coat of paint:
Materials Required
Gathering all your materials before starting your wall project saves time and prevents frustrating trips to the hardware store. Here’s everything you’ll need to frame and finish a standard interior wall successfully:
- 2×4 Lumber
- Framing nails
- Stud Master tool
- Framing nailer
- Drywall sheets
- Caulk
- Power drill
- Level
- Hammer
- Baseboard molding
- Drywall mud
- Primer and paint
Having these materials ready beforehand lets you work efficiently without stopping mid-project for missing supplies. Check your local building supply store for bulk discounts if you’re building multiple walls at once.
Step 1: Clear the Space
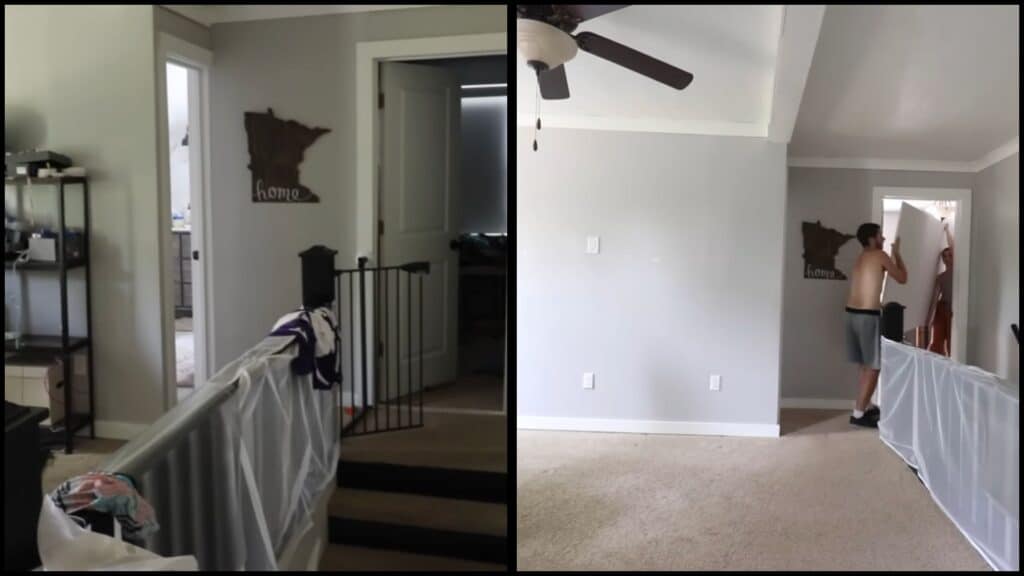
Start by clearing the area where you want to build the wall. Move out any furniture, boxes, or clutter. This gives you enough space to move around freely.
You will also need enough room to work and set up tools safely. Take the time to measure and mark the location of your new wall. Planning ahead makes everything easier.
Step 2: Plan and Mark the Layout
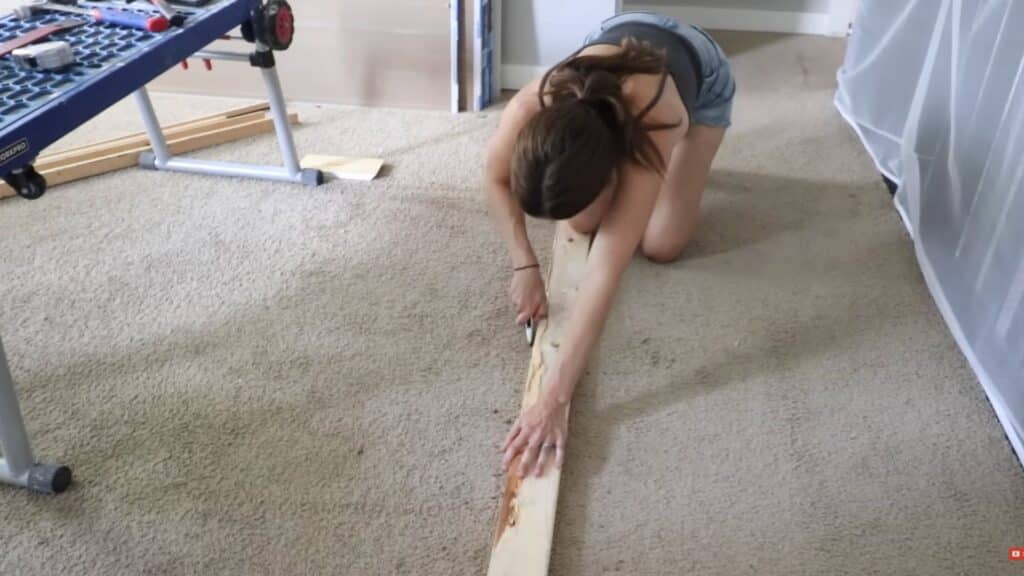
Use a tape measure to measure your wall location. Mark the floor first, then snap a chalk line for a straight reference.
Transfer marks to the ceiling with a plumb bob or laser level, ensuring perfect vertical alignment. Mark stud positions every 16 inches on center along your layout lines.
For an 8-foot wall section, you’ll need approximately 6-7 studs. Start 3/4 inch from one end, then mark at 16-inch intervals. Mark both top and bottom plates simultaneously for accuracy.
Step 3: Frame the Wall
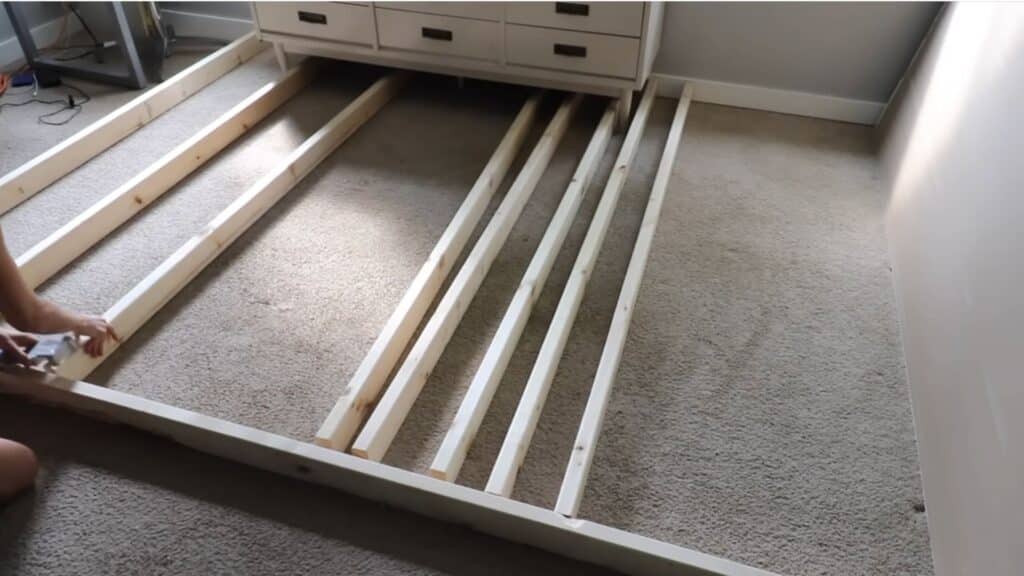
Cut your 2x4s to the correct length for the bottom and top plates, as well as the studs. Begin by attaching the studs to the plates using a framing nailer.
Make sure that the studs are placed 16 inches apart, as this is standard spacing for most walls. Secure the frame to the floor and ceiling, ensuring it is level and sturdy.
Step 4: Install the Drywall
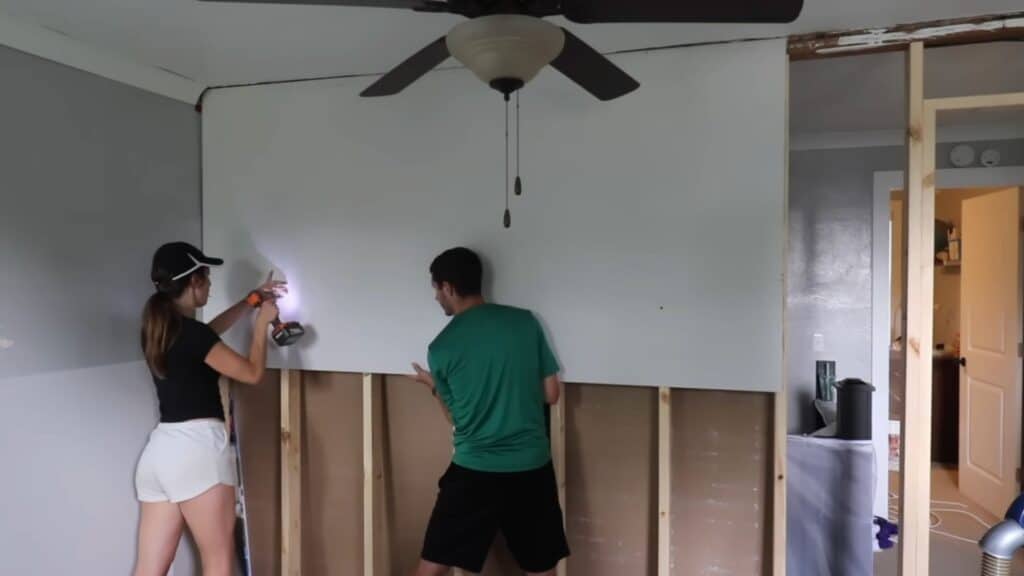
Once the framing is complete, it’s time to install the drywall. Measure and cut the drywall sheets to fit the frame. Begin by placing the top sheet and work your way down.
Use a power drill or screwdriver to attach the drywall to the studs. If needed, have a helper hold the sheets in place while you secure them to the frame. Ensure everything is level for a clean look.
Step 5: Finishing Touches
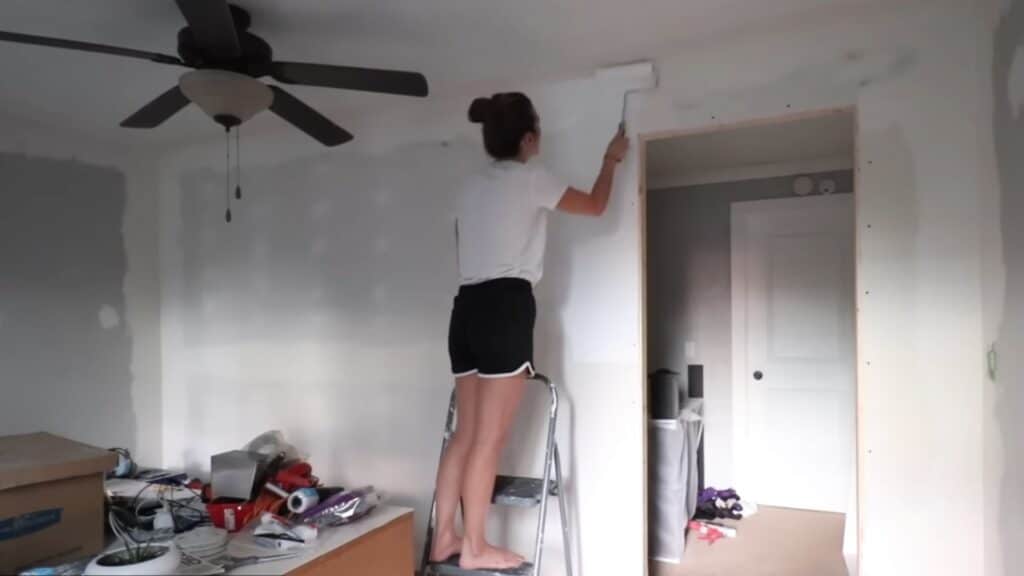
Now that the drywall is up, it’s time to finish the wall. Apply drywall mud to the seams, then place drywall tape over the mud. Use a drywall knife to smooth out the mud.
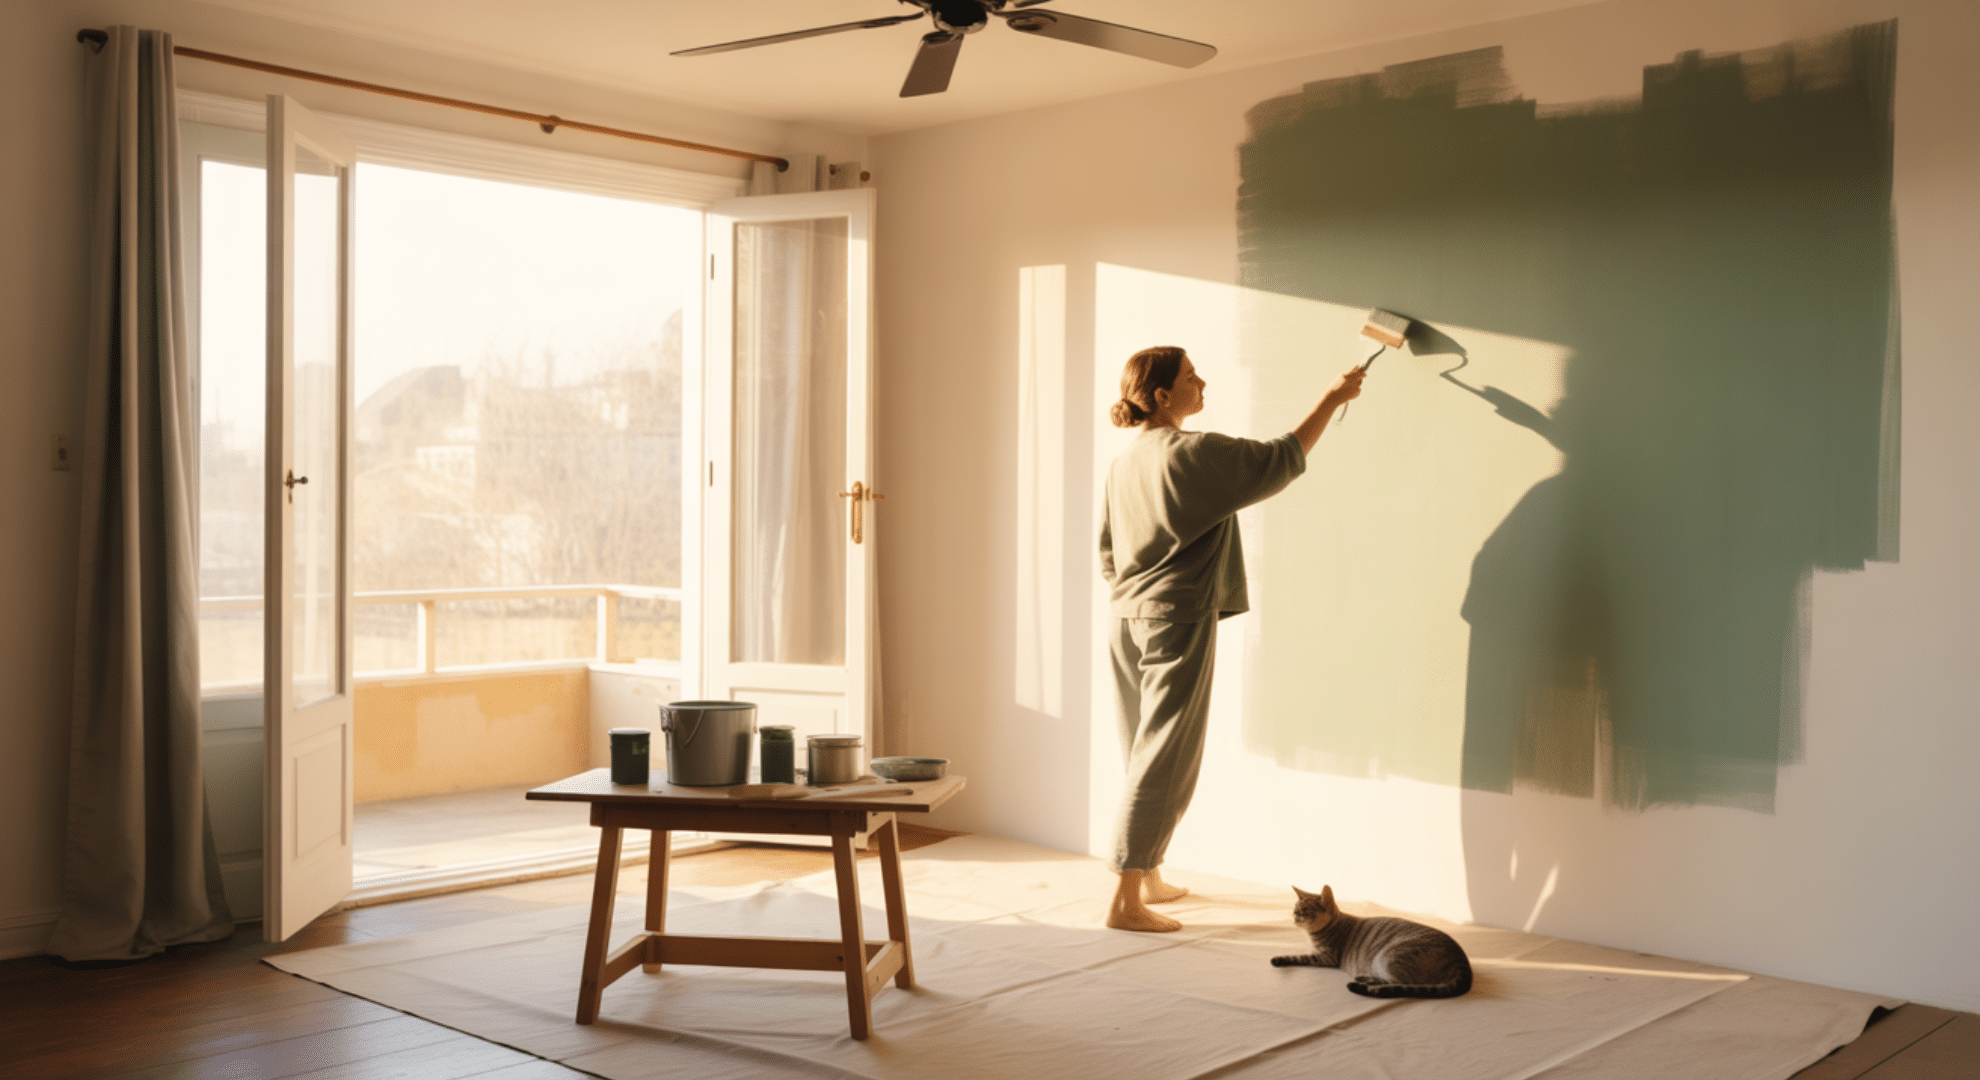
Once dry, sand the surface to create a smooth finish. Finally, paint the wall and add baseboard molding to complete the new look. Enjoy your freshly built wall!
For more information, watch the detailed video explanation by Welcome to the Woods.
Understanding Building Permits and Wall Codes
Building permit requirements vary significantly across states and cities, so always check your local regulations before starting any wall project. Here’s a breakdown of common wall types and their typical permit requirements across the United States:
| Wall Type | Permit Required? | Key Code/Requirement | Examples of States with Permit Rules |
|---|---|---|---|
| Load-Bearing Walls | Yes | Must meet International Building Code (IBC) and local standards | California, Texas, Florida, New York, Illinois |
| Non-Load-Bearing Walls | Sometimes (depends on locality) | Fire safety, electrical, and structural guidelines | New York (some cities), Illinois, Florida |
| Wall Removal/Modification | Yes | Structural engineer review and permit needed | Nationwide, including California, Washington, and Georgia |
| Retaining Walls | Yes, if height > 3-4 feet or load-supporting | IRC/IBC structural and safety standards | Maryland, California, Texas, Virginia |
| Electrical/Plumbing in Walls | Yes, separate permits | Must follow national and state electrical/plumbing codes | Nationwide |
Contact your local building department early in the planning process to understand exactly what permits you need. Failing to get proper permits can result in fines, project delays, or even forced removal of your new wall.
Tips for a Professional Finish
Getting a smooth, professional finish makes a big difference once the wall is complete. Small details can really improve how it looks and lasts. Here are a few easy tips to help your wall look more polished and well-built:
- Sand rough edges: Sand rough lumber edges before framing to make sure everything fits tightly and the drywall sits flat.
- Use construction adhesive: Use construction adhesive along studs before installing drywall for a stronger, longer-lasting bond.
- Check level and alignment: Double-check the level and alignment before securing the drywall to avoid uneven surfaces or visible gaps.
- Seal all gaps: Seal gaps with caulk where the wall meets the floor or ceiling to improve insulation and block drafts.
Taking these extra steps keeps your wall solid and neat for years. It’s worth a few extra minutes of effort.
Common Mistakes to Avoid When Building a Wall
Building a wall isn’t too hard, but small mistakes can cause big problems later. Paying attention to details helps your wall stay solid and safe. Here are some common mistakes you should try to avoid while building your wall:
- Using uneven lumber or incorrect measurements can throw off your wall’s alignment and cause gaps or uneven surfaces.
- Forgetting to check for electrical lines or pipes before cutting or drilling can lead to expensive and dangerous damage.
- Over-tightening screws and splitting wood weakens the frame and makes it harder to attach drywall properly.
- Not verifying wall alignment before fastening can leave your wall crooked and tough to fix once secured.
- Skipping safety gear and workspace cleanup can lead to injuries or accidents that easily could have been avoided.
Avoiding these simple mistakes saves time, money, and frustration. With careful prep and patience, your wall will turn out great.
Is Building a Wall a Good DIY Project?
Building a small interior wall is a great DIY project for beginners and can usually be finished in a day or a weekend without much experience. It’s a good way to add extra space or divide rooms.
Most simple walls don’t carry the weight of the house, making them easier to build safely. However, if you’re dealing with a load-bearing wall, it’s best to call a contractor because it involves more skill and safety concerns.
For materials, expect to spend between $100 and $400, depending on the size of the wall. Optional costs like insulation, drywall, or paint can add to the budget. For real-life insights and tips, you can check out this helpful discussion on Reddit.
These costs are estimated and may vary depending on materials, location, and the complexity of the project.
Advanced Framing: A Smarter Way to Build Walls
Advanced framing is changing how we build walls today. It uses less wood while making structures just as strong.
This method spaces studs farther apart than traditional framing does. You’ll use fewer materials and save money in the process.
The technique also reduces thermal bridging, which means better insulation for your home. Your energy bills will thank you later.
You’ll align studs with roof trusses and floor joists above and below. This creates a more efficient load path through your structure.
Advanced framing works best for non-load-bearing walls and residential projects. Always check your local building codes first, though.
It’s a forward-thinking approach that benefits both your wallet and the environment.
Final Thoughts
How to build a wall yourself can feel very rewarding and save you money as well. It’s a fun way to customize and improve your home exactly how you want it.
When you take your time and follow the right steps, you get a strong, neat wall that you can be proud of for years.
Plus, doing it yourself means you have control over every detail and learning valuable skills. If you run into questions or want to share your own wall-building stories, I want to hear from you.
Don’t be shy; drop a comment below and join in. Your tips and questions help everyone learn and make future projects easier!


