I’ve learned that keeping my humidifier clean is just as important as using it. When I first wondered how to clean humidifier, I realized that skipping regular cleaning could lead to mold, bacteria, and stubborn mineral buildup inside the tank.
That buildup not only harms the air I breathe but also makes the machine less efficient and shortens its life. By making humidifier cleaning part of my routine, I know I’m protecting my health and keeping the unit running smoothly.
Experts recommend cleaning the humidifier every few days to prevent these problems. Regular care also ensures the device works at its best and lasts longer.
Whenever someone asks me how to clean a humidifier, I always stress that consistency is key.
Humidifier Cleaning & Maintenance Schedule
Proper maintenance prevents bacterial growth and mineral buildup, ensuring healthy air quality. Follow this schedule to keep your humidifier performing optimally and safely:
| Frequency | Tasks | Purpose |
|---|---|---|
| Daily | Rinse the tank, refill with fresh water | Prevent bacterial growth |
| Every 3 Days | Empty completely, rinse all parts | EPA minimum recommendation |
| Weekly | Deep clean with vinegar/citric acid, scrub buildup | Remove mineral deposits |
| Bi-weekly | Optional disinfection with diluted bleach | Kill bacteria and mold |
| Monthly | Replace filters, inspect components | Maintain peak performance |
| Seasonally | Full cleaning before storage/startup | Prepare for extended use/storage |
Regular maintenance extends your humidifier’s life and protects your family’s health. Increase frequency during heavy-use periods and always use distilled water when possible to minimize cleaning needs.
How To Clean a Humidifier: A Step-by-Step Routine
Regular humidifier maintenance prevents mineral buildup and ensures clean, healthy air circulation. This thorough cleaning process will restore your humidifier to optimal performance:
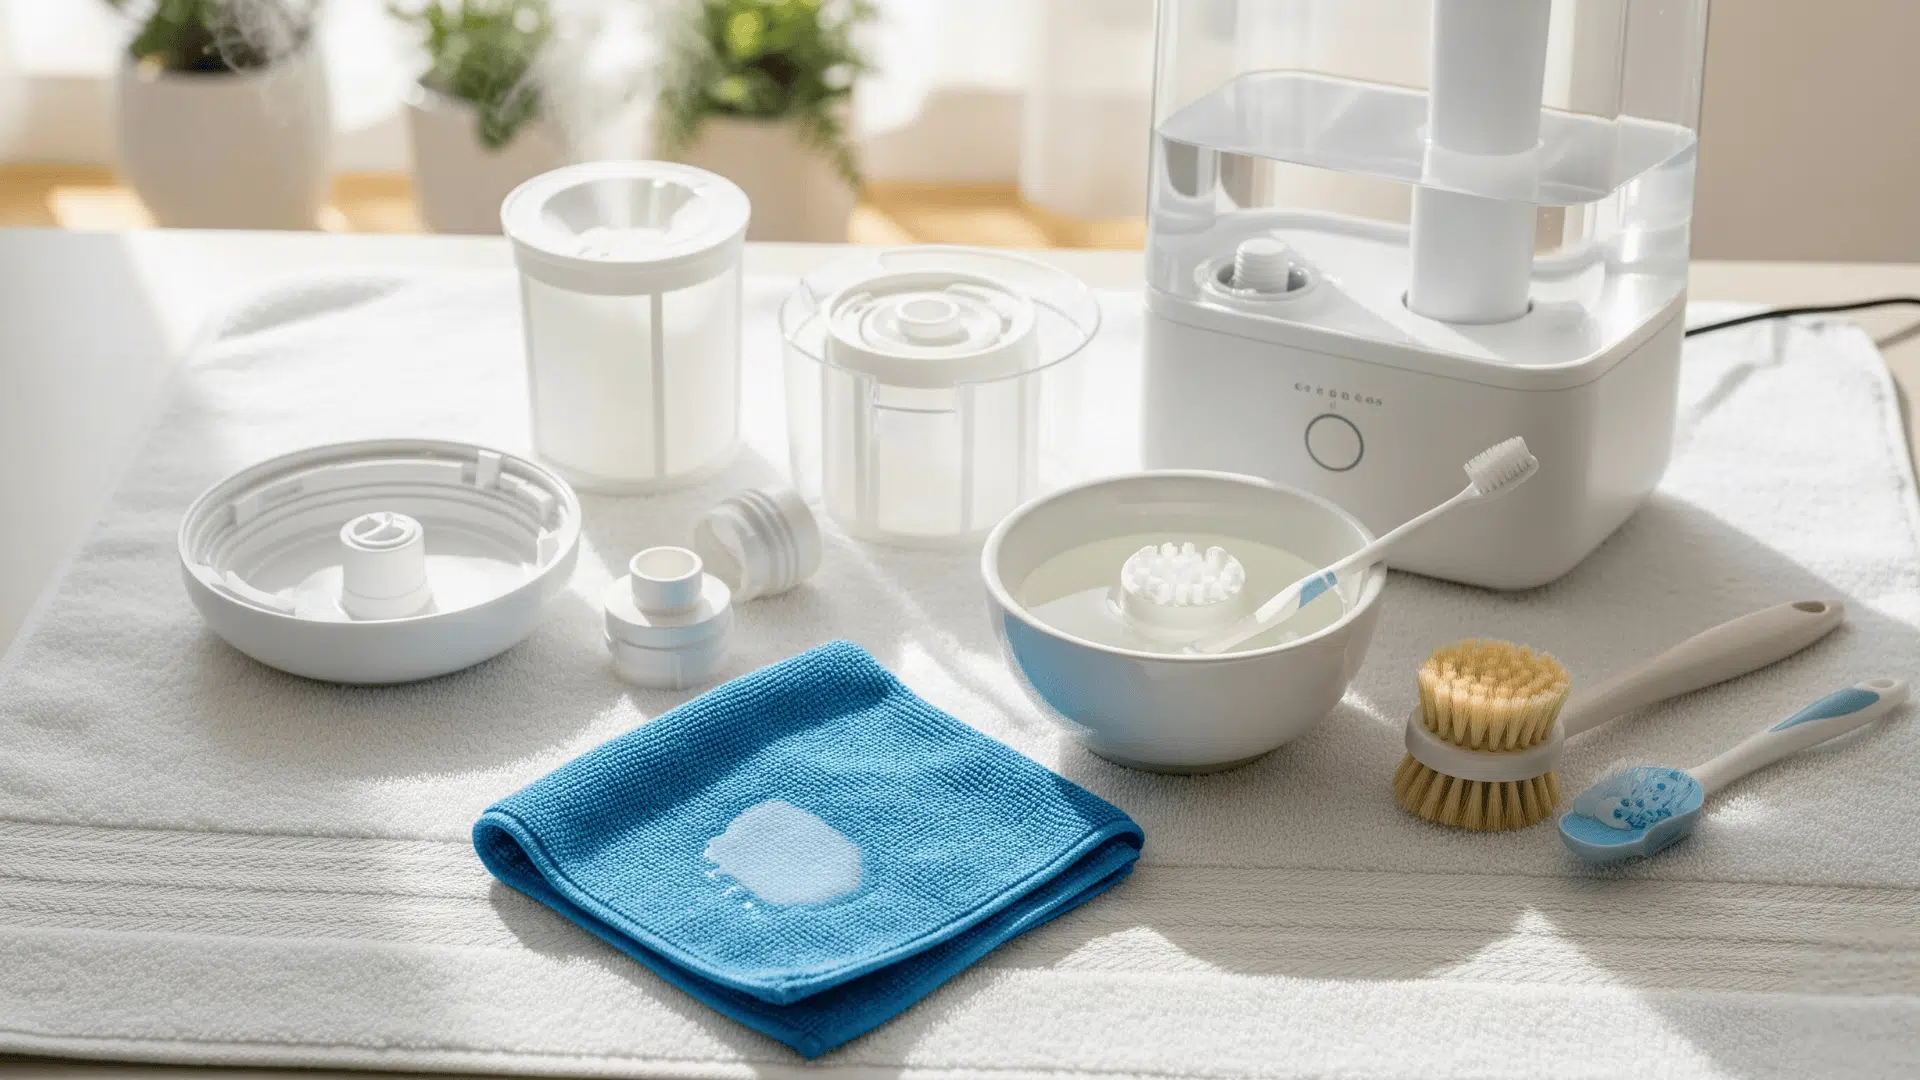
Step 1: Disassemble and Prepare Your Cleaning Solution

Empty the humidifier completely and remove all detachable parts, including the water tank, base, and any filters.
Create your cleaning solution by mixing citric acid powder with warm water; this natural alternative to vinegar effectively breaks down mineral deposits without harsh odors.
Gather a soft-bristled toothbrush, a non-abrasive sponge, and clean towels. Citric acid works as well as vinegar or bleach, but leaves a fresher scent.
Step 2: Soak and Scrub the Water Tank

Fill the water tank with your citric acid solution and let it soak for 15-20 minutes to loosen stubborn mineral buildup.
Use a soft toothbrush to gently scrub away yellowing and scale deposits, paying special attention to corners and crevices where buildup accumulates.
The acidic solution will help dissolve calcium and lime deposits naturally. For heavily soiled areas, you may hear the acid actively breaking down the minerals.
Step 3: Clean the Base and Heating Element

Submerge removable base components in the citric acid solution for 10-15 minutes. For the heating element, exercise extreme caution as the manufacturer’s instructions warn against using harsh abrasives.
Gently scrub with a soft brush only, avoiding steel wool or hard scrapers that could damage the element.
If buildup persists, consider using a commercial lime scale remover, but ensure thorough rinsing afterward since this affects air quality.
Step 4: Rinse Thoroughly and Remove All Residue

Rinse all components multiple times with clean water to remove any cleaning solution residue.
Pay particular attention to areas where cleaning products were applied, ensuring no chemical traces remain that could be dispersed into the air.
Use a clean cloth to wipe down all surfaces. This step is crucial for safety since any remaining cleaning agents will be vaporized when the humidifier operates, potentially affecting indoor air quality.
Step 5: Dry Completely Before Reassembly

Allow all components to air dry completely before reassembling your humidifier. Tip parts over or position them to ensure proper air circulation reaches all interior surfaces. Complete drying prevents mold and bacteria growth in residual moisture.
Once thoroughly dry, reassemble the unit and refill with distilled water if possible, as this reduces future mineral buildup. Regular cleaning every few weeks will maintain optimal performance and air quality.
Here’s a video walkthrough if you’d like to see a clear, step-by-step way to clean your humidifier:
Special Considerations for Different Types of Humidifiers
Different humidifiers have unique maintenance needs to ensure they work safely and efficiently. Understanding the specific cleaning tips for each type can protect health, improve performance, and extend device life.
Here’s how to care for common humidifier models:
1. For Units with Filters or Wicks
Filters and wicks should be flipped or cleaned regularly to prevent uneven wear and buildup. Replacement is recommended every 30–60 days or sooner if filters look dirty or smell bad.
Regular maintenance prevents clogged airflow and keeps the humidifier working well.
2. For Ultrasonic/Cool Mist Models
These models often produce “white dust” from minerals in tap water. To reduce this, use distilled water or demineralization cartridges.
Proper cleaning also prevents bacterial and mold growth common in ultrasonic units.
3. Whole-House Humidifiers
These require less frequent cleaning but should still follow manufacturer or HVAC guidelines. Cleaning evaporative pads with a vinegar solution is effective.
Avoid DIY cleaning for steam models to prevent damage or safety risks.
Maintenance Tips & Best Practices
Proper care extends the lifespan of a humidifier, ensures safe operation, and improves indoor air quality. Follow these simple yet essential maintenance tips to keep the machine efficient and healthy for regular use:
- Always use distilled or purified water to minimize mineral buildup and maintain air purity.
- Empty and dry the water tank after every use to prevent mold and bacteria growth.
- Avoid using essential oils in the humidifier, as they can clog or damage internal parts.
- Unplug the humidifier before cleaning to ensure safety.
- For stubborn mineral deposits, gently scrub with a soft-bristled brush; replace filters regularly as needed.
Consistent maintenance will help avoid common problems like odors, clogged filters, and reduced efficiency, keeping the humidifier clean and working optimally.
Conclusion
Taking care of my humidifier has become an easy, worthwhile habit. I now understand that regular cleaning and simple maintenance keep it running efficiently and protect my health by preventing mold and bacteria.
Using distilled water, emptying the tank after use, and following manufacturer guidelines make a big difference. When my humidifier works well, it creates a comforting, clean atmosphere in my home, especially in dry seasons.
I encourage everyone to stick to a straightforward routine, because a little effort goes a long way in breathing easier and living healthier.
If you liked this, check out other blogs on the website for more inspiration, guides, and other tips!