I’ve been working from home for years now, and let me tell you: building my own standing desk was one of the best decisions I made for my workspace.
If you’re tired of feeling sluggish halfway through the day or dealing with that nagging back pain, a DIY standing desk might be exactly what you need.
Not only will you improve your posture and energy levels, but you’ll also create something perfectly tailored to your space and style. Plus, you’ll save a significant amount compared to store-bought options.
In this guide, I’ll walk you through everything you need to know about building your own standing desk, from choosing materials to selecting the right design for your needs.
Pros & Cons of Building Your Own Standing Desk
Before you dive into your DIY standing desk project, it’s worth weighing the advantages against the potential challenges. Understanding both sides will help you plan better and set realistic expectations.
Why Build Your Own?
- Complete customization of height, width, materials, and finishes to suit your space
- Significant cost savings compared to purchasing retail standing desks
- Personal satisfaction and pride in creating something functional with your own hands
Challenges to Consider
- Requires access to proper tools and a time commitment for construction
- Manual height adjustment unless you invest in motorized lifting hardware
- Final stability and durability depend entirely on your build quality and design
Ultimately, the pros tend to outweigh the cons for most DIYers. If you’re willing to invest some time and effort upfront, you’ll end up with a standing desk that’s perfectly suited to your workflow and workspace.
Choosing the Right Type of DIY Standing Desk
Not all standing desks are created equal, and the right choice depends on your space, budget, and how you work. Let’s explore the different types you can build so you can pick the perfect fit for your needs.
- Fixed-Height DIY Standing Desk: Simplest and most budget-friendly option requiring minimal tools, built at a specific standing height with no adjustment mechanism, perfect for those committed to standing most of the day.
- Adjustable Standing Desk (Manual or Electric): Provides manual crank or electric lift options for easy sitting-standing adjustments, ideal for shared workspaces or multiple positions.
- Wall-Mounted Standing Desk: A space-saving solution that folds against the wall when not in use; must be securely anchored to wall studs; ideal for small apartments or multi-purpose rooms.
- Converter-Style DIY Standing Desk: Sits on your desk to raise it to standing height, a quick DIY fix with minimal construction, ideal for renters or testing standing desks.
- Treadmill or Bike Desk Add-Ons: Turns your workspace into an active fitness station, allowing you to stay active while working. It requires careful planning for stability and movement, and is best for non-precision tasks.
Each type has its own strengths, so consider your workspace constraints, budget, and how you prefer to work.
Tools & Materials for Your DIY Standing Desk Build
Before you start cutting wood or drilling holes, make sure you have everything you need on hand.
Having the right tools and materials ready will make your build process smoother and help you avoid frustrating mid-project trips to the hardware store.
| Category | Items |
|---|---|
| Wood Materials | Cherry boards or pre-made desktop/butcher block, Baltic birch plywood (for sled) |
| Hardware | Electric standing desk base (e.g., FlexiSpot E7 Plus), screws, mounting brackets |
| Power Tools | Planer, track saw, table saw, drill, sander (or sanding equipment) |
| Hand Tools | Tape measure, hot glue gun, shims, clamps |
| Joinery | Domino joiner, biscuits, or dowels for alignment |
| Finishing | Wood finish (e.g., Rubio Monocoat), sandpaper (up to 220 grit) |
| Optional Add-ons | Cable management tray, monitor mount, drawer materials, cable sheathing |
Step-by-Step: Building Your DIY Standing Desk
Now that you have your materials ready, let’s walk through the actual build process. I’ll break this down into manageable steps so you can create a beautiful, functional standing desk that fits your exact needs.
Step 1: Prepare and Flatten Your Desktop

Start by cutting your boards to your desired length. If your jointer isn’t wide enough, create a flattening sled using plywood. Attach your boards to the sled with hot glue and shims, then run them through a planer to flatten one face.
Remove the boards from the sled, flip them, and plane the opposite side to create two parallel surfaces. This ensures your desktop will be perfectly flat.
Step 2: Edge and Glue Your Boards

Use a track saw to cut one straight edge on each board, then run them through your table saw to make the opposite edge perfectly parallel. Apply alignment aids like dominoes, biscuits, or dowels along the edges where boards will join.
Glue the boards together using clamps and let them dry completely. This creates your solid desktop surface ready for final flattening.
Step 3: Final Flattening and Finishing

Once the glue is dry, flatten the entire desktop surface using a slab flattening jig or sled. Sand the entire surface progressively up to 220 grit for a smooth finish. Apply your chosen wood finish following the manufacturer’s instructions.
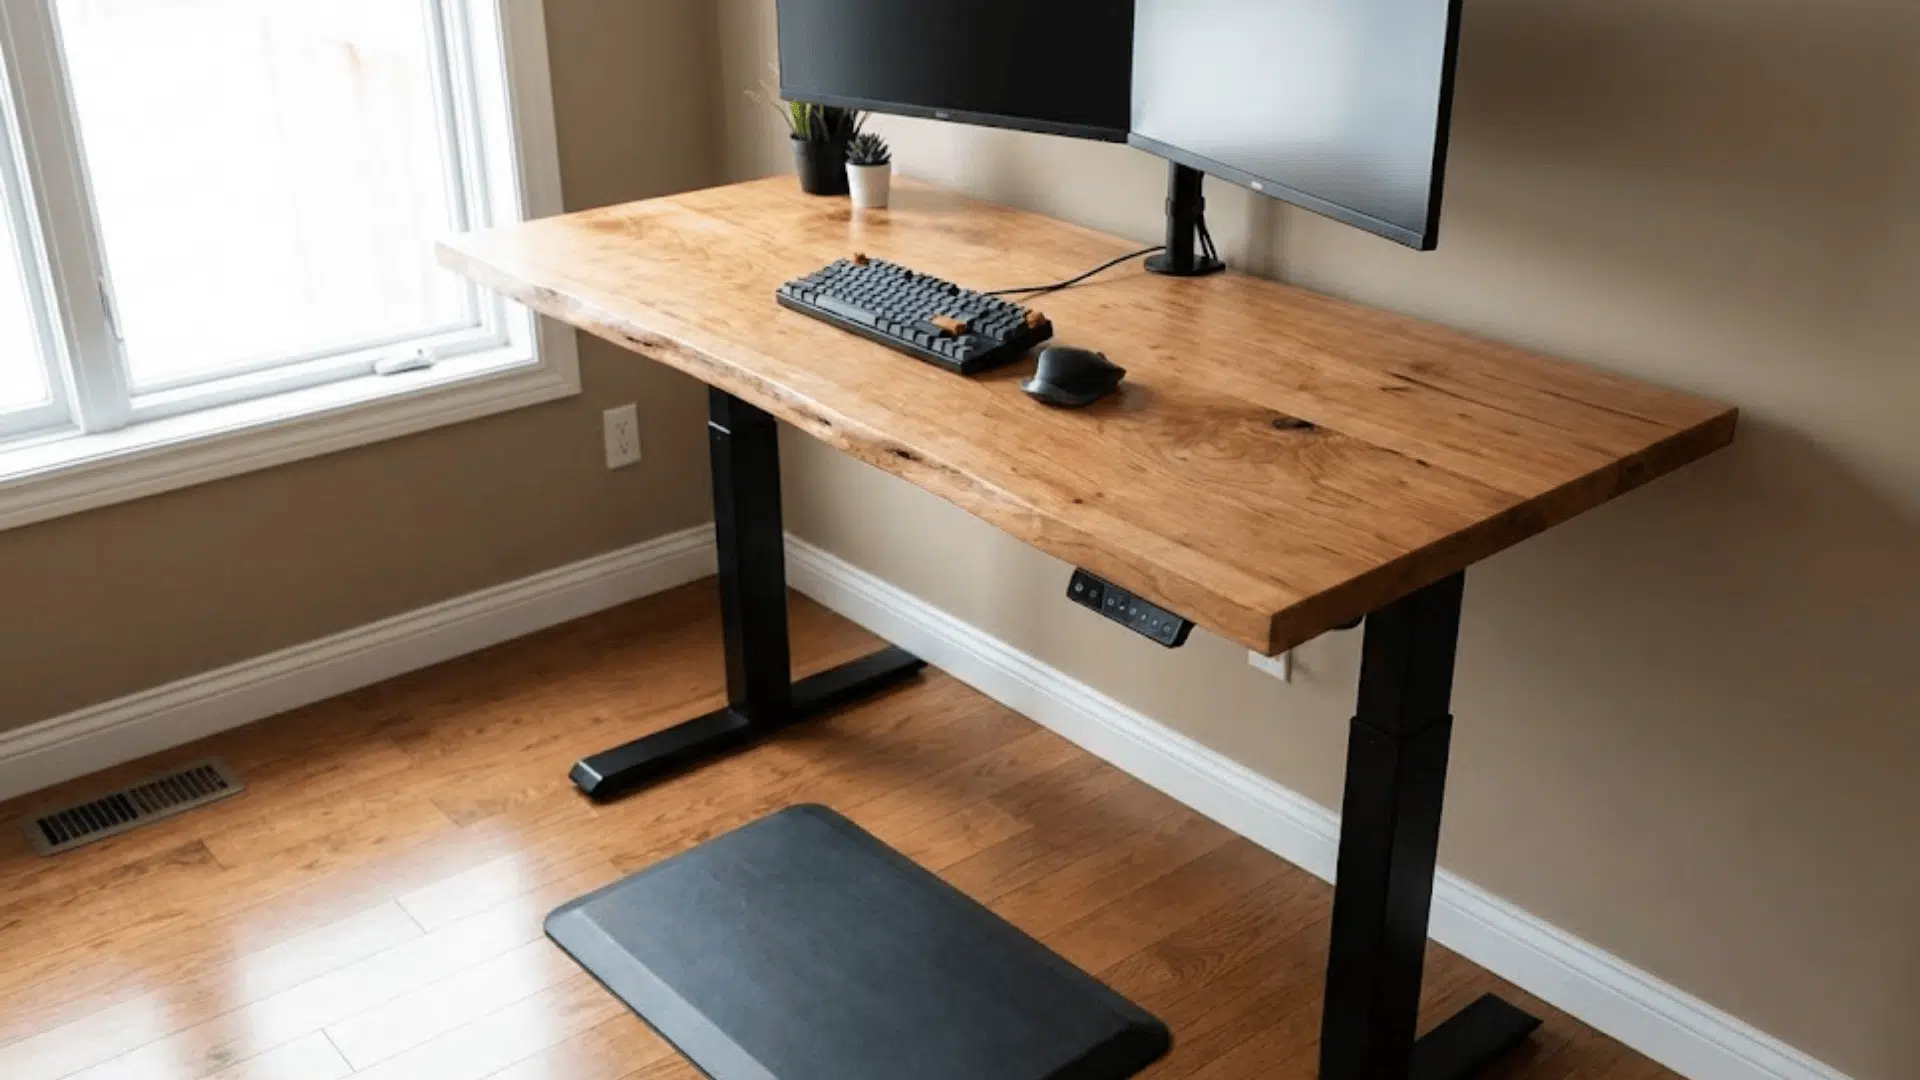
I used Rubio Monocoat for a durable, beautiful finish that really brings out the wood grain and protects the surface.
Step 4: Assemble the Standing Desk Base

Follow the manufacturer’s instructions to assemble your electric standing desk base. This typically requires just a drill and a tape measure and should take about an hour. Position the base according to your desktop dimensions, ensuring proper weight distribution.
Attach the base securely to your finished desktop using the provided mounting hardware. Test the height adjustment to ensure smooth operation.
Step 5: Add Cable Management and Accessories

Install a cable tray along the back of the desk to contain wires from monitors and keyboards. Mount your UPS (uninterruptible power supply) underneath using nylon webbing or brackets.
Use cable sheathing to bundle loose cables for a cleaner look. Add any final touches like monitor mounts, custom drawers, or equipment brackets to complete your personalized workspace.
For more information, watch the Build It Make It video tutorial.
Alternate DIY Standing Desk Ideas
If you’re looking for faster, simpler alternatives to a full custom build, these quick projects can get you standing in no time.
Each option offers a unique aesthetic and price point while still delivering the ergonomic benefits you’re after.
1. IKEA Hack Standing Desk (Under $60)
This budget-friendly option uses affordable IKEA components to create a functional standing desk without breaking the bank.
- Combine LACK side tables or shelves to create multiple levels for monitors and keyboards
- Use EKBY shelf brackets with OLOV adjustable legs for customizable height options
- Assembly takes under an hour with minimal tools, perfect for renters or temporary setups
2. DIY Pipe-Frame Standing Desk
For those who love the industrial look, a pipe-frame desk delivers rugged style and solid construction.
- Uses galvanized or black iron pipes with flanges to create a sturdy base frame
- Pair with a reclaimed wood or butcher block top for an authentic industrial appeal
- Fully customizable dimensions and incredibly durable for heavy equipment and monitors
3. Floating Wall-Mounted Standing Desk
This sleek option maximizes floor space while providing a clean, modern workspace that disappears when not needed.
- Attach directly to wall studs using heavy-duty shelf brackets or foldable desk hardware
- Folds flat against the wall to free up room in tight spaces or multi-use areas
- Requires proper anchoring to support weight, but offers unmatched space efficiency
4. Minimalist 2×4 Standing Desk Plan
Built from basic lumber, this straightforward design prioritizes strength and simplicity over fancy features.
- Uses standard 2×4 lumber for an incredibly sturdy and budget-conscious frame
- Simple construction requires only basic tools like a saw, drill, and screws
- Raw wood appeal can be stained, painted, or left natural for a rustic look
Cost Breakdown: How Much Does a DIY Standing Desk Cost?
One of the biggest advantages of building your own standing desk is controlling exactly how much you spend. Let me break down what you can expect to invest based on different quality tiers and feature sets.
| Build Type | Price Range | What You Get | Best For |
|---|---|---|---|
| Low-Budget Build | $30–$80 | Reclaimed wood top, fixed height, basic brackets or simple legs, minimal hardware | Beginners, tight budgets, temporary setups |
| Mid-Range Build | $120–$250 | Butcher block desktop, metal pipe frame, or basic adjustable legs, better finish | Most DIYers seek quality and adjustability |
| High-End Build | $300–$600 | Motorized electric frame, premium hardwood top, cable management, accessories | Those wanting retail-quality features with customization |
| Retail Standing Desk | $400–$1,200+ | Pre-made electric or manual desk, limited customization, warranty included | Anyone prioritizing convenience over cost savings |
Note: As you can see, even a high-end DIY build typically costs half as much as a comparable retail standing desk. Plus, you get complete control over dimensions, materials, and aesthetics that perfectly match your space and style.
Ergonomics & Setup Tips for a DIY Standing Desk
Let me share the essential ergonomic principles that’ll help you work comfortably and avoid the common pitfalls of standing all day.
- Monitor Height & Distance: Position your monitor at arm’s length with the top of the screen at or slightly below eye level to prevent neck strain.
- Anti-Fatigue Mats: Invest in a quality cushioned mat to reduce pressure on your feet, legs, and lower back during extended standing periods.
- Standing/Sitting Intervals: Follow a rotation of 20 to 30-minute standing intervals followed by sitting breaks to avoid fatigue and maintain energy.
- Keyboard & Mouse Placement: Keep your keyboard and mouse at elbow height with arms at 90 degrees and wrists neutral to the floor.
- Footrests & Balance Boards: Use a footrest or balance board to shift weight, encourage movement, and engage core muscles while standing.
Remember, the goal isn’t to stand all day but to alternate between sitting and standing in a way that keeps you energized and comfortable.
Community Tips, User Experiences & Popular Builds

The DIY standing desk community is incredibly active and helpful, with makers constantly sharing their wins and mistakes.
From Reddit’s DIY and woodworking forums to maker communities, the consensus is clear: don’t skimp on the desk base if you want stability, and always build deeper than you think you need.
Butcher block consistently ranks as the most recommended desktop material for its durability and affordability. The biggest “do differently” insight?
Plan cable management from the start rather than retrofitting it later. People also wish they’d invested in electric lift mechanisms from day one instead of upgrading later.
Troubleshooting & Common Mistakes
Even the best-planned DIY projects hit a few snags along the way, and standing desks are no exception. Here are the most common issues you might encounter and how to fix them quickly without starting over.
Challenge 1: Your desk shakes or feels unstable when you type or lean on it.
Solution: Add cross braces or diagonal supports between the legs to create triangulation, or check that all legs make even contact with the floor, and add furniture pads to level.
Challenge 2: The desk is too high or too low for a comfortable working position.
Solution: Install adjustable feet on the bottom for minor tweaks, or add a keyboard tray mounted at a different level to achieve proper ergonomic positioning.
Challenge 3: Your desktop has started to bow, warp, or twist over time.
Solution: Apply wood sealer to all surfaces, including the underside, to prevent moisture absorption, or flatten warped boards by applying moisture to the concave side and weighing them down.
Challenge 4: Wires are dangling and creating a messy, tangled workspace.
Solution: Mount a cable tray underneath to contain power strips, use velcro ties to bundle wires, and drill a grommet hole for a clean monitor cable pass-through.
Wrapping It Up
I hope this guide has given you the confidence to tackle your own DIY standing desk project.
Whether you go with a simple fixed-height build or invest in a full electric setup, the benefits to your health and productivity are absolutely worth it.
Plus, there’s something incredibly satisfying about working at a desk you built with your own hands. Now I’d love to hear from you: have you built a standing desk before, or are you planning to start one soon?
Drop a comment below and share your ideas, questions, or experiences. Let’s keep this conversation going and help each other create better workspaces.