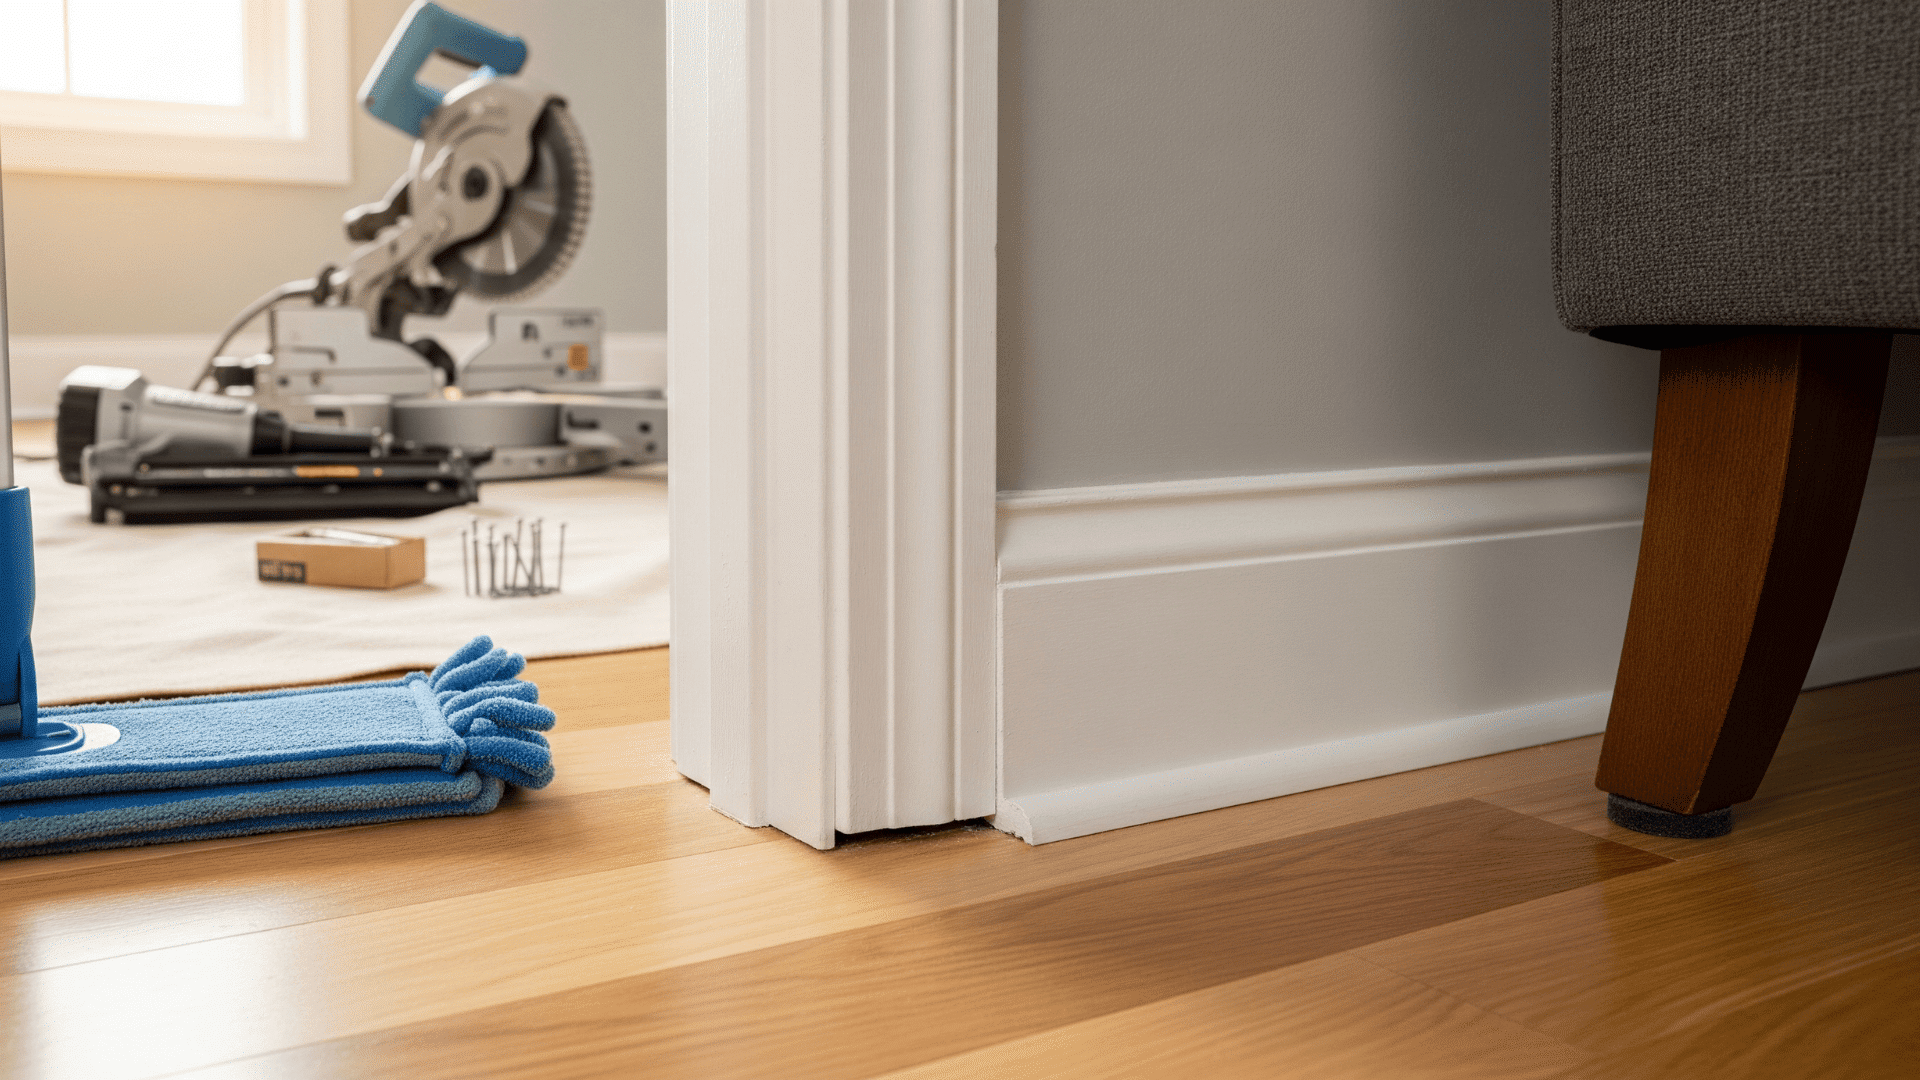
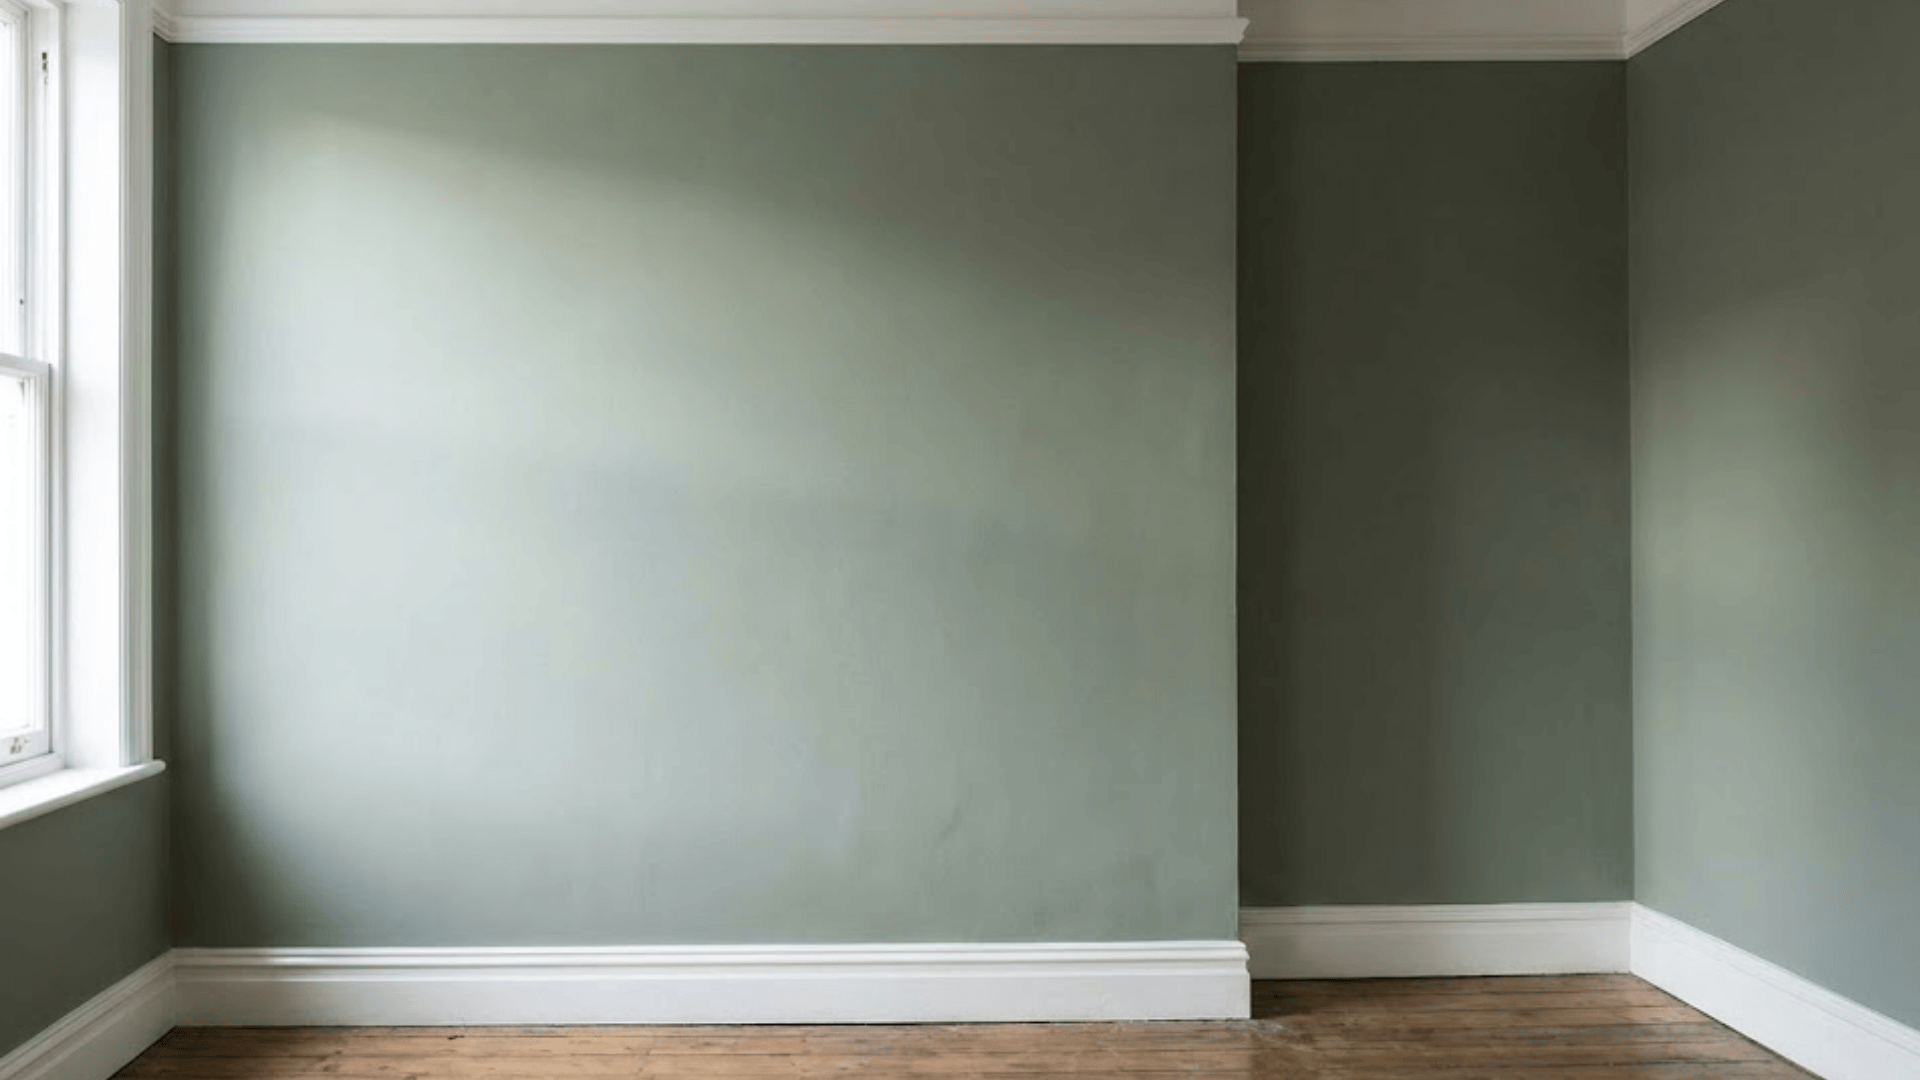
When I start a room makeover, learning how to install baseboards becomes an essential skill that brings both protection and visual appeal to my walls.
I see baseboards as more than just trim; they hide uneven edges, cover up small gaps where flooring meets the wall, and give every space a sense of completeness.
Personally, I love that installing baseboard isn’t just about style; it also safeguards my walls from bumps, mops, and moving furniture.
With careful material selection and some straightforward tools, I can customize the look and durability to fit my needs, ensuring my room stays functional and beautiful for years to come.
How to Pick the Right Baseboard
Installing baseboards is a simple yet effective way to finish off any room by covering gaps between walls and floors, protecting walls from damage, and adding a polished look.
With the right preparation and tools, anyone can confidently install baseboards and enhance their space. Here are some things to keep in mind:
- Choosing and Preparing: Select the appropriate material and style, measure your walls precisely, and paint or prime your baseboards beforehand to make installation smoother.
- Measuring and Cutting: Carefully measure each piece, cut at 45-degree angles for corners, and dry-fit pieces to ensure a perfect fit before nailing.
- Installation and Finishing: Nail the baseboards securely into wall studs, fill nail holes, caulk gaps for a seamless look, then touch up with paint for a professional finish.
By following these steps, installing baseboards becomes a manageable DIY project that greatly improves a room’s appearance and durability.
Removal & Preparation of Existing Baseboards
Before installing new baseboards, properly removing and preparing existing ones is essential, if applicable.
First, carefully cut through any paint or caulk lines along the edges using a utility knife to prevent damaging walls or trim during removal.
Next, use a scrap block and mallet or a pry bar with a protective block to gently pry the baseboards away from the wall, working slowly and evenly to avoid breakage or surface damage.
Finally, remove all remaining nails from both the wall and trim, then clean the surface thoroughly to ensure a smooth, ready-to-install area for the new baseboards.
How to Install Baseboards: Step-by-Step Installation Process
Installing baseboards adds a finished look to any room. Follow these key steps from preparation to completion.
With the right approach and tools, you can achieve professional-looking results that convert your space. These proven methods will help you avoid common mistakes and create seamless, polished baseboards.
Tools and Materials Used
Proper preparation is the foundation of a successful baseboard installation project.
Start by sketching your room layout and measuring each wall twice for accuracy, then add 10% extra material to account for mistakes, practice cuts, and outside corners. Here is a checklist to keep in mind:
| Tools | Materials |
|---|---|
| Tape measure | Baseboard molding |
| Miter saw or miter box | Quarter-round/shoe molding |
| Stud finder | Paintable caulk |
| Level | Wood filler/spackling |
| Chalk line | Paint or stain |
| Brad or finish nailer | Finish nails (2-inch) |
| Hammer | Sandpaper |
| Caulk gun | Primer (if needed) |
| Coping saw | Masking tape |
Note: A miter saw with a stand is highly recommended for this project due to the long lengths of baseboard you’ll be working with. Consider renting one if you don’t own this tool.
Allow your baseboard materials to acclimate to room temperature and humidity for 2-3 days before installation to prevent warping or shrinking.
Always wear protective eyewear and ear protection when using power saws or pneumatic nailers to ensure your safety throughout the project.
Step 1: Prepare and Paint the Baseboards
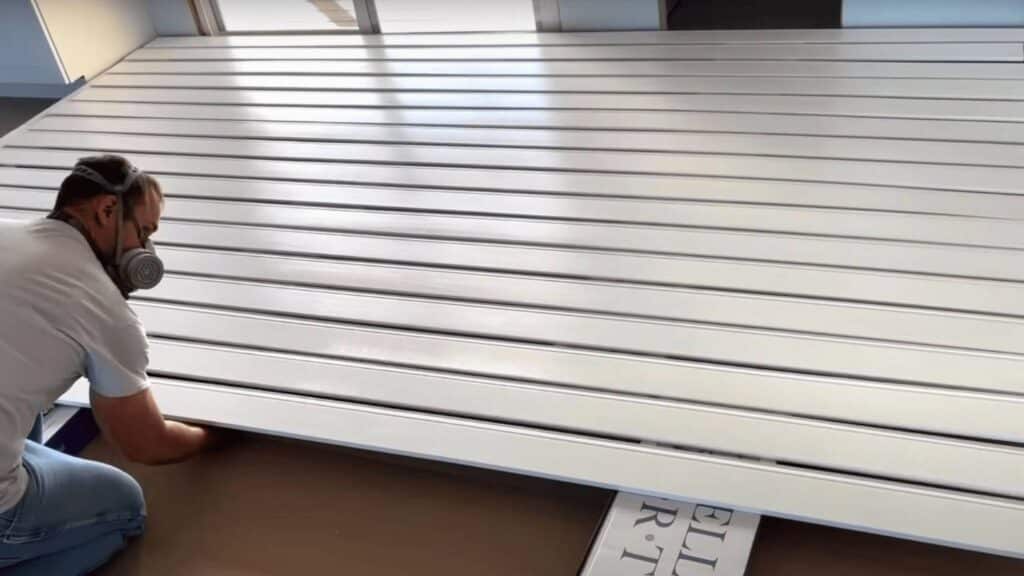
Before installation, lay out your baseboard pieces on a workbench and apply an even coat of paint using an airless sprayer or brush. This is much easier than painting after installation.
Use leftover hardwood flooring boxes or sawhorses to stack and dry the painted pieces. Allow adequate drying time before handling. Starting with pre-painted baseboards ensures a professional finish and saves time during the installation process.
Step 2: Locate Studs and Plan Your Layout
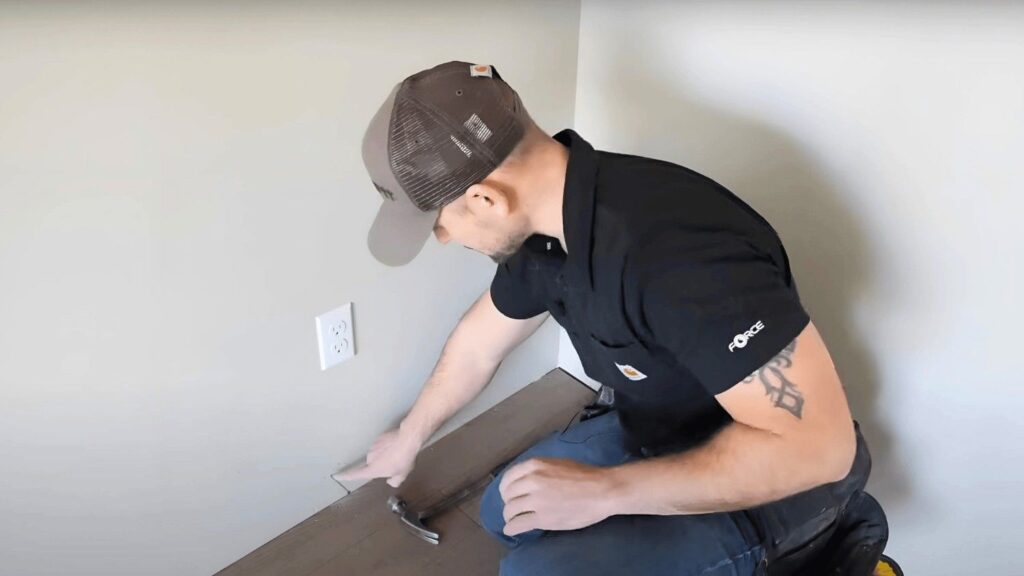
Begin installation on the back wall of the room, away from the main entrance. Find the first stud by locating an electrical receptacle and using the tap test with a hammer to determine which side has the stud.
Mark stud locations every 16 inches on center using a tape measure. For walls longer than 12 feet, plan where to join baseboard pieces, ensuring joints land directly on studs for secure attachment.
Step 3: Cut and Install the First Piece
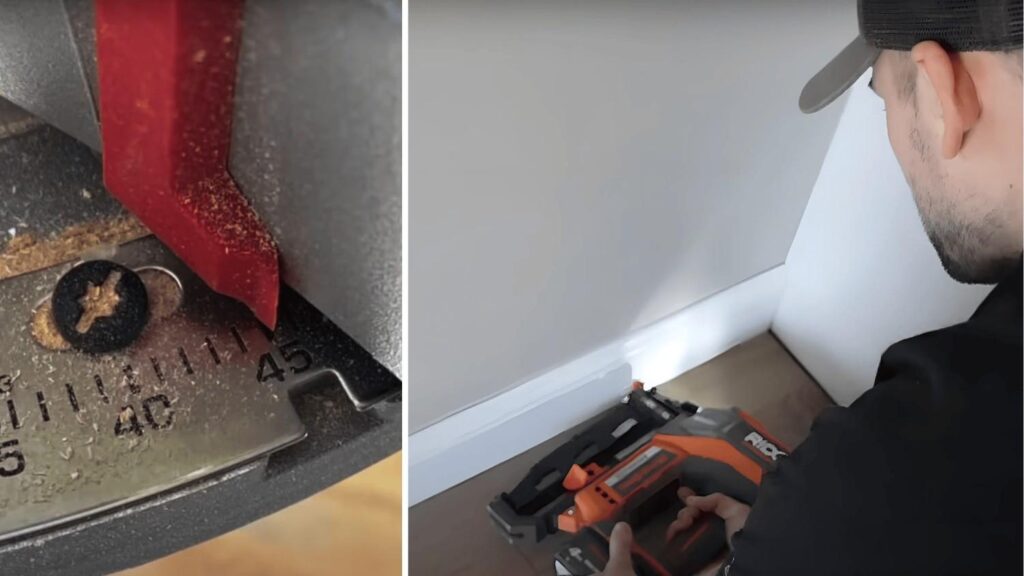
Measure from the back corner to your planned joint location and cut the baseboard to length with a 45-degree bevel cut at the joint end. This creates a clean overlap when joining pieces.
Position the baseboard against the wall and nail it to each stud using 2-inch finish nails, placing one nail at the top and bottom of the board. Apply downward pressure while nailing to eliminate any bowing in the baseboard.
Step 4: Handle Corners and Joints
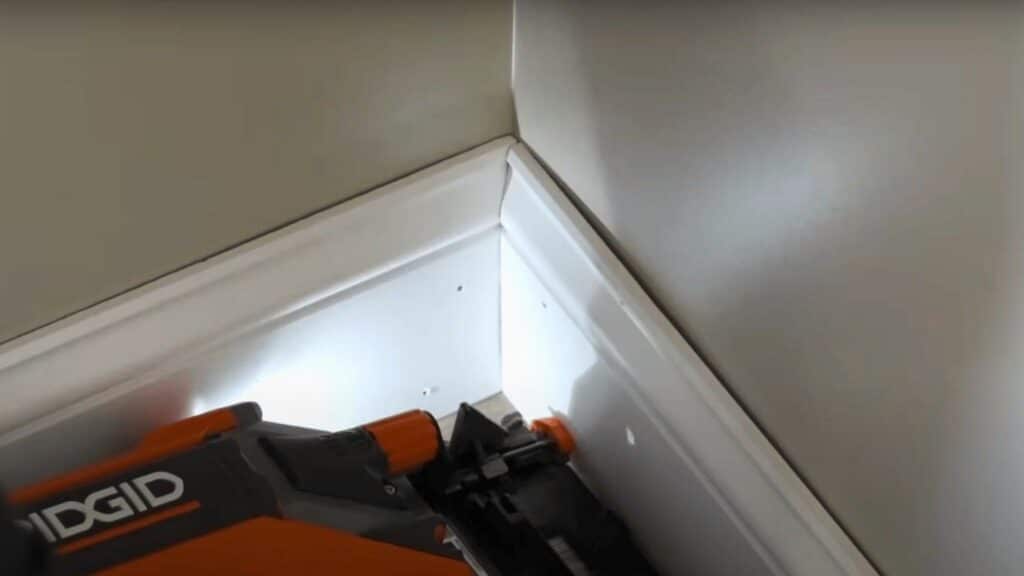
For inside corners, use the coping technique rather than 45-degree miter cuts for a better fit. Cut the first piece square, then cope the second piece by cutting along the profile with a coping saw after making an initial 45-degree cut.
For outside corners, cut both pieces at a slightly more than 45-degree angle to ensure the face edges meet properly before the back edges, thereby preventing gaps and cracks.
Step 5: Finish with Caulking and Touch-ups
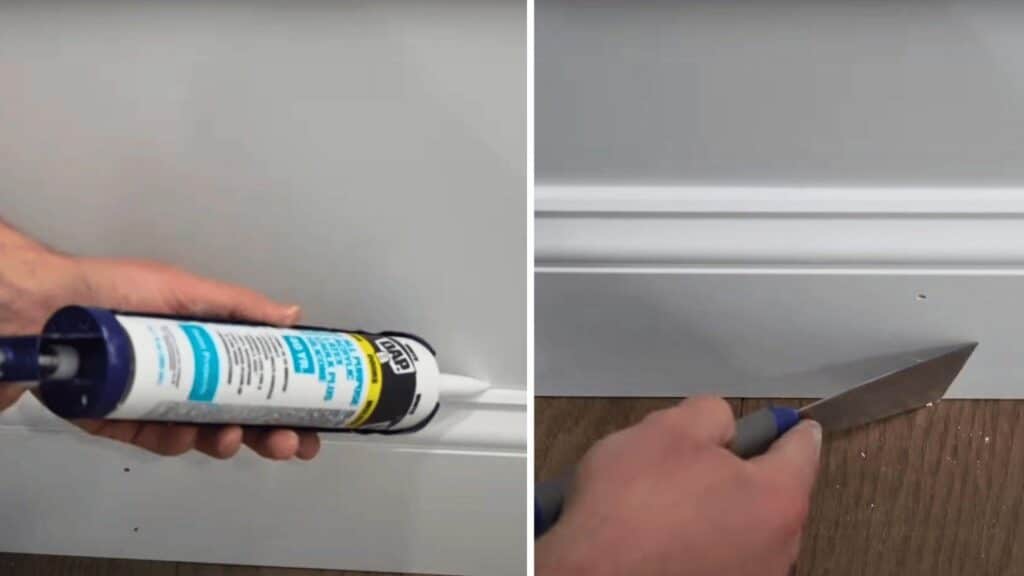
Apply a thin bead of paintable caulk along the gap between the baseboard and wall, smoothing with your finger for a clean finish. Fill all nail holes with spackling compound rather than caulk to prevent shrinking.
Use masking tape when caulking corners, removing it immediately after smoothing. Once everything is dry, apply a final coat of paint over filled nail holes and any touch-up areas needed.
Here’s a video walkthrough if you’d like to see a clear, step-by-step way to install baseboards:
Baseboards’ Maintenance & Cost Overview
Maintaining clean baseboards not only upgrades your home’s appearance but also improves indoor air quality by minimizing dust and allergens.
Regular upkeep keeps baseboards looking fresh and functioning well. These are some tips to keep your baseboards looking fresh over the years:
- Dust baseboards weekly with a microfiber cloth or vacuum attachment to remove dirt and pet hair.
- Clean painted or molded baseboards gently with a damp microfiber cloth; for PVC, use a slightly damp cloth to prevent damage.
- Remove tough stains carefully using magic erasers or a mild soapy water solution to protect finishes.
- DIY baseboard installation costs between $5.30 and $8.35 per linear foot, offering savings on professional labor.
- Professional installation labor costs vary from $18 to $46 per hour, with removal typically around $1.50 per linear foot; painting yourself can further reduce expenses.
With simple maintenance and care, your baseboards will continue to protect walls and keep your home stylish for years.
Conclusion
After examining the ins and outs of baseboard maintenance and costs, I feel more confident about keeping my home looking sharp and well-maintained.
Regular cleaning not only preserves the beauty of baseboards but also protects my walls and improves the overall environment. Tackling stains early and understanding the cost benefits of DIY versus professional help has been empowering.
If you’re planning a project, learning how to install baseboards can be just as rewarding and budget-friendly as maintaining them.
Share your baseboard care wins or questions in the comments below; let’s keep the conversation going and help each other create beautiful, comfortable homes!

