Want to refresh your home’s entrance but not sure how to paint a metal front door correctly? I understand the challenge of getting a smooth, lasting finish on metal surfaces that face the weather daily.
Many homeowners skip crucial preparation steps and end up with peeling paint within months of finishing. Others use the wrong products and watch their hard work literally chip away after one season.
Learning how to paint a metal front door properly protects your investment and boosts curb appeal instantly. The right technique prevents rust, weathering, and costly repairs down the road.
I’ll show you the exact process professionals use for durable, beautiful results every time. Get ready to alter your entrance with confidence and skills that last.
Why You Should Paint a Metal Front Door?
Painting your metal front door does more than just change its color or appearance. It creates a protective barrier that shields the metal from rust and moisture damage over time. A fresh coat of paint also helps weatherproof your door against rain, snow, and harsh sunlight.
This protection keeps your door functioning smoothly and looking good for many years ahead. Repainting extends the lifespan of your door by preventing corrosion and wear from daily use.
It’s a simple maintenance task that saves you money on premature door replacement costs. A newly painted front door instantly boosts your home’s curb appeal and overall value, too.
It’s one of the easiest upgrades that makes a noticeable difference to visitors and potential buyers.
Materials and Tools Needed for Painting
Gathering the right materials before you start makes the painting process smoother and more efficient. Here’s what you’ll need for this project:
| Material | Estimated Cost Range (USD) |
|---|---|
| DTM (Direct-to-Metal) Paint | $30 – $120 per gallon |
| 400-Grit Sandpaper | $5 – $15 per pack |
| Painter’s Tape | $5 – $15 per roll |
| Paintbrush (Angled) | $5 – $20 each |
| Foam Roller | $5 – $20 each |
| Drop Cloth or Tarp | $10 – $30 each |
| Screwdriver (for hardware) | $10 – $30 each |
| Vacuum with Brush Attachment | $50 – $150 |
| Damp Rag or Microfiber Cloth | $5 – $15 per pack |
| Sawhorses (optional) | $30 – $70 per pair |
Note: These costs are estimated and may vary based on your location, brand preferences, and current market prices at retailers.
How to Paint a Metal Front Door: Step-by-Step Guide
Painting a metal front door requires careful preparation and the right materials for a lasting finish. Follow these steps to modify your door like a pro:
Step 1: Remove the Door and Hardware

Begin by taking your metal door off its hinges so you can paint it on a flat surface. This setup helps prevent drips and streaks while giving you better control.
Lay the door across two sturdy sawhorses and remove all hardware, including the handle, lock, and any plates. Keeping these parts separate makes painting easier and ensures a smooth, clean finish without missing tight corners or edges.
Step 2: Lightly Sand the Surface

Use 400-grit sandpaper to gently sand the metal surface, just enough to rough it up a little. This helps the primer and paint grip better without scratching the metal.
Once you’re done sanding, vacuum the dust with a brush attachment and wipe everything down using a damp rag. Make sure the surface is completely clean and dry before moving on to priming or painting.
Step 3: Choose the Right Paint

For a lasting finish, use DTM (Direct-to-Metal) paint designed for metal surfaces. Regular latex paint won’t bond well and will peel after a few months. DTM paint sticks tightly to metal and resists moisture and UV damage.
Stir it thoroughly before painting to make sure the color and texture are even. Choosing the right paint ensures your door stays durable and fresh-looking for years.
Step 4: Apply the Paint

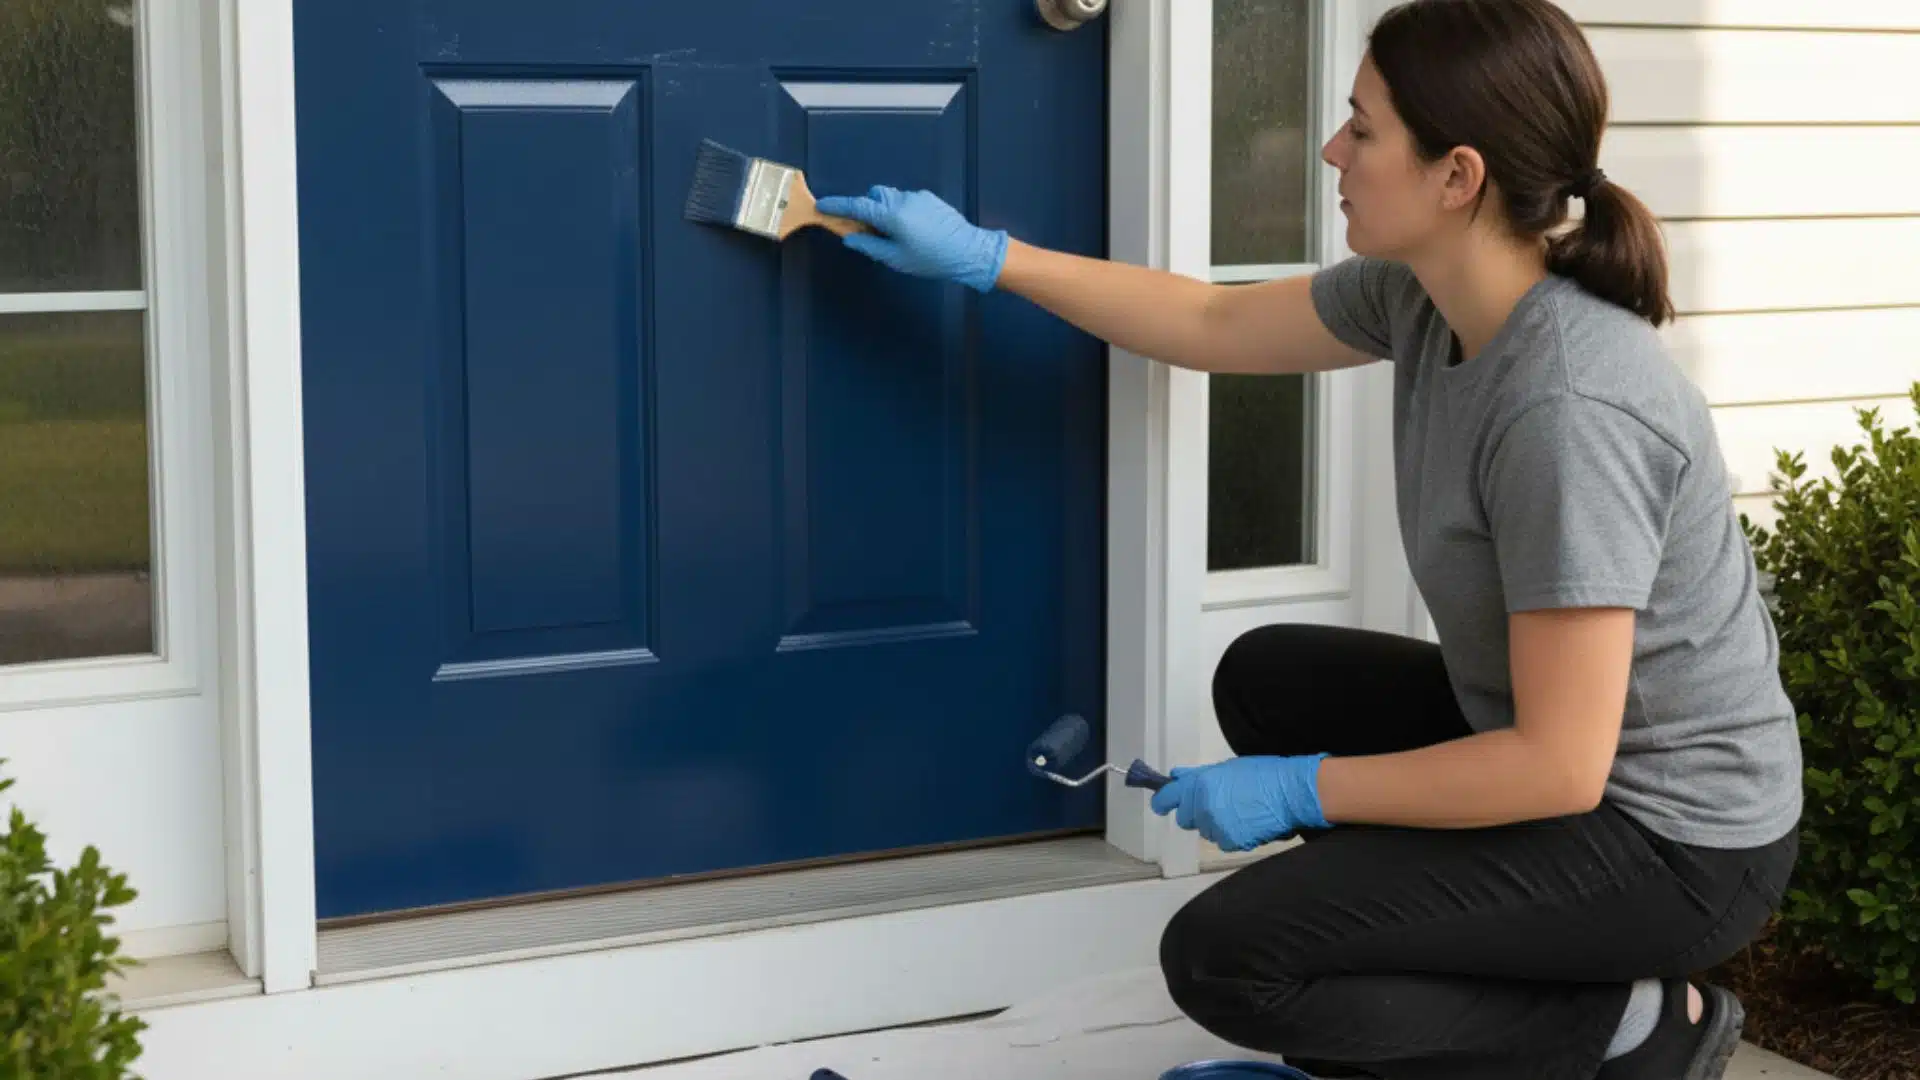
Start by painting around the edges and panels with an angled brush, keeping your strokes light and even. Next, switch to a foam roller for the larger, flat areas of the door.
Roll slowly and evenly with medium pressure to avoid streaks or bubbles. Let the first coat dry completely, usually around two hours, before applying the second coat for a smoother, more polished finish.
Step 5: Add a Second Coat and Reattach Hardware

After the first coat dries, apply another thin, even layer of paint for solid coverage. Allow the paint to dry fully before reattaching any hardware like handles or locks. Once everything is secure, hang the door back in place.
Darker colors may fade a little faster, so plan to repaint every three to five years to keep your door looking sharp and protected.
For more information, watch the detailed video explanation by This Old House
Tips for a Professional Finish in Painting
Getting a smooth, professional-looking paint job on your metal door requires attention to small details. Follow these helpful tips for the best results:
- Paint in mild, dry weather conditions and avoid direct sunlight or high humidity that affects drying.
- Always paint from top to bottom using smooth, even strokes to prevent visible brush marks or streaks.
- Don’t overload your roller with too much paint since thin coats prevent annoying drips and runs.
- Lightly sand between coats with fine sandpaper for an ultra-smooth finish that looks professionally done.
These simple techniques make a noticeable difference in how your finished door looks and performs. Take your time with each step, and you’ll achieve results that rival professional painters’ work.
Mistakes You Should Avoid When Painting
Many DIY painters make preventable errors that ruin an otherwise good paint job on metal doors. Here are the common pitfalls you should steer clear of:
- Skipping primer or using the wrong paint type: This leads to peeling and poor adhesion on metal surfaces.
- Painting in humid or rainy conditions: This prevents proper drying and causes the paint to stay tacky longer.
- Not allowing enough drying time between coats: This results in streaks, smudges, and an uneven final appearance.
- Ignoring rust spots before painting: This causes bubbling later as moisture gets trapped underneath the paint layer.
Avoiding these mistakes saves you time, money, and the frustration of having to redo your work. Take the extra steps to prepare properly, and your door will look great for years.
That’s a Wrap
Now you know exactly how to paint a metal front door like a skilled professional would. The process is straightforward when you follow the right steps and use appropriate materials for metal.
Your freshly painted door will protect your home while creating an impressive first impression for guests. The time you spend on proper preparation and application pays off with years of beauty.
Remember that patience during each drying phase makes the biggest difference in your final results. Rushing through coats or skipping sanding creates problems that show up quickly and frustrate you.
Your door deserves the care and attention that makes it shine for years ahead. Share your painting experience or ask questions about tricky spots in the comments below!