Ever stared at tape measure marks, feeling completely confused about which tiny line means what exact measurement? I understand that frustration because those little marks can seem like a secret code when you’re just starting.
Learning to read tape measure marks correctly separates successful DIY projects from expensive mistakes and wasted materials.
Each mark represents a specific fraction, and knowing which is which saves you time and prevents cutting errors. The truth is that understanding tape measure marks takes just a little practice and patience, not special skills.
I’ll break down everything about tape measure marks in simple terms that anyone can follow easily. Your measuring confidence starts right here today.
Why Understanding Tape Measure Marks Matters
Reading tape measure markings correctly ensures accuracy in every woodworking, DIY, or construction project you tackle at home. Even small measurement errors add up quickly and cause pieces to fit poorly or not at all.
Misunderstanding fractions or special symbols on your tape leads to costly mistakes that waste materials and time. You might cut boards too short, drill holes in the wrong spots, or create gaps that ruin finished projects.
Mastering tape measure markings saves you frustration and prevents expensive do-overs that drain your budget and motivation. Once you understand the marks, measuring becomes second nature and stops feeling intimidating altogether.
Parts of a Tape Measure
Understanding the basic parts of your tape measure helps you use it correctly and read measuring tape marks accurately. Each component serves a specific purpose that makes measuring easier and more reliable:
- Blade: The flexible measuring strip with printed marks that extends out and retracts back into the case.
- Hook End: The small metal tab is designed to move slightly for inside and outside accuracy when measuring different surfaces.
- Case and Lock: Protect the blade from damage and help hold measurements steady so they don’t retract accidentally.
- Belt Clip and Stud Markings: Often included for easy carrying on your belt and special markings for quick layout work.
Knowing these parts helps you handle your tape measure properly and understand how it works. This knowledge prevents damage and ensures your measurements stay accurate for every project you tackle.
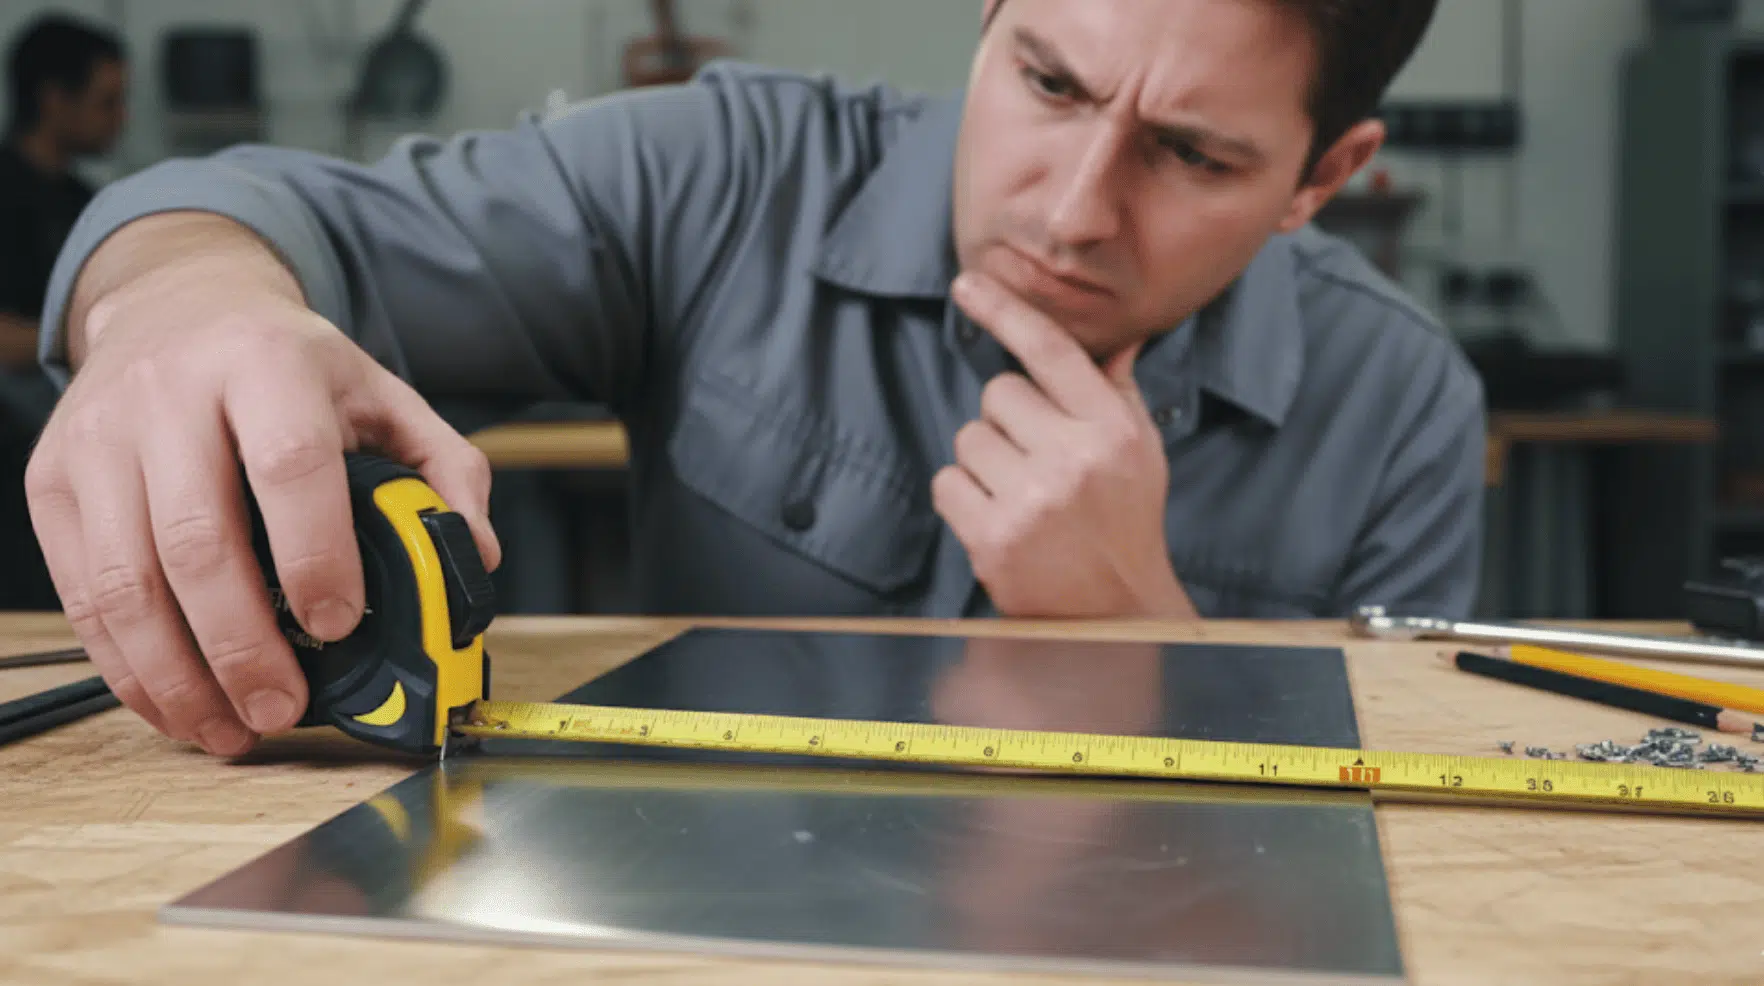
How to Read Tape Measure Marks

Learning to read different tape measure markings takes your measuring skills from guessing to precision accuracy. Here’s how to understand each type of mark on your tape measure:
1. Whole Inches and Half-Inch Marks
The longest lines on your tape measure mark full inches and are usually numbered for easy identification. The next-longest marks show half inches, sitting exactly halfway between each full number on the blade.
Half-inch marks divide large measurements into smaller sections for quick estimates without counting tiny lines. These bigger marks help you measure fast when perfect precision isn’t critical for your project needs.
2. Quarter-Inch and Eighth-Inch Markings
Quarter-inch marks are slightly shorter than half-inch marks and divide each inch into four equal parts. Eighth-inch lines are even shorter and divide those quarters further for finer, more detailed measurements overall.
Use these marks for detailed carpentry or home improvement projects where accuracy really matters for proper fit. Most DIY projects rely heavily on quarter-inch and eighth-inch measurements for cutting wood and installing fixtures.
3. Sixteenth-Inch and Smaller Divisions
Sixteenth-inch marks are found on most high-precision measuring tapes used by professionals and serious DIYers. These short lines give ultra-accurate readings but can feel confusing when you’re first learning to use them.
Here’s a simple trick: count how many lines sit between inches to find fractional values easily. With practice, reading sixteenth-inch marks becomes automatic and helps you achieve professional-quality results consistently.
4. Metric Measurements (Millimeters and Centimeters)
Some tape measures include both metric and imperial systems on opposite sides of the measuring blade. Each large numbered line equals one centimeter, while the smaller lines between them equal individual millimeters.
Use metric measurements when working with imported materials or following international plans and instructions for projects. Imperial measurements work better for standard American construction, where lumber and materials are sized in inches and feet.
Color-Coded and Special Markings on a Tape Measure

Most tape measures include color-coded markings and special symbols that go beyond standard inch measurements for specific purposes. Understanding these helpful indicators speeds up construction and layout work significantly, so here’s what they mean:
5. Red or Highlighted Numbers
Red or highlighted numbers appear every sixteen inches on your tape measure, marking standard stud spacing in walls.
These marks help you quickly locate where studs should be placed during framing, drywall installation, or carpentry work. Contractors and DIYers rely on these red markings to speed up layout work without calculating distances repeatedly.
6. Black Diamonds (Truss Markings)
Black diamond symbols appear every nineteen point two inches along the tape measure blade for specific construction purposes. These marks are used for laying out trusses or engineered floor joists in professional building projects accurately.
The spacing creates efficient load distribution across structures while using fewer materials than traditional sixteen-inch spacing allows.
7. Nail and Screw Mark Indicators
Some tape measures feature smaller colored or uniquely shaped symbols that show ideal screw or fastener spacing. These helpful indicators guide you on how far apart to place nails or screws for secure attachment.
The marks prevent over-fastening or under-fastening materials, ensuring strong connections that hold properly over time. Different tape measure brands use various symbols, so check your tape’s packaging for specific meanings.
8. Center of Stud Mark (Mark at 19 3/16″)
This specific measurement mark at nineteen and three-sixteenths inches aligns perfectly between studs for balanced framing work. The measurement exists because it marks the exact center point when studs are spaced sixteen inches apart.
Knowing this center location helps when installing items that need to sit precisely between studs rather than on them. It’s particularly useful for hanging cabinets, shelves, or mounting brackets that require centered placement for proper support.
Hidden But Cleaver Tape Features You Might Not Know
Your tape measure has several clever built-in features that most people never learn or use properly. Learning these hidden tricks makes measuring easier and more accurate for every project you tackle:
- Serrated Hook Edge: The rough edge on the hook is designed to mark surfaces like a pencil when you don’t have one handy.
- Hook Movement: The end tab shifts slightly by the exact thickness of the metal to stay accurate for inside or outside measurements.
- Rivets and Zero Point: The hook isn’t fixed because the slight movement compensates for its own thickness and improves precision automatically.
- Case Measurements: The tape’s housing length is printed on the case so you can add it for accurate inside corner measurements.
These smart design features solve common measuring problems without requiring any extra tools or complicated calculations. Understanding how they work helps you get professional-quality measurements every single time you pull out your tape.
Common Mistakes When Reading a Measuring Tape
Even experienced DIYers make simple reading errors that throw off their entire project measurements and waste materials. Knowing these common mistakes helps you avoid them and measure accurately every single time:
- Miscounting fractional marks between inches leads to cuts that are slightly too long or too short for a proper fit.
- Forgetting to account for the hook movement causes measurements to be off by the thickness of the metal tab.
- Mixing metric and imperial readings on dual tapes creates confusion and major errors when switching between measurement systems accidentally.
- Reading measurements from the wrong side or upside down results in backwards numbers and completely incorrect dimensions for your project.
Taking an extra second to double-check your reading prevents these frustrating errors from ruining your work. Slow down and verify measurements before cutting or drilling to save time and materials in the long run.
How to Practice Reading Tape Measure Markings

The best way to master tape measure markings is through regular practice with everyday objects around your home. Start by measuring common household items like furniture, picture frames, doorways, or books to build confidence and speed.
Use flashcards or online tools that quiz you on fractions and decimals until reading markings becomes automatic.
These practice tools help you recognize fractional measurements instantly without counting lines each time you measure. Try labeling and comparing two different tapemeasures side by side to notice mark variations between brands.
Practice measuring the same object multiple times to verify you’re reading consistently and correctly every attempt.
Tips for Using a Tape Measure Efficiently
Using your tape measure correctly goes beyond just reading the marks accurately on the blade. These practical tips help you get precise measurements faster and avoid common errors that waste time:
- Keep the blade straight and flat against the surface to avoid bending errors that throw off your measurements.
- Hook the metal tab firmly onto the edge to prevent slipping during measurement and ensure accurate starting points.
- Use the locking button to hold measurements steady so the tape doesn’t retract while you’re writing numbers down.
- Pull the tape snugly across long distances to avoid sagging in the middle, which causes inaccurate shorter readings.
Following these simple techniques makes every measurement more reliable and saves you from frustrating do-overs later. Good measuring habits become second nature with practice and dramatically improve all your project outcomes over time.
That’s a Wrap
You now understand everything about tape measure marks and how to read them accurately for any project. This knowledge changes measuring from a confusing chore into a simple task you handle confidently every time.
Remember that practice makes perfect when learning to recognize different fractional marks quickly and automatically. The more you measure everyday objects, the faster reading tape measure marks becomes natural and effortless for you.
I believe mastering tape measure marks is one small skill that unlocks countless bigger projects you’ve been postponing.
No more guessing or cutting boards wrong because those tiny lines confused you during important work. Share your measuring tips or questions in the comments below!