Are you planning to give a makeover to the interior of your house but are confused about how to execute the complete look under budget? Now and then, people decide to get their house interior changed to upgrade the look with what’s going on in the market. But, the major obstacle is wanting an aesthetic modern look under budget.
One of the easiest under-budget ways to enhance the visual of your house is creating and installing a shiplap wall in your house. They give a clean look to the house and are very much like the vinyl siding used for the exterior makeover of the house.
So, let’s first understand what a Shiplap wall is and how to install it in your house.
What is a Shiplap wall?
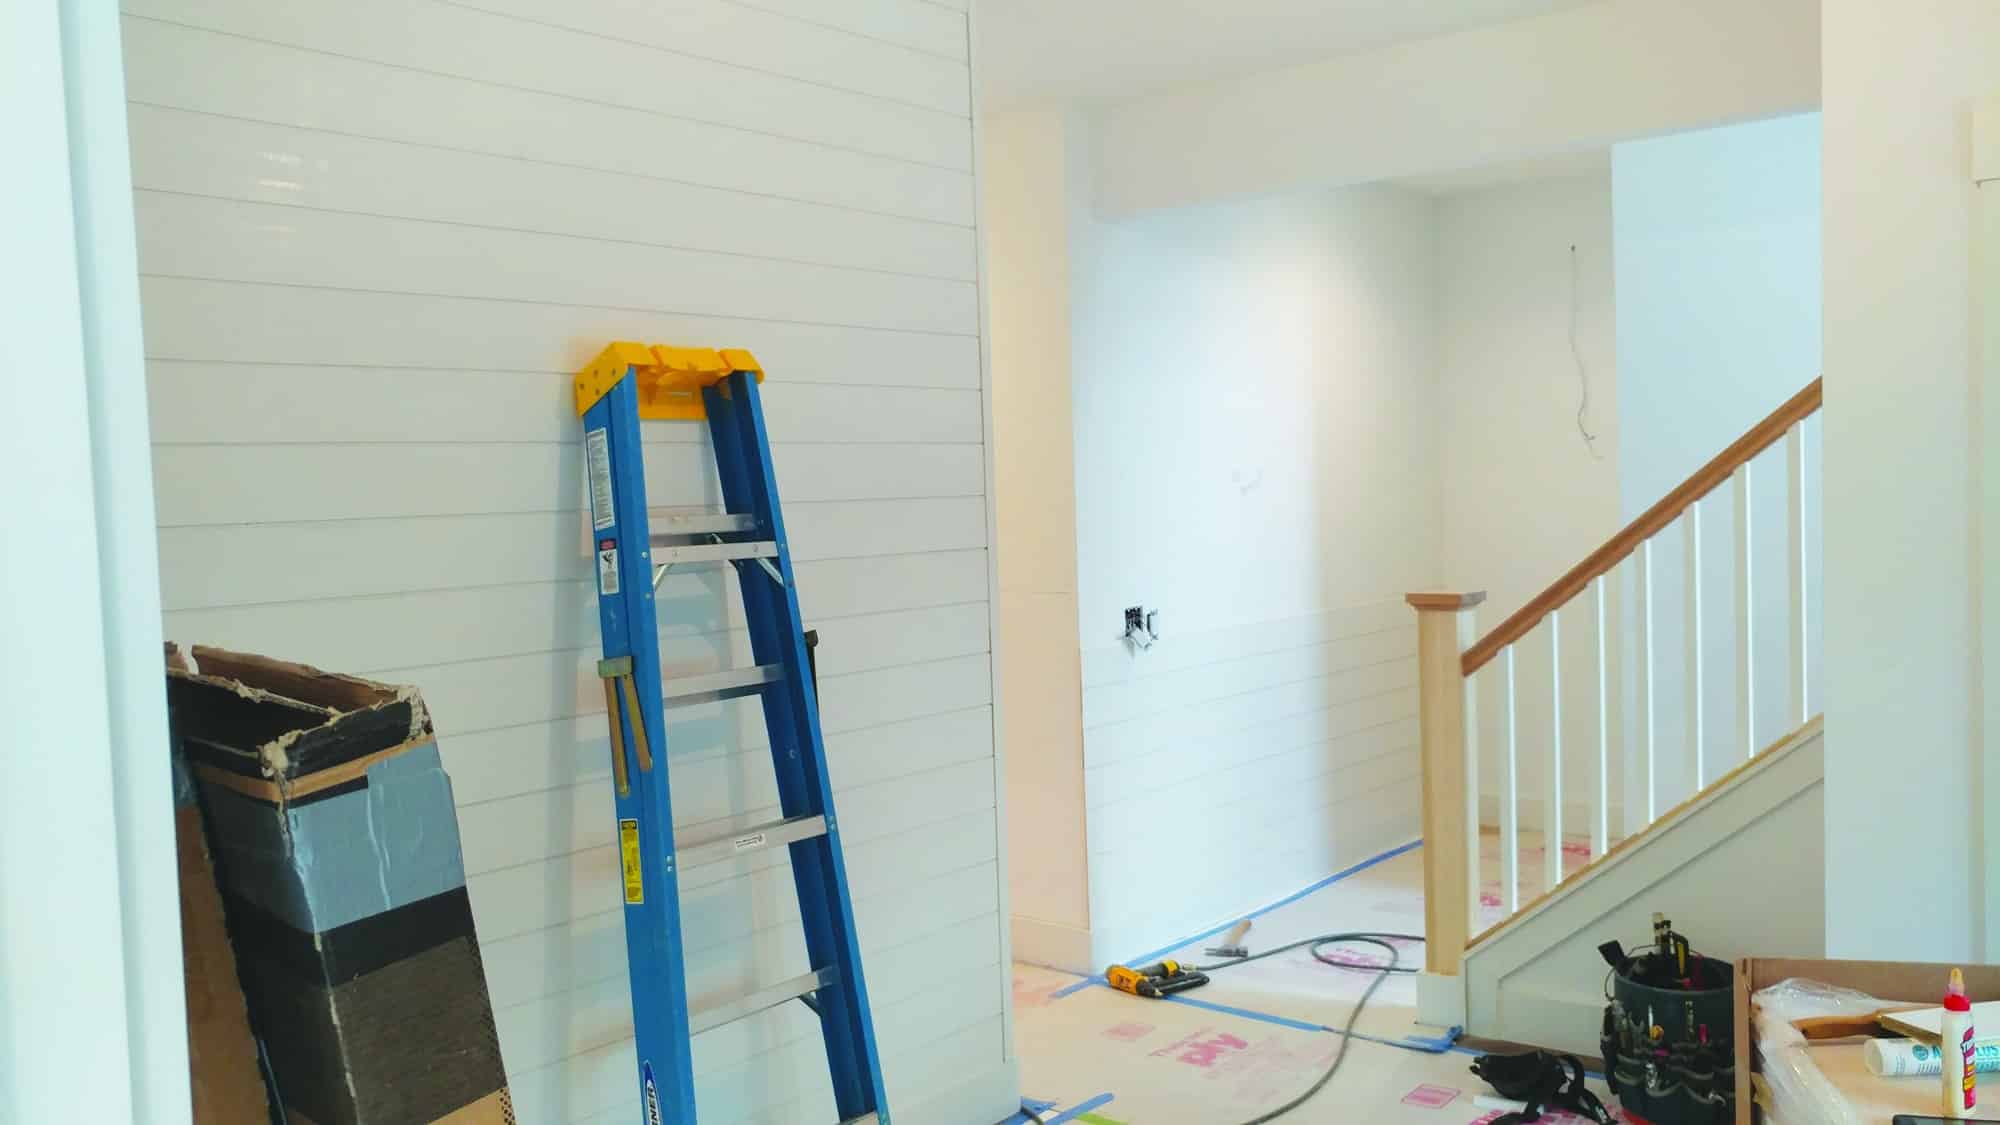
Shiplap wall is a type of wooden wall siding with long pranks and is mounted horizontally with a little gap in between to give a nice texture. It is named shiplap as it is similar to the style used to make ships. They are used in the interior design of the house and hold a lot of advantages against the usual metal sidings.
Originally they were used to waterproof ships as they are resistant to water and wind, and now they are used as siding on the house. The shiplap wall is sourced from organic materials, which makes it resistant to corrosion and rusting. Also, these are resistant to temperature variations which makes them long-lasting.
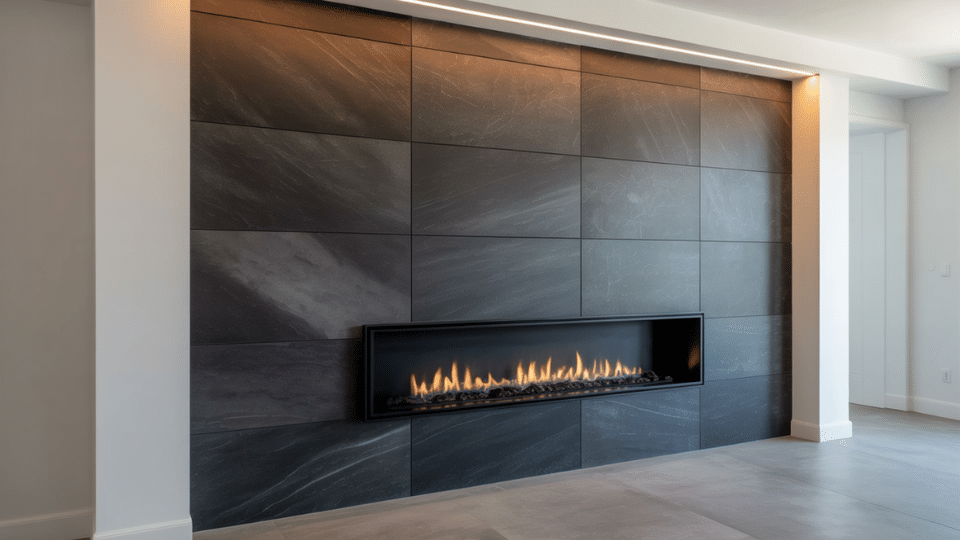
Being organic and made from wood, the shiplap walls are resistant to dents and scratches. Installing shiplap walls in the houses provides a clean finish as they are mostly painted white, which looks very aesthetic and can be cherished with beautiful and simple furniture.

Shiplap was traditionally used for the exterior of barns and homes but now has made its place among-st interior designers and DIY lovers to give their houses a farmhouse look.
So, let us share an easy DIY tutorial for you to change the complete look of your house without any professional help. This DIY shiplap wall tutorial will save a lot of money and will give you the liberty to work at your pace and customize it according to your style.
With the right set of tools and guidance, one can convert a boring wall into a farmhouse-style Shiplap wall that is too easy and under budget. So, let’s see what supplies and tools are required along with the detailed steps not to miss any detail.
Tools required for a DIY Shiplap wall
For installing shiplap walls into your house and converting the boring wall into a fancy farmhouse look, there are some supplies and tools one needs. Here is the list of them.
- Plywood ½ thick (furniture grade)
- Air compressor and nails
- Construction adhesive
- Wood glue
- Gauge nails
- Measuring tape
- Tile spacer
- Grit sandpaper to smoothen the surface and edges
- Nickel to maintain the gap between the strips
- Circular saw to cut the top piece
- Miter saw for cutting the pieces to the proper length
- Jig saw for cutting out space for switchboards
- Caulk
- Paint supplies like handy paint cup, rollers, paint brushes, primer, and paint
- Stud finder
- Level
Now that we have the complete list of materials and tools needed for the DIY Shiplap wall, let’s begin with the tutorial steps to understand how to start creating our Shiplap wall.
Affordable Alternative to Real Shiplap Wall
When we want to DIY shiplap walls that call out for cost-effective alternatives, Faux is the answer when looking for an alternative to the real shiplap. The use of plywood strips is highly cost-effective due to the depth of the real shiplap.
The real shiplap is about ¾ deep, so to replace them, one needs to remove all the moldings (baseboards, crown molding, and door trims) to install the real shiplap wall and then reinstall the molding back on top of it.
To save the hustle, faux is the way to go. The plywood strips are ¼ deep, so all the molding can be left the way they are, just the wood strips to be hammered on top of them. It is done easily, and then you can decide which paint color you want to apply and finish the complete look.
Now, let us see what to do and what-not-to-do to install the DIY shiplap wall.
How to DIY Shiplap Walls Under Budget?
This DIY shiplap wall tutorial will explain all the steps in detail, making it very easy for a beginner to follow. Before starting the DIY, create a plan for your space to understand how much material is needed to cover the complete space.
Confused about how to calculate the number of plywood sheets required to set up the complete DIY Shiplap wall? One easy way to calculate the number of plywood sheets required is-
Total Shiplap area = Total wall length * Height of Shiplap
Area of 1 sheet of plywood = 8’ * 4’= 32 square feet
Number of plywood sheets required = Total Shiplap area / Area of 1 Sheet of plywood (32 square feet )
Steps to Install the Shiplap Wall
Easy and detailed steps of the DIY Shiplap wall tutorial are as follows.
Step 1: Sourcing Affordable Shiplap
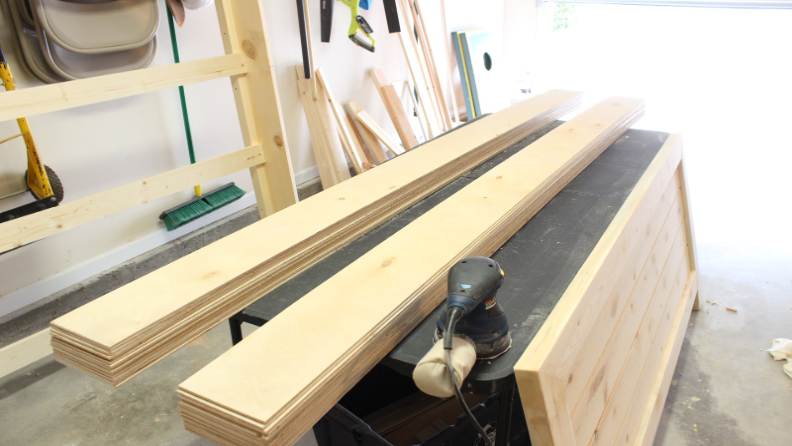
From a local hardware store, find thin plywood boards. Then get them cut in-store to make it easier to transport them and save time at home. Cut each 8’4 sheet into six equal pieces along the longer length of the strip.
Step 2: Prepare the Wall with Paint and Do the Math
Prep work for the shiplap wall is the key to a successful installation. The first thing to be done is to remove any previous wall treatments, fill nail holes and rough edges and sand the wall smoothly. After prepping the wall base, the next step is to paint the walls the same color you want your shiplap to be painted.
This is done because there are small gaps between the strips through which the wall is visible, so to achieve a proper clean finish, painting the wall is a must. Along with painting the wall, paint and dry the shiplap walls prior as it gets difficult to paint the small areas in between with the brushes as well, especially the edges.
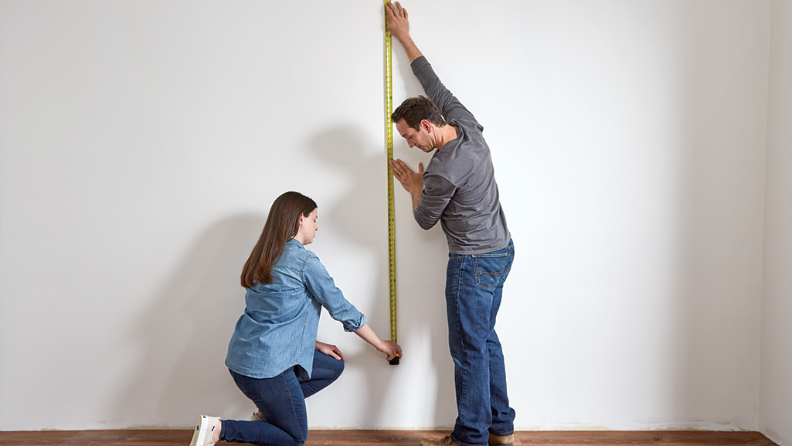
Another important task of the prep work before the installation of the shiplap is doing the math. We don’t want our strips to be of different heights and look awkward at the end with the thin strips.
So, it is advised to measure the space between the crown molding and baseboard to figure out a good height to cut the boards to fill the space properly.
Step 3: Prepping the Wall
Once the paint is all done and dry, mark studs on the walls using a stud finder and pencil to mark the studs on the wall. Mark the wall at a certain height to ensure where the studs are when you are working your way across and down the wall while installing a shiplap.
Now before starting to install the shiplap, ensure that the wall is square. If it is not, with the help of a level, mark a level line from where the first shiplap piece will be installed.
Once the first piece is installed, then you will get a clear idea, and it will be easy to install the rest of the strips. But to get a perfect result, keep checking from time to time that the strips are not at an angle.
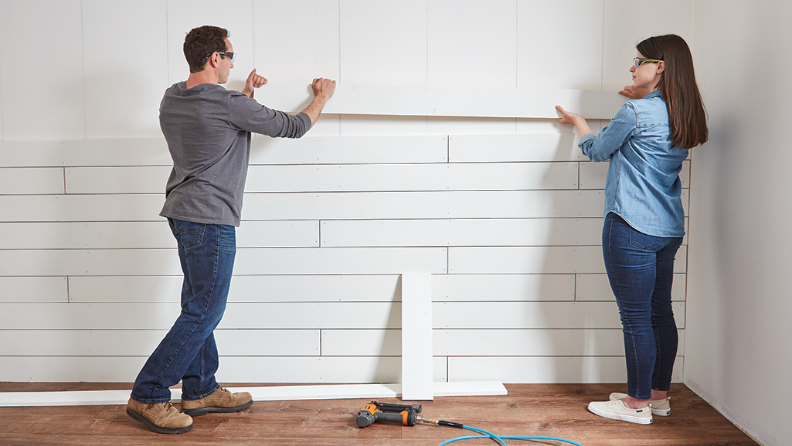
Step 4: Installing the Shiplap
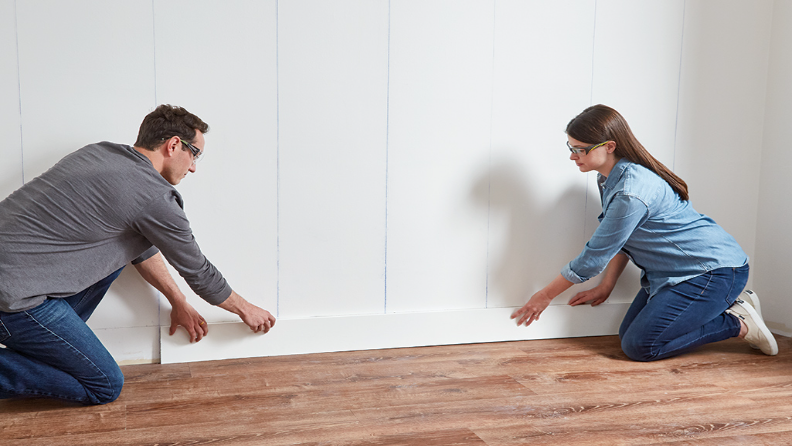
Apply the construction adhesive on the backside of the full-length plywood piece. The amount of adhesive to be used is your choice. The plywood is thin and light, so adhesive works as an addition to help the nails to attach to the wall.
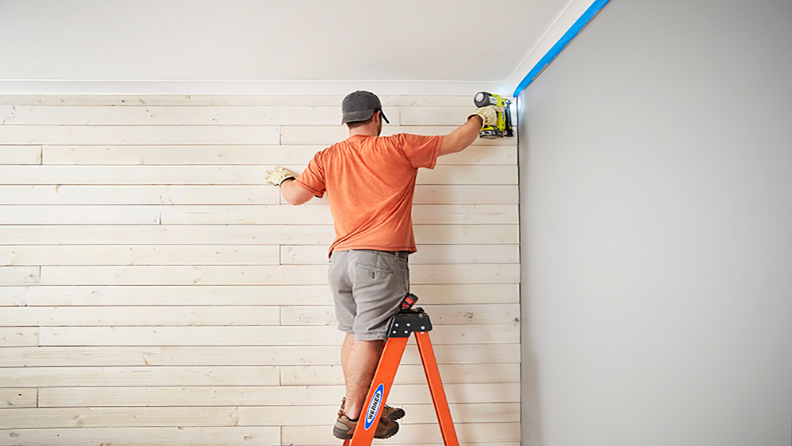
Start from the top left corner of the wall and place the plywood strip with adhesive tight to the ceiling or trim. Then, affix the nails to the wall using a nail gun at the studs which you marked earlier using a stud finder.
Also, check again for the level before you nail it so you don’t end up fixing the shiplap on an angle. Even a slight tilt or angle will be noticeable as the strips are arranged horizontally.
Step 5: Step 4 Needs to Be Repeated
From left to right, top to bottom, cutting the lengths of shiplap to fit to cover the complete wall. The lengths of strips need to be cut in different lengths so the final look is pleasant, with the shiplap coming together at different seams instead of all together.
To create space or gap between each row of the shiplap, use nickel. The space between 2 rows is your personal preference. If you want less space, use pennies, or if you want large gaps, make use of tile spacers.
Remove any outlet covers, or make space in your shiplap by cutting them according to them. Continue to apply the shiplap until the complete wall is covered.
Step 6: Caulking the Shiplap
Caulk the sides of the shiplap with paintable caulking where the ends of the shiplap meet the adjoining wall. It is not necessary to caulk the side where the shiplap meets the ceiling or the bottom where the strip meets the baseboard.
Once done. Let it all dry out. Fill the nail holes with putty and allow them also to dry. Before starting to paint the wall, apply primer on the whole wall for a clear finish.
Step 7: Paint the Shiplap
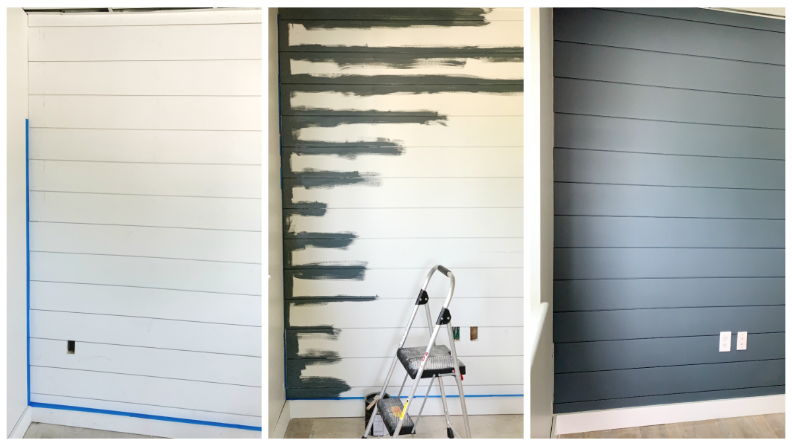
It is always confusing to choose which color you want the shiplap to be painted in, white or black. The color of the shiplap wall can be decided according to the furniture and aesthetics of the surroundings. Once it is complete, the space will look warm and cozy. Painting the shiplap plywood is easy; once the caulking dries out, you can start painting the shiplap.
For painting the shiplap wall, a roller cup is indispensable as it is easy to hold with one hand while using a paint roller in another hand. You can use a small ladder to climb up and down against the wall and sit on the floor to cover all the gaps in between or angles.
The easiest way to paint the shiplap wall is with a brush and a roller. The brush is required to fill in the space and gaps between the shiplap rows. The shiplap is usually painted with 2-3 coats of paint to get even coverage with a smooth painted finish.
How to Cover the Shiplap on Corners?
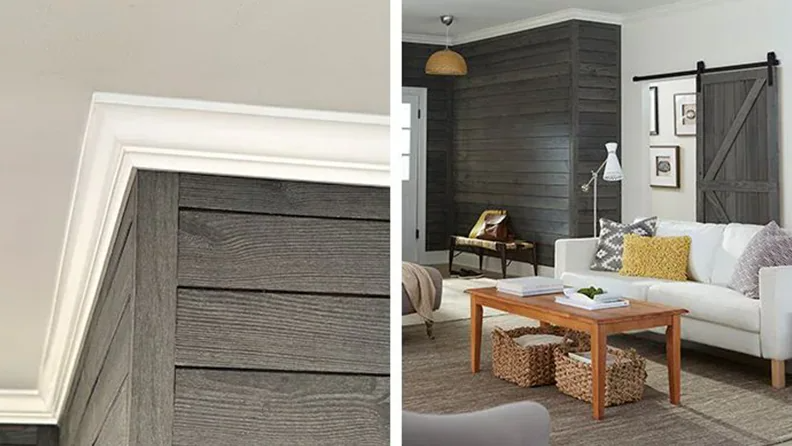
When installing shiplap walls in a room, one usually faces difficulty while working on the corners. One easy way to cover the corners neatly is to cut the shiplap board of the left wall ½ inch shorter than the complete measured wall length. Doing this way, it would overlap the shiplap boards installed on the back wall (right wall), creating a clean finish on the corner.
Summary of The DIY Shiplap Walls Tutorial
If you are planning to upgrade the interior of your house, nothing can beat the shiplap walls. So, what are your thoughts on DIY shiplap walls? Have you tried doing one yourself? To solve all the future hassle and give you an easy tutorial for a DIY shiplap wall, we have discussed all the points in detail in this blog.
Create and install shiplap walls at the dream space under budget with this diy shiplap wall tutorial. Once done, stand back and admire the finished shiplap wall. The complete shiplap transformation gives good texture and contrasts with the shiplap and the furniture. The crisp, clean, and contrasts help make the shiplap feel modern and fresh.
Creating your DIY shiplap wall is a great way for beginners to transform their space. In case you get stuck somewhere while giving your interior a makeover with shiplap walls, feel free to comment below; we will be happy to solve all your queries.