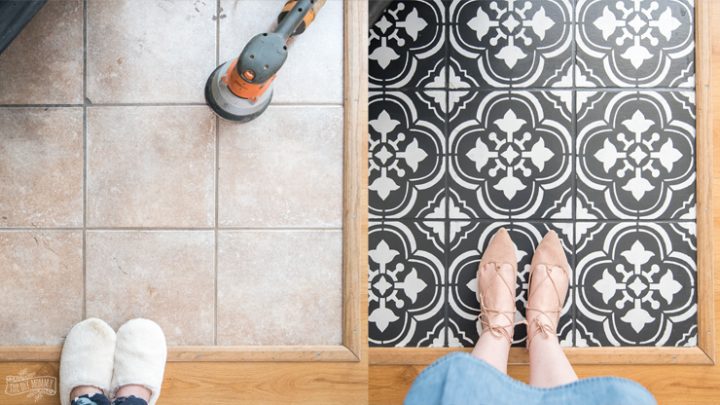
When it comes to maintaining the overall longevity and aesthetic of your home, paying attention to your floor tiles is essential. Tile floors are durable and can withstand heavy footfall, but over time they might start to lose their luster and become outdated.
Painting floor tiles offers a cost-effective way to breathe new life into your space without any need for expensive replacements. However, it is important for you to understand the process properly before doing it yourself.
In this article, we will walk you through the step-by-step process of painting a bathroom tile floor as well as a room tile floor.
Why Should You Consider Painting Your Floor Tiles?
There are a lot of people who are unsure if they should go ahead with painting tiles or not. So, before heading on with the process, let’s discuss a few benefits of painting your floor tiles:
- Cost-Effective Solution: Painting tile floors help you recreate your tile’s look without creating a hole in your pocket. Replacing the entire tiles would cost you a lot in comparison to just painting them over.
- Versatility in Design: With a wide range of paint colors and finishes available, painting tile floors give you the freedom to customize your space according to your personal style and preferences.
- Quick & Easy Process: Compared to other home improvement processes, painting floor tiles is relatively simple and can be completed in a reasonable timeframe, allowing you to enjoy the results sooner.
- Durability & Protection: Quality paint products designed for tile floors can provide a durable finish that withstands daily wear and tear while also protecting the underlying tiles from damage.
- Temporary Solution: If you do not want a permanent change and want to experiment with the design and colors, painting tiles offers a reversible solution that you can just be updated or reverse back if it doesn’t suit you.
No matter which of the above reasons you have for painting your floor tiles, you can stick with us till the end of this guide to ensure that you do not miss any important information.
Process of Painting the Floor Tiles
The process of painting the floor tiles starts with preparing the tiles by taking appropriate steps to ensure that the painting process happens smoothly and without any challenges. You also have to prepare your room if you want to paint any of the room tiles, or you’ll have to prepare your bathroom if you’re painting the bathroom tile floor. Once your tiles and room are prepared, we’ll start with priming and then painting the floor tiles.
Don’t worry; the above process is not as difficult as it might seem. Let’s start our step-by-step guide to help you at each step.
Make sure that you carefully read and perform each step to avoid any challenges later:
Step 1: Preparing the Tile Floor
Let’s start with analyzing and preparing the floor.
1. Assessing the Condition of The Tiles
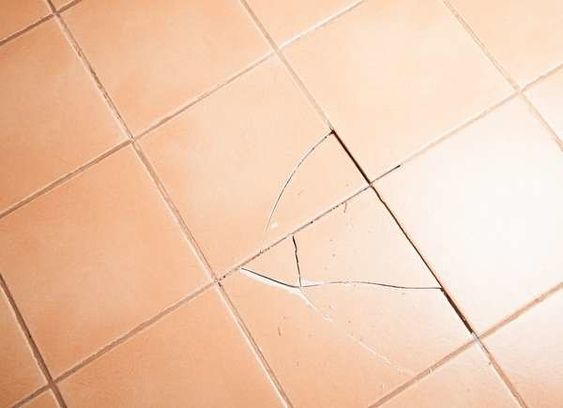
Check the tiles properly and look for any cracks, chips, or loose tiles that should be repaired before painting. This step is especially important if you are painting bathroom tile floor as they are exposed to moisture frequently.
2. Cleaning the Tile Surface
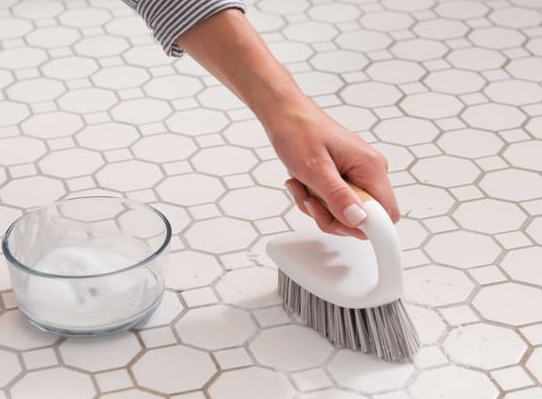
You must clean the tile surface properly to ensure proper adhesion of the paint. Start by getting rid of any dust, dirt, or debris on the tile using a broom or vacuum cleaner. Then, thoroughly clean the tiles using mild detergent and warm water. Scrub the tiles with a soft brush to remove any grease, grime, or stains. After rinsing the tiles further, you must wait for them to dry completely before moving on with the steps.
3. Repairing Any Cracks or Chips
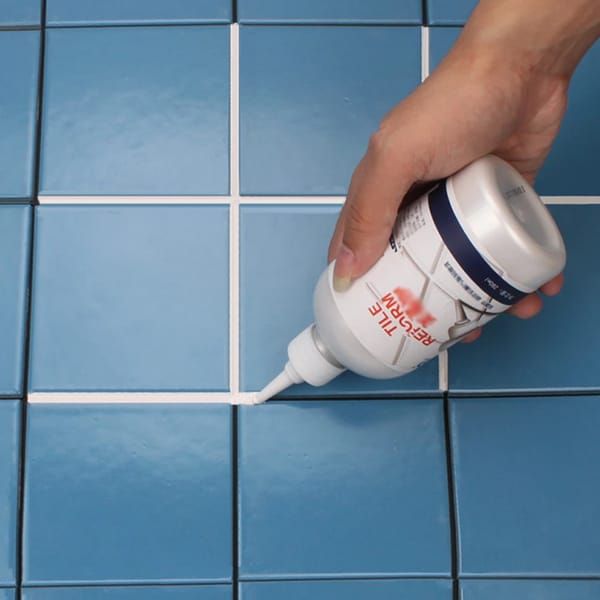
If you discover any cracks or chips during the first step, it’s time to work on them. Depending upon the nature and type of crack or chip and if you are painting bathroom tile floor or any other room’s tiles, you must use tile fillers or epoxy resin to fill in the damaged areas.
4. Sanding the Tiles (If Required)

In some cases, sanding the tiles is crucial to create a more textured surface that improves the paint adhesion. Use fine-grit sandpaper to scuff the surface of the tiles gently.
Step 2: Preparing the Concerned Room
Once the tile floor is prepared, we’ll prepare the concerned room to ensure that all the other stuff is not affected due to paint.
1. Clearing the Floor Area
Before you begin painting, clear the floor area of any furniture, rugs, or decorative items. Remove obstacles that could hinder your movement or accidentally come into contact with wet paint. In case of painting bathroom tile floor, please ensure that all the bath accessories should be removed.
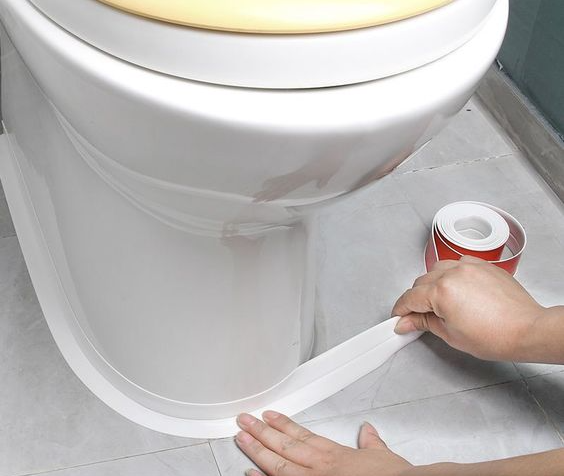
2. Covering Walls, Furniture, and Fixtures
Cover the walls, baseboards, and any other adjacent surfaces with painter’s tape and plastic sheets or drop clothes. This will protect them from accidental paint splatters or spills. If there are fixtures or appliances in the room, consider covering them as well to prevent any potential damage.
3. Ventilating the Room
Proper ventilation is important to ensure the circulation of fresh air and to facilitate the drying of the paint if the room lacks adequate natural ventilation, consider using fans or setting up a portable ventilation system to improve air circulation.
Step 3: Applying the Primer
Priming is an important step when it comes to painting tile floors. It ensures better adhesion of the paint to tiles and enhances the durability of the finish. The primer creates a bonding layer that helps the pain adhere more effectively, resulting in a long-lasting and smoother final appearance.
How to Choose the Right Primer?
When choosing a primer for rooms, you must opt for a high-quality primer that is compatible with your chosen paint. You can even choose primers with specific properties like strain-blocking or odor-blocking based on the condition of your tiles.
You may go for:
1. Painting Room Tiles: Henry 336 Bond Enhancer
2. Painting Bathroom Tile Floor: Rust-Oleum Floor Coating
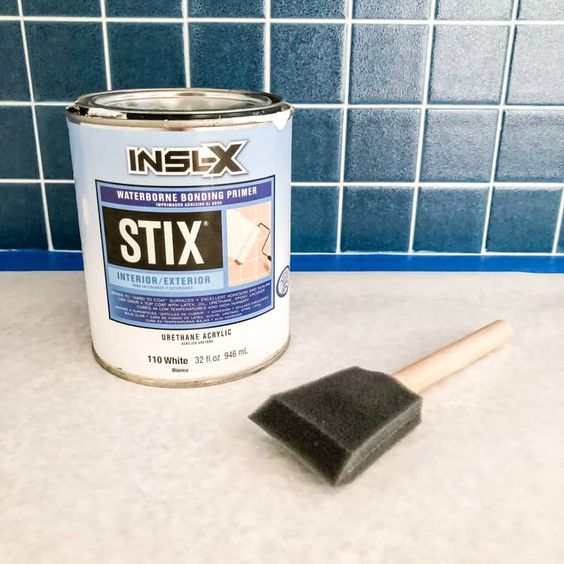
Preparing the Primer for Application
Once you’re ready with your primer, you must follow the manufacturer’s instructions to prepare the primer for application. This may include stirring or shaking the primer to ensure proper consistency. You must also ensure that you have all the necessary tools for applying the primer, such as a brush or roller.
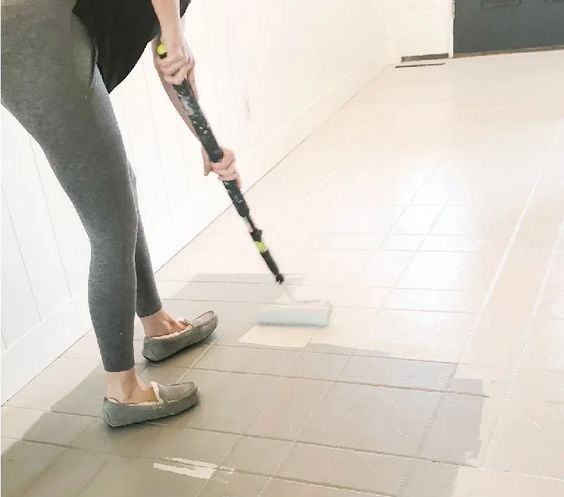
Applying Primer to The Tiles
Start by cutting the edges of The tile floor using a brush. Apply a thin and even coat of primer to the tiles, working in small sections. Use long and smooth strokes to achieve a consistent finish. If you are using a roller, apply the primer in a “W” or “M” pattern to ensure even coverage. Allow the primer to dry completely according to the manufacturer’s instructions before proceeding to the next steps.
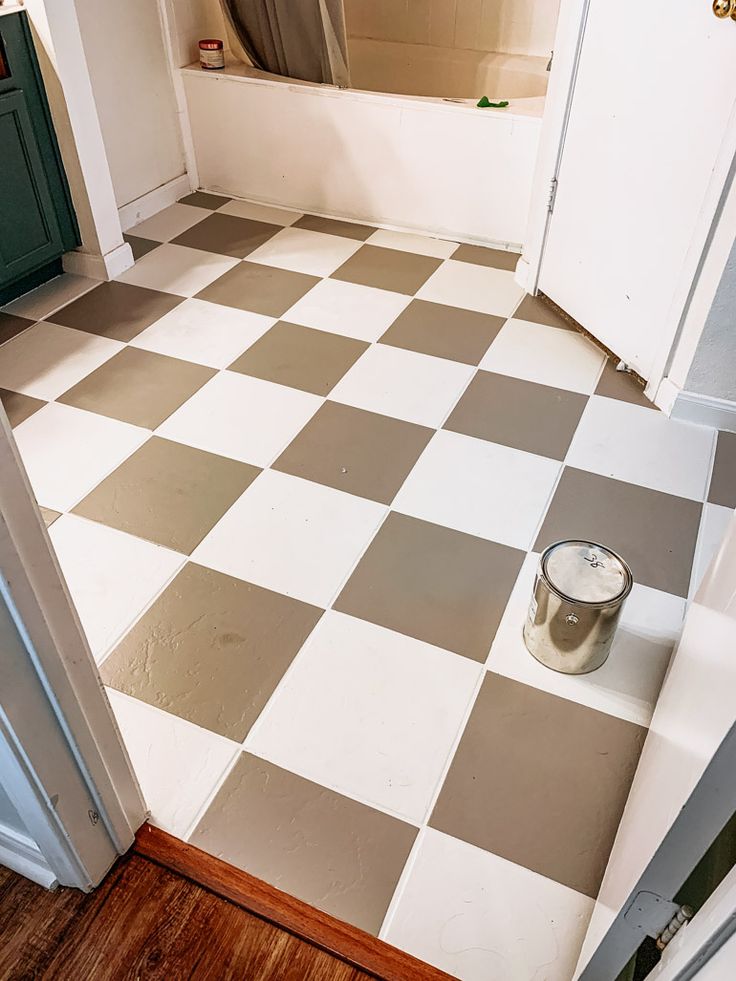
Step 4: Painting the Tile Floor

Once the primer has completely dried up, we can move on to actually painting the tile floor. As we emphasized in choosing the appropriate primer, we also have to make sure that we choose the right paint for your tiles.
Considering the overall aesthetic of your room or bathroom and your personal preferences, you can opt for a color that complements the existing decor or one that brings a fresh and modern look to the space.
You will also have to make choices between various finishes, such as matte, satin, or semi-gloss, based on the level of sheen and durability you desire.
1. Preparing the Paint for Application
You must thoroughly mix the paint according to the manufacturer’s instructions and stir the paint gently to avoid introducing air bubbles. If necessary, strain the paint to remove any impurities or clumps and then transfer the paint to a paint tray or bucket that easily for easy access during the application.
2. Using Brushes, Rollers, or Sprayers for Application
Based on the size of the floor area and your personal preference, choose the appropriate tool for applying the paint to the tiles. Brushes allow for more control and precision in smaller or intricate areas, while rollers cover larger sections quickly. Paint sprayers can provide a smooth and even finish but require proper technique and equipment.
So, you may go for rollers if you are painting large-open spaces like the living room or bedroom; however, for painting bathroom tile floor, a brush might be a convenient option.
3. Applying Paint to The Tiles in Even Strokes
You should start by cutting in the edge of the floor with a brush, ensuring neat and clean lines along walls and baseboards. Then, working in small sections, apply the paint to the tiles using the chosen tool.
Use long, even strokes in one direction to achieve a uniform finish. Avoid applying excessive pressure that could cause drips or streaks. Ensure complete coverage and blend the paint strokes to achieve a seamless experience.
4. Ensuring Full Coverage and Avoiding Drips
Pay close attention to achieve full coverage on each tile, ensuring that no original color or pattern shows through. Take care to avoid excessive paint buildup or drips, as they can create an uneven or textured surface. Regularly inspect your work as you go along, correcting any imperfections or drips immediately.
Step 5: Drying and Curing
Although you have completed painting your tiles, that doesn’t mean that your work is done. Proper drying time is essential for achieving a durable and long-lasting finish. Here are a few things to be considered while the paint has been dried up:
1. Recommended Drying Time
The recommended drying time can vary depending on factors such as humidity, temperature, and the type of paint used. It may take several hours or even overnight for the paint to dry completely. Be patient and resist walking on the freshly painted tiles until they are fully dried to prevent any smudges or footprints.
2. Creating Proper Ventilation for Faster Drying
Promote faster drying by maintaining proper ventilation in the room. Open windows and doors, use fans or consider using a dehumidifier to reduce moisture levels. Adequate air circulation helps the paint cure properly and minimizes the risk of developing a sticky or tacky surface.
3. Curing the Paint for Long-Lasting Results
While the paint may dry to the touch within hours, it’s important to understand that full curing can take longer. Curing allows the paint to reach its maximum hardness and durability. Avoid placing heaving furniture or subjecting the painted floor to excessive stress until the paint has fully cured, which may take several days or even weeks, depending on the paint type.
4. Cleaning up After Painting
After completing the paint process, it’s important to clean up the tools and the surrounding area. Remove painter’s tape and plastic sheets carefully to avoid smudging or smearing the fresh paint.
Clean brushes, rollers, and other tools with water or the recommended cleaning solution for the type of paint used. Properly dispose of any leftover paint or empty paint cans following local regulations.
Finishing Touches After Painting Bathroom Tile Floor
After painting the bathroom tile floor, consider applying a protective topcoat to enhance further the durability and longevity of your bathroom tile floor. This additional layer adds an extra barrier against wear and tear, stains, and moisture.
Choose a topcoat specifically formulated for tile floor and follow the instructions for application. Allow the topcoat to dry and cure according to the recommended time before using the bathroom.
Conclusion
Painting the floors is an excellent way to update the look and feel of your place without undergoing a costly and time-consuming renovation. By following the steps outlined in this guide, you can achieve professional-looking results and enjoy a fresh, updated floor.
Especially if you are planning to paint a bathroom tile floor, be careful with each step and pay attention to details. As bathroom tiles are most exposed to moisture, the paint might start to fall off early if you don’t follow each step.
We hope you enjoy the process of revitalizing your spaces and revel in the fresh and updated look of your newly painted tile floor.