Pantries, these days, have become essential in most homes. They are the shelving options that hold the groceries and make life easier altogether. In fact, in a report by the National Association of Home Builders, it was revealed that more than 80% of home buyers desire pantries. That clears up the fact that pantries are a very important element in your home.
With that said, it so happens sometimes that you might or might not have a pantry in your home and could be planning to make one. If you come under that section, a corner pantry shelving would be a great option for you. It saves space, gives you a place to store your things, and can be made with an easy DIY.
In this article, we talk about How To Build Corner Pantry Shelving and give you some pantry organization tips that will make your life very easy.
How to Build Corner Pantry Shelves
Corner pantry shelves are great storage options for small kitchens or room layouts that do not have very convenient storage spaces. They can be built in different places around the home, like maybe a mop room or spaces under the stairs. These storage places are highly functioning and give you a lot of space.
The better news is you can build it yourself. Here is the guide to do so.
1. Plan First
Before you get along with this DIY project, it is important to plan. Plan the pantry in a way that you can maximize the efficiency of your space. Look at the organizational potential and plan a good layout. This way, you will be able to use most of your space.
2. Laying out Your Pantry
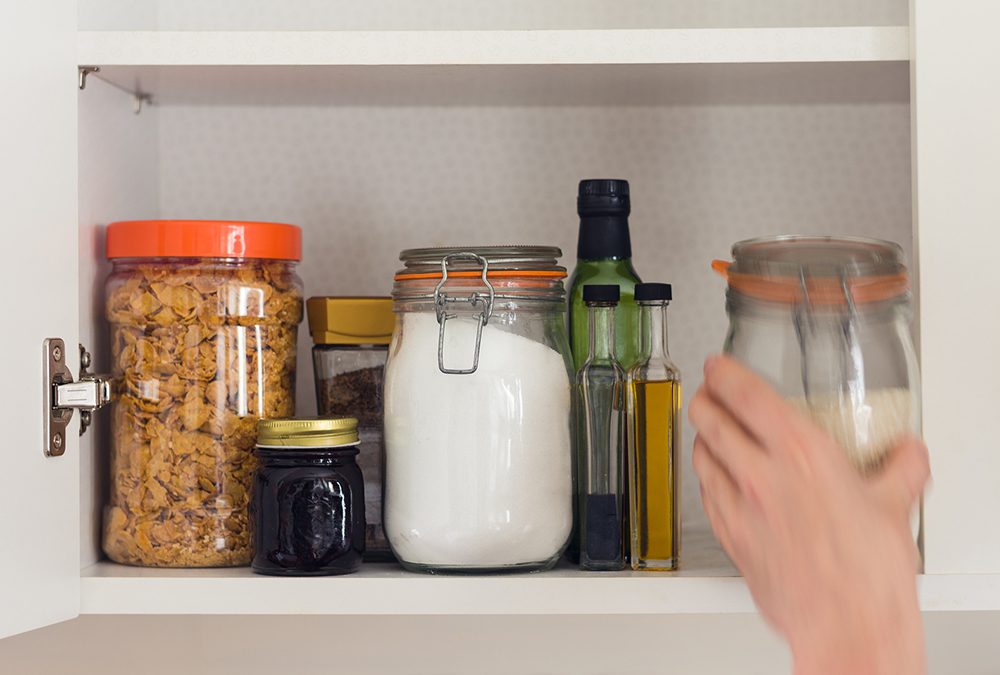
The next thing to do is, measure the items you are planning to keep in your pantry. Especially the heights of the container. This will help you decide the height of your shelves and give you a better idea of how to work with the layout.
3. Consider Additional Lighting
Before you make these big changes in your pantry, remember that if you put up wood shelves, your pantry will look even darker. The wire shelving generally allows the light to pass through the shelves and doesn’t cast a big hard shadow. However, wooden pantry shelving will. So, you might want to consider additional lighting.
4. Types of Wood You Can Use
There are different kinds of wood that you can use when working on this project.
- For frames, you can use lumber. It is inexpensive, strong, and gives you the desired results. Of course, pine isn’t the prettiest wood, but remember that the shelves will hide it.
- As for shelves, you can use finish-grade plywood. You can cut and carve it at a very low cost, and you can easily cover the front roughness with a front trim.
- Coming to the front trim piece, since it is a visual piece, you can consider oak for a very elegant look. If you are planning on painting, any wood, free of knots, will do.
Tools You Will Need to Build Pantry
- Milter Saw
- Drill
- Brad Nailer
- Kreg Jig
- Clamps
- Tape Measure
- Stud Finder
- Level
- Table Saw or circular saw
Now it is time to get started with the building.
1. Clear out Your Pantry
Before you do anything, it is important to clear out the pantry and clean everything that is in there. That includes removing the old shelvings and removing any wiring you might have. You can do this by using a prybar since the brackets are generally installed with anchors and nails.
When you take out the previous shelves, it will leave nail holes. So, using fillers and sandpaper, smoothen out any nail holes or scratches your walls might have. You just have to fill the holes, level it, and then, with sandpaper, make it all very smooth. This will prepare your wall for the next step.
2. Measure and Cut
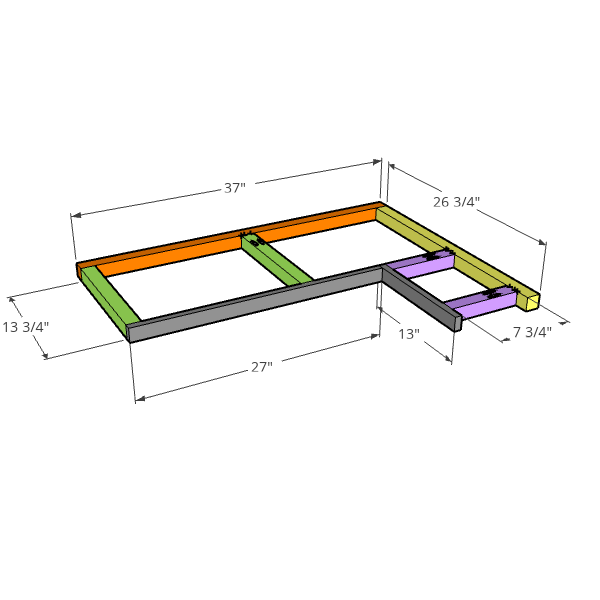
The next thing to do is to measure your pantries. All pantries are different in size. So, you might have to measure your pantries and then get the material. This particular DIY guide uses a 37X26 ¾ inches pantry. However, remember, you will have to make the measurements as per your need.
You can use premium edge-glued panel boards, standard edge-glued panel boards, or even cut the boards out of bigger planks, like plywood. These will affect a lot in the cost of this project. However, if you are using plywood, you will have to make sure that you use edge banding on the rougher edges.
Now, before doing anything, it is important that you cut out support brackets. Using a miter saw, chop up the 2X2 support brackets to the size that is suitable for back wall supports, two side wall supports, and middle support. Remember, if your pantry closet is bigger, you might need bigger middle support too.
The final step in cutting is you trim 1X2 trim boards to the size of your front of the shelves. Remember, you can always postpone this step and install the supports you already have cut first. That way, if you want to double-check the measurements, you will be able to do so.
3. Put up The Stain

It is important that, along with getting measurements correct, you also give your shelf planks a beautiful look that they deserve. To do this, use a staining medium and stain the top and bottom of the wooden boards that you will use for the shelvings.
To give it a better look, you can match this with other shelves of your pantry, and it will make it all look very coordinated. Once the stain is dried, you can use a primer or polyurethane on the top and front. This will make them wipeable and hence, easy to clean.
Things to Keep in Mind When Staining/Difference Between Staining and Painting
Staining
- Staining requires more expensive stain-grade wood.
- It is harder to hide any imperfections with stains. These imperfections could be anything like joins and nail holes.
- In the case of softwoods and plywoods, you will have to pre-stain the wood conditioner, and that will help you avoid blotchiness.
Painting
- Light colors will brighten the whole pantry
- Easily hides imperfections,
- It can be done on any sort of wood with a primer coat.
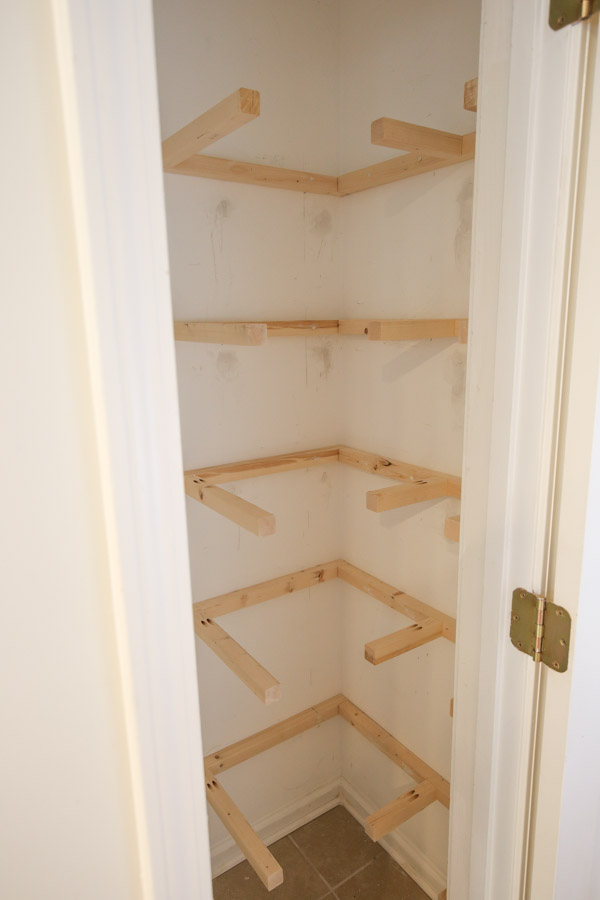
4. Mark the Measures, Put the Supports Up
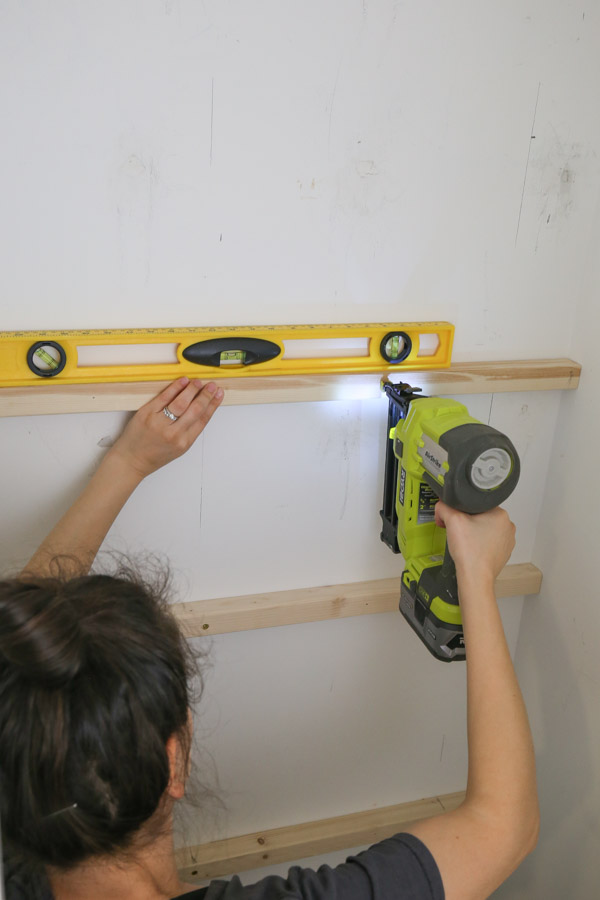
The next thing to do is, using a pencil, mark the points in your pantry wall where you want to hang your shelves. Make sure you also take into account the thickness of your shelf board, and trim board, in addition to the space you want between each of your shelves. A good way to do this is to use a stud finder to make the wall studs wherever they are located.
Now, attach your back 2×2 wall shelf support to the wall using a level. Do this one at a time, and it will help you ensure they are at the right level. Once you have attached your first board, you can use a Brad nailer to make sure they stay. To give it extra support, drill the appropriate size screw through the support into the wall studs. You can use a self-tapping screw, so you don’t have to make pilot holes.
After all the back supports are in place, you can attach all the right and left wall supports. Then repeat the same process as you did in the back support. Make sure all supports are very well secured and do not fall off.
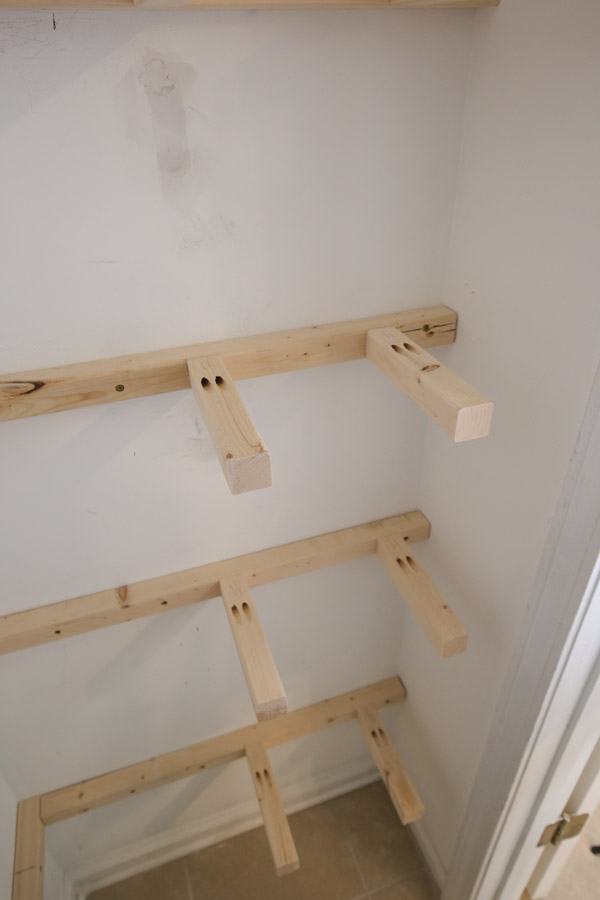
5. Install the Middle Support Brackets
Using a Kreg jig, drill pocket holes into your middle support brackets. Remember, these support brackets are key to your pantry shelving. So, they should be very strong. Now, attach the middle support boards with Kreg sweeps.
Tip: You can use clamps to make it easier.
Ensure that your middle supports on the side are installed where the two shelf boards will meet. So, put it in the corner from where it can support both boards.
6. Pack Everything
Once done with putting up the supports, it is important that you clean up the whole space. Fill in any nail and screw holes that you might have with filler. Sand them and make them all very smooth. Then, add more primer to everything that isn’t already primed. After that, paint everything just as you like.
7. It is Time to Put up The Pantry Shelving
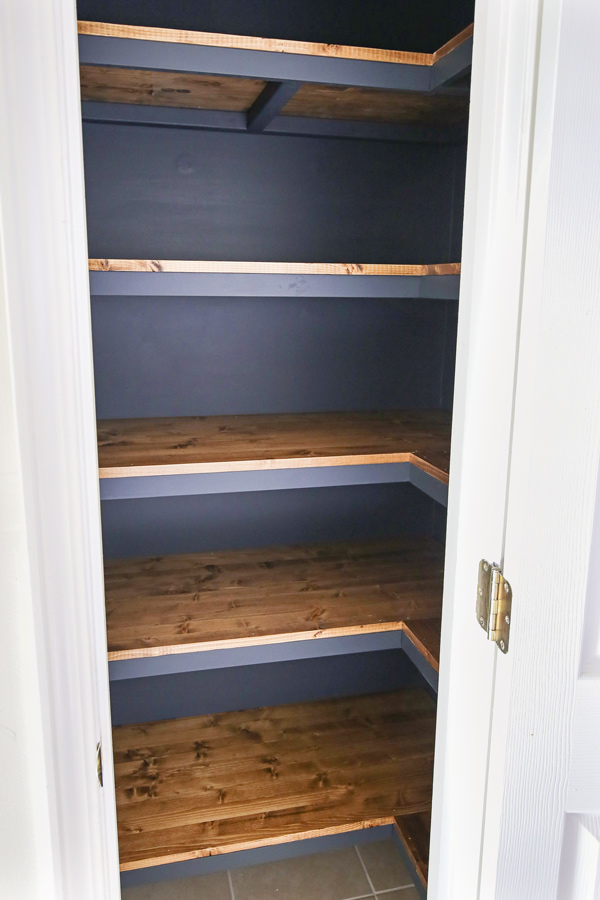
Starting at the bottom, start placing your wooden pantry shelves and the corner shelf on top of the bottom supports. Clamp them and nail them into the supports. Continue this process till you have reached the top of the shelf. Fill the nail holes once again and touch them up with the paint. You can paint these however you want, and you will be good to go.
With this easy DIY, you will be able to build your own corner shelf. It will take you around 1-2 days to get done with it. However, if you want to elevate and spice up the look of your corner pantry, you can use these tips to make it look more dressy. Check them out.
Ways to Elevate the Look of Your Pantry
You have put so much effort into making this pantry shelving; it is important that you give your pantry the spiced-up look that you desire. It is easy to do so with these things-
- Round Corners: A great way to add to the look of your pantry is by eliminating the sharp corners of your shelves and swapping them with rounded corners. This will make your space look smoother and also help you save yourself from getting hurt by the sharp, rough edges.
- Put up a decorative door: Putting up a decorative door will help you define your corner shelving options. You can put up either a vintage door, or you can also put up salvaged screen door. This will make your corner shelving look dressed up and do the job of attracting the eye.
- You could place the shelf on the edge and then paint them. This will give your corner pantry shelving a vintage look.
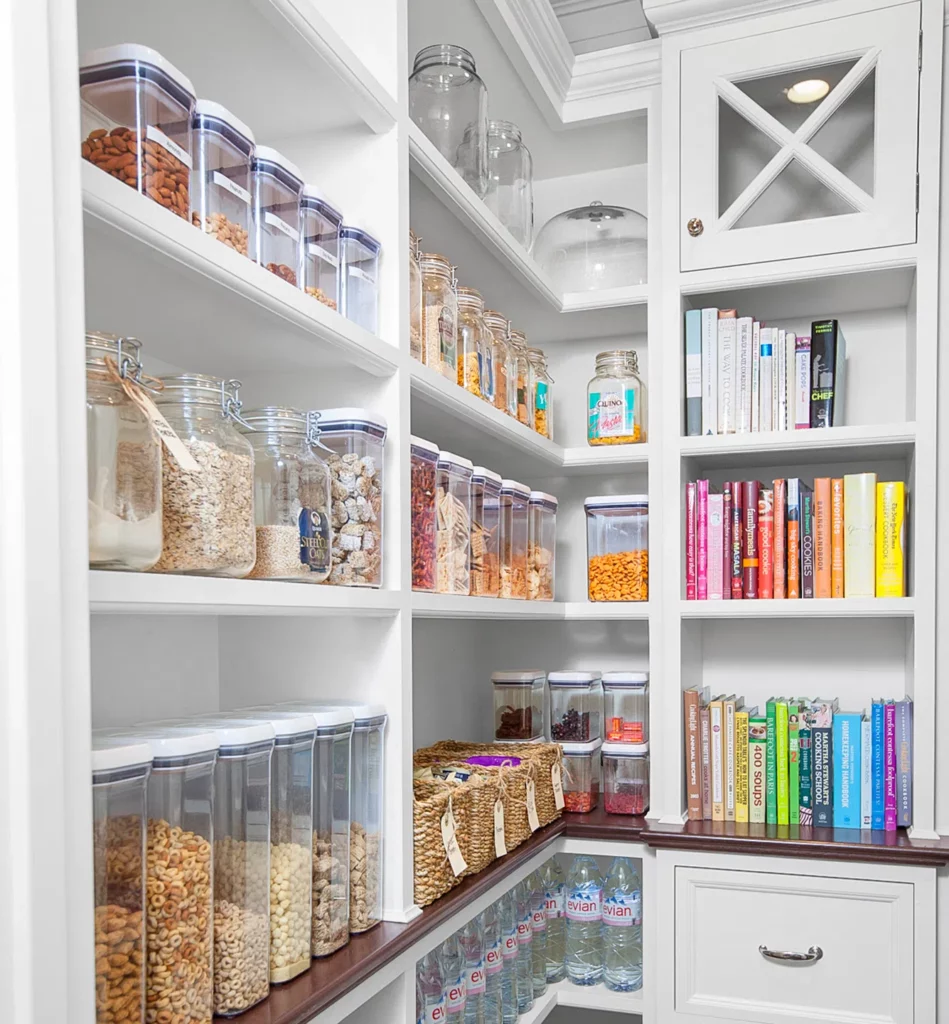
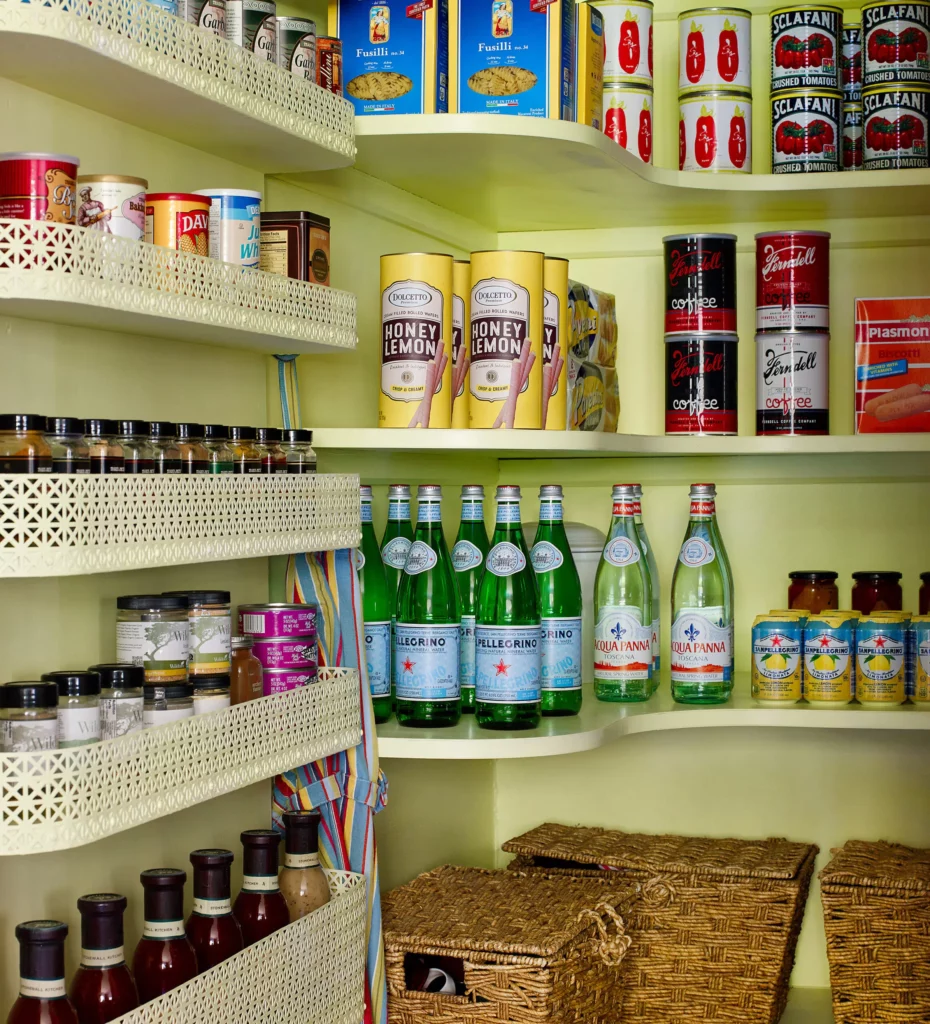
Organize Your Pantry Well
Other than dressing your corner pantry shelving, you have to ensure you organize your pantry well to make sure you use the space in your pantry well enough. To organize your pantry, keep these tips in mind.
- Only keep the items that you use in your kitchen in your pantry.
- Zone the items in the same segment together.
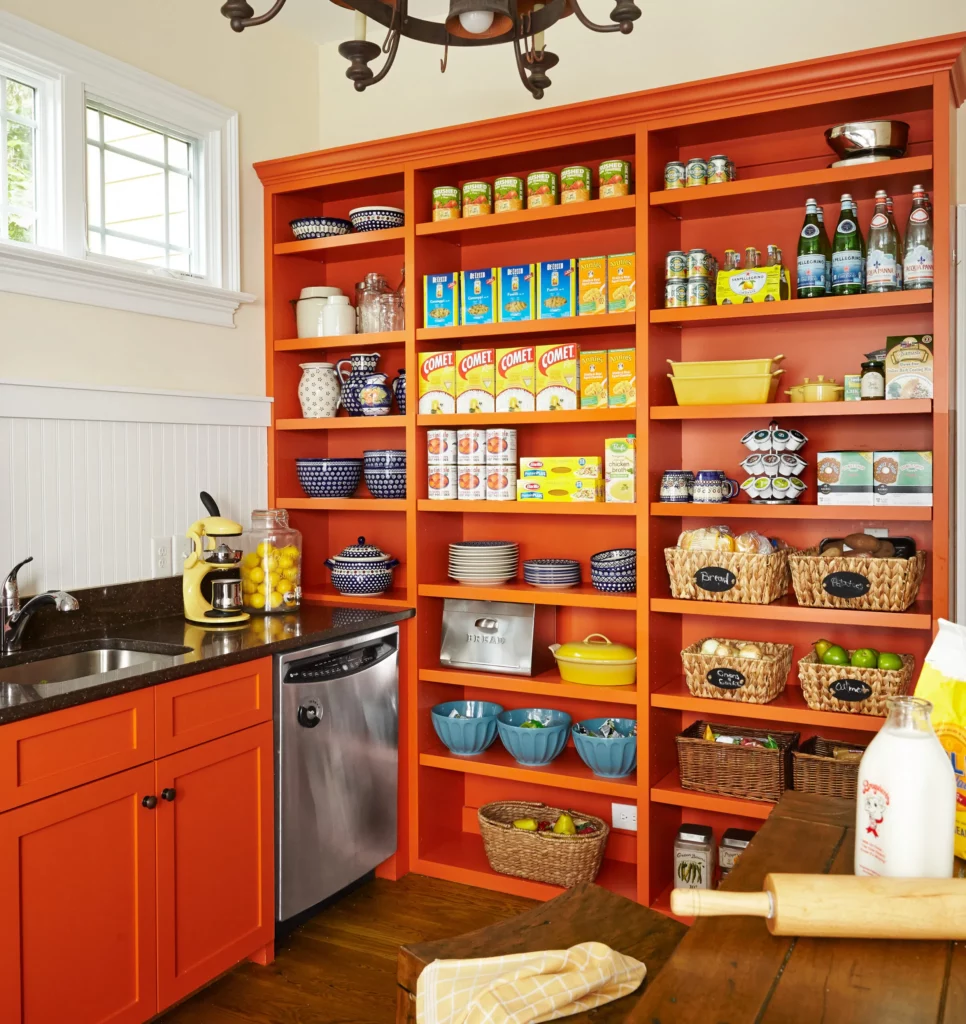
- Use bins and baskets to organize. Woven banana leaf baskets are great for this. You can check these Honey-Can-Do baskets that come in different sizes and are eco-friendly. You can put your pantry items in these and put them in your pantry. This way, it will be all clean and organized.
- Label your things to make them easily accessible. You can label foods in your pantry, and a label with an erasable design is great. You will be able to use it again and again, and it is microwave-safe, freezer-safe, and dishwasher-safe, and can stick to most surfaces like glass, plastic, and ceramic.
- Use food storage containers to store snack foods like pasta or spices. You can choose these Rubbermaid Brilliance Leak-Proof food storage containers. This will ensure your food stays fresh, and since they come in various packs in different sizes, you can buy them as per your need.
- Remember, less is more. Shop only what you need, and avoid buying the same items.
[amazon box=”B07X5Y11CB”]
[amazon box=”B0B8KZV6DW”]
[amazon box=”B00H34G24E”]
Conclusion
Corner pantry shelving is a great idea for any and all households. It makes your life easier by giving you ample space to store your groceries and helps you save time and effort in the longer run. These pantries are easy to build and go with most decors. Once you get them to use, trust us, you will be nothing less than thankful for how much space these pantries give you.
Pantries are a great way to organize clutter and keep your items in one place. Usually, the pantries are constructed in the dark and cool room because they are mostly used to store food items as well. Having a pantry will make your life easier in more ways than you can imagine.
So, make your cooking experience and storage experience better with one corner pantry shelving at a time.