Thinking of taking a DIY home project for a brand new look? The board and batten wall is an easy process with minimal materials. All you need is to select a wall where you can enjoy the look and make the place aesthetically elevating.
Walls within the house are a great place to hang souvenirs, welcome signs, and photos, and use the vertical space to the maximum. Instead of painting them with the same color, you can choose to create an accent wall, that is, one wall having a different paint, wallpaper, or texture. As these types of walls cost too much, you cannot change these accent walls once you get bored.
You can choose an accent wall that is timeless, classic, and inexpensive. Nowadays, the board and batten accent walls have come to the spotlight. The board and batten wall have worked great in the exteriors of the house and now have found a place in the interior as an accent wall. More popularly known as wainscoting, this wooden work on any wall of your house can transform your space and make it look bigger.
Here are a few DIY techniques to build a board and batten wall from scratch and fix them as accent walls in any room or place in the house.
What Materials Are Used for DIY Board and Batten Walls?
Making a board and batten wall from scratch is easy and within budget. This type of wall not only refreshes the place where it is installed but also elevates it for efficient use. Apart from this, the board and batten wall is a quick and easy project that you can do in a multitude of different ways.
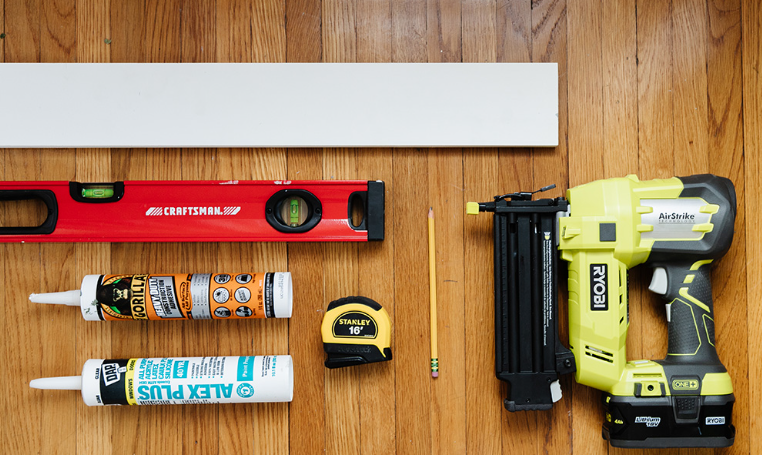
- One of the easier methods to start this DIY is by collecting a few pieces of wood, wood glue, a nail gun, and the paint color of your choice. With these materials, anyone can try this project at home and add so much character and style to their space with very minimal effort.
- The first and foremost step for the DIY board and batten wall is to remove all the decorative material and hardware that exist on the wall and convert it into a blank canvas.
- With the help of pliers, remove the wall anchors like hooks so that the wall surface becomes flat.
- To avoid disturbing the wall paint, apply wall spackle to the holes and gently sand them with a hand sander. Furthermore, clean the area on the wall before beginning the project.
[amazon box=”B015X2NHOK”]
[amazon box=”B09GYSG15X”]
[amazon box=”B09HJM3YHY”]
How Do You Apply a Board and Batten on The Wall?
While deciding on the home project of board and batten, shortlist the rooms and one particular wall where you want this to be done. Furthermore, if you do not want to spoil the paint, texture, or ultra-smooth walls in the room, using a backing boardcan be the right option.
- Make sure that the base piece of your board and batten flush up against the baseboard.
- You can use the trim as a support so that the bottom board is in the right alignment. You have to consider the height of the board batten wall before applying them.
- Most of the backing boards come in 4 feet in height, and the battens are 4 to 8 feet long panels. You can cut the panels according to the backing board height. Another important point is the baseboard’s depth.
- They may not be in line with the batten panels. You can either install a whole new baseboard that matches the depth of the batten, or you can choose thinner battens.
- The advantage of having a board and batten wall is that you can place them in any pattern you want, like you can keep the batten as simple horizontal lines on the board, or intersect them geometrically, etc.
- Before applying the board and battens on the wall, mark out all the places where they will be applied so you don’t have to measure it each time you place the batten.
- First, use the wood glue and then the nail gun to adhere the battens and keep them in place. If the battens are unable to adhere to the board, you can use shims, which are tiny strips of wood used to align battens and make them fit.
- Make sure that you drill small rectangles with a jigsaw on the hardboard if there are any electric connections running behind the wall.
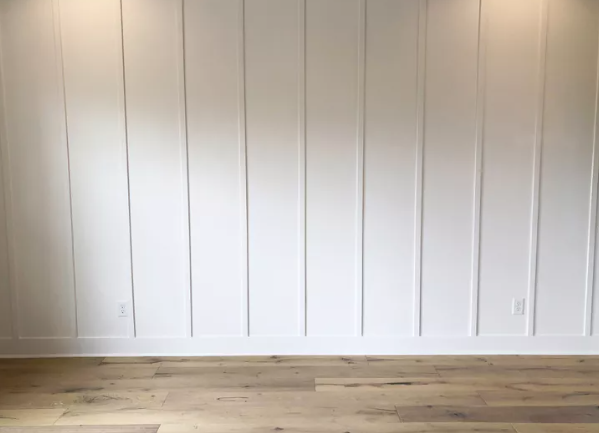
- With this simple application of board and batten, you can create an accent wall in half or the entire space. Spacious vertical narrow wood battens and two horizontal ends can give a decorative look to the place. You can follow the stepwise guide mentioned here to simplify the DIY process.
[amazon box=”B08P55DXZ5″]
[amazon box=”B00OJ72L84″]
How Can You Make the Board and Batten Wall Look Attractive?
Start by preparing a sketch of the accent wall. Go through different hardware shops or search the battens and board online. The most important factor is deciding the height of the board batten wall.
- For a professional finish, use a spack filler and fill each nail hole, and after it dries, use sandpaper to make sure that the surfaces become smooth. With the help of dab cloth and tack cloth, get rid of all the dust.
- After the proper arrangements of battens on the board, you need to clean them up so they look as flush and flat as possible.
- First, use tape between the panels and the wall to apply a little bit of caulk with a damp towel. This will not only give a perfectly clean line but also create a flat surface so that it is easier to paint.
- It will be a lot easier than using hard boards for siding, as it allows your paint to go on so much smoother, and it will look a lot more professional.
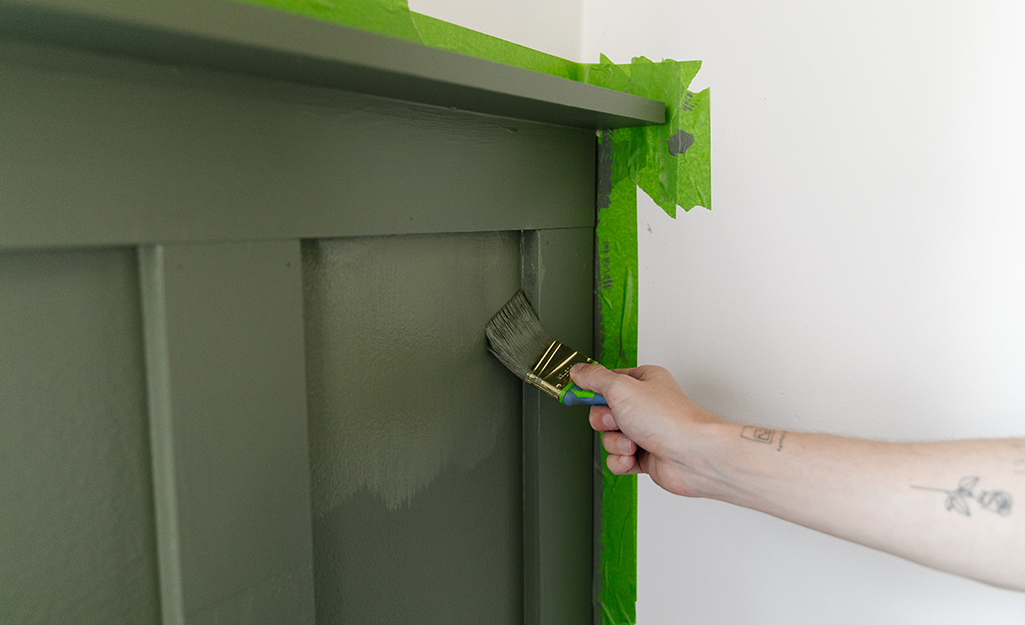
- You can choose a pre-primed batten or a plain one. You need to add primer to both the hardboard and batten.
- Choose a color for the board and batten wall that will highlight this piece in the entire space. If the wall color is lighter, choose a darker shade of the board and batten the wall.
- You can also be creative by using white color for the boards and a different shade for the battens for a visually appealing look.
- You can choose peel-and-stick swatches of different paint before painting the whole board and batten wall.
- Furthermore, you can be creative with the uppermost panel by placing a deeper batten that resembles a shelf. You can use the vertical space to keep some photos, souvenirs, etc.
[amazon box=”B001AVB7YG”]
[amazon box=”B09JL7HFPM”]
Where Can You Install Board and Batten Walls in a House?
The easy DIY board and batten wall are a great option to start your home makeover. Not only does this fall in the budget, but it looks aesthetical in any room or corner of the house. With minimum material, you can create an accent wall that will never get outdated.
1. Entryway or Mudroom
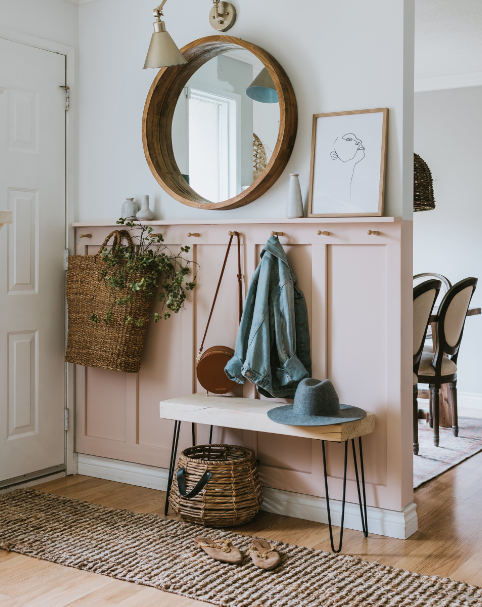
The entryway or mudroom is the perfect spot to begin your DIY board and batten wall. This will be the first place that comes into sight when anyone enters your home.
Install a board and batten wall, half the size of the actual wall, to create a unique look. You can separate both walls with different paints. Furthermore, you can add hooks on the horizontal panels to harbor your coat, bags, and keys. Apart from this, use the rest of the wall’s vertical space for welcome boards, canvas, and a light to create a cozy entrance. Here are the guiding points that you can follow to give the entryway a whole new look.
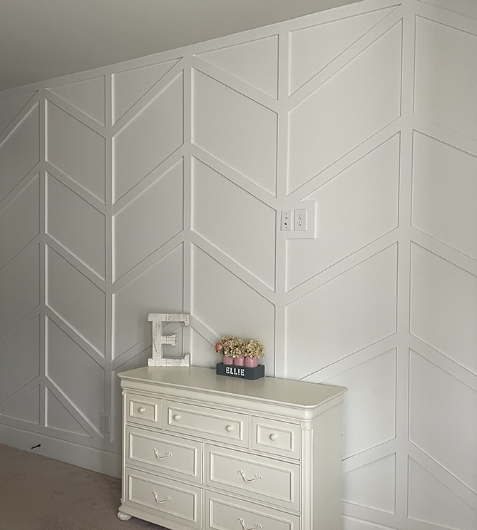
2. Bedroom or Guest Room
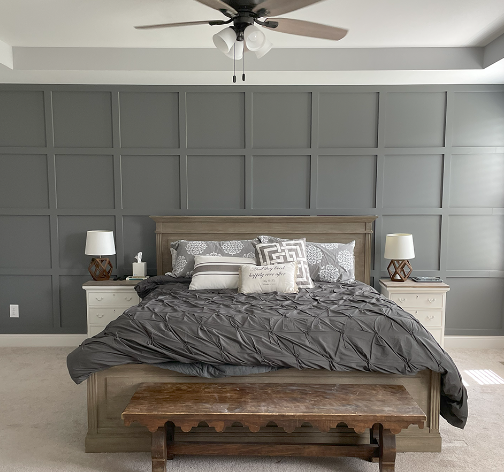
The DIY board and batten wall are the easiest way to transform your mundane space into an aesthetical one. A bedroom is a place where you’ll relax and revive after a long day. Maybe bright paints and wallpapers have now been outdated.
The board and batten walls are the perfect way to break the monotony. You can select the accent wall behind your bed to create a different dimension. The board and batten wall can be extended up to the headrest of the bed or to the ceiling, whichever you prefer.
Choose a paint color that suits your pre-existing furniture and blends well with them. You can choose the battens to be in any alignment for a decorative and unconventional look. Go through this stepwise DIY process for a refreshing look in your current bedroom.
3. Other Spots in The House
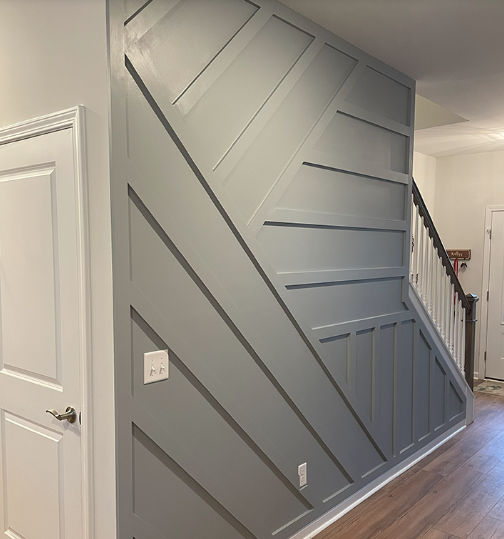
If the space underneath your staircase is not occupied with cabinets and storage, you can cover the wall with board and batten for a unique interior. The battens can be installed in a zigzag manner, ascending or descending manner for a change. Apart from this, the board and batten walls look great in front of the closet entrance too.
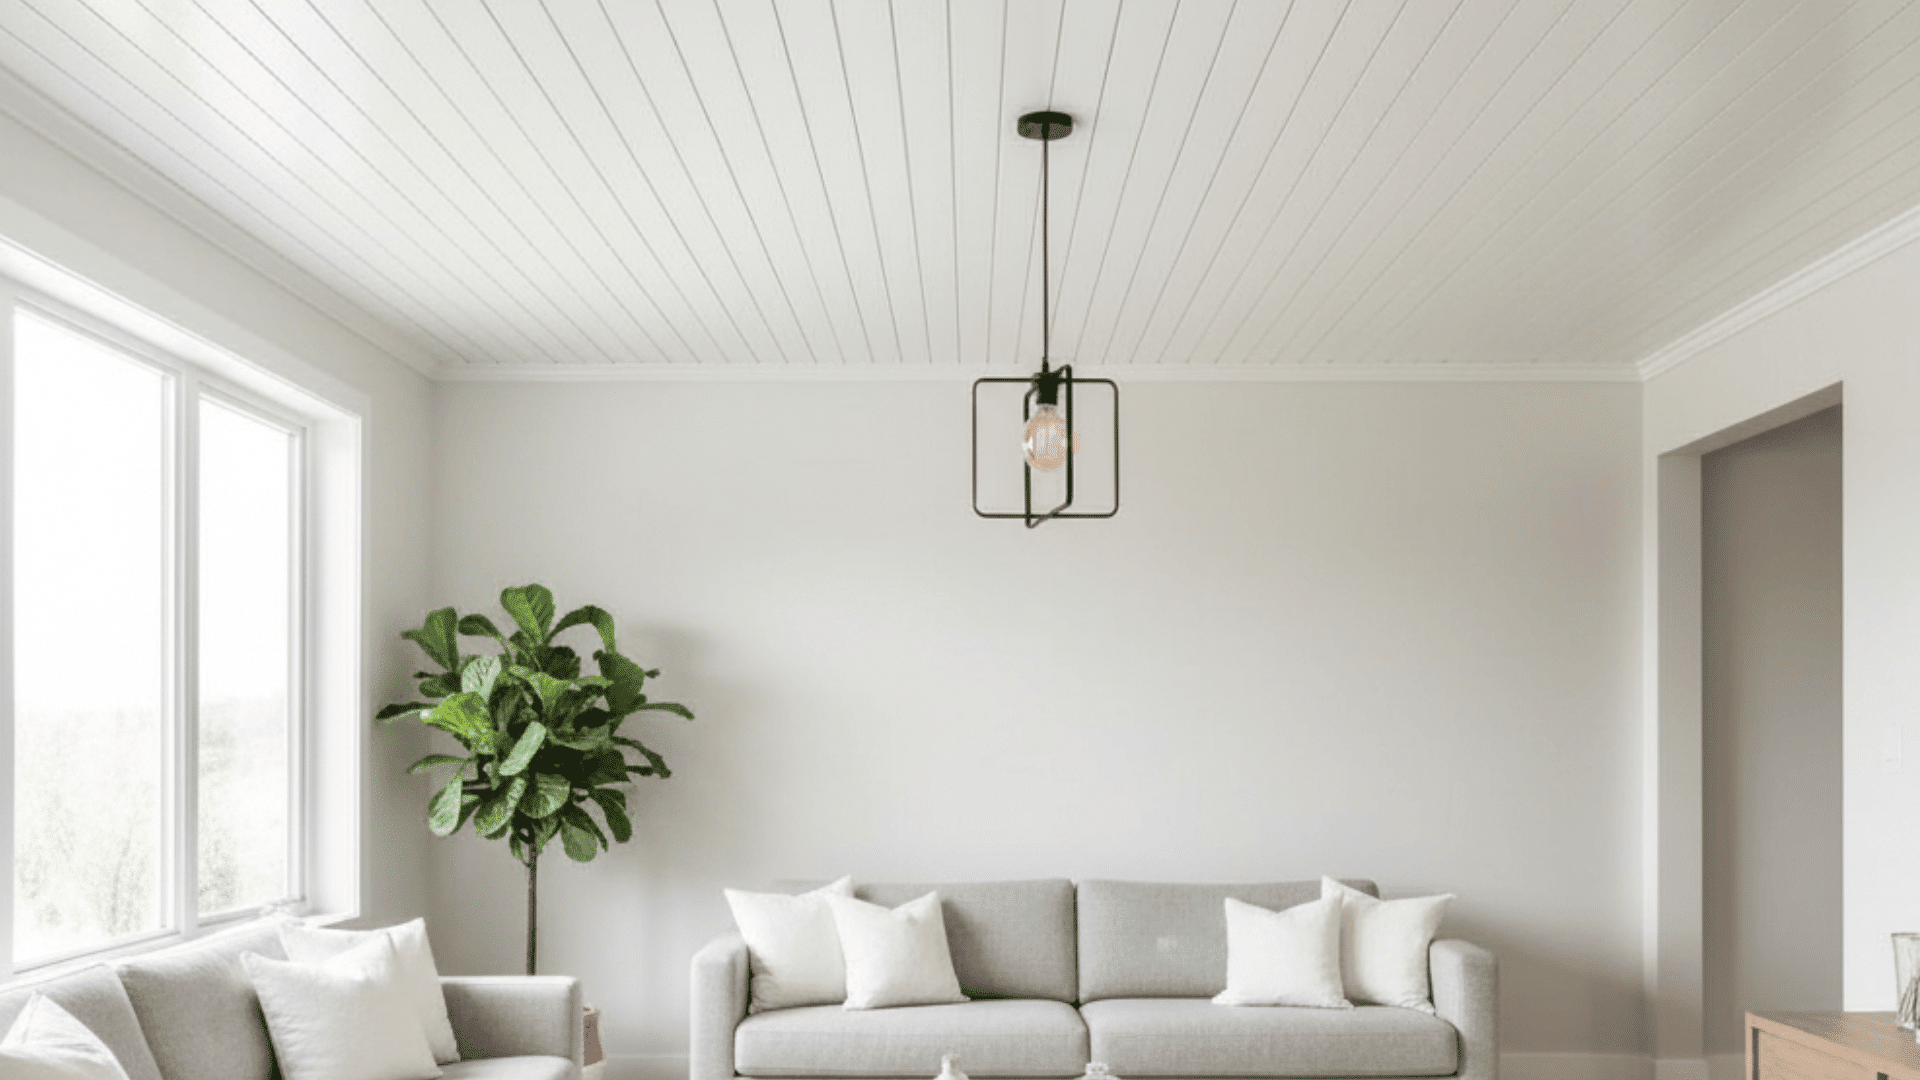
The ceiling can also be given a makeover with the help of this siding and paneling. Adding them to the ceiling helps catch everyone’s attention when they enter the room and also makes the space feel larger. Board and batten walls have also made their way to a decorative wall for the fireplaces.
Not only is this DIY cost-effective, but it also holds the entire room together elegantly. Follow these easy DIY steps for installing board and batten in any space around the house, and elevate the look.
4. Bathroom
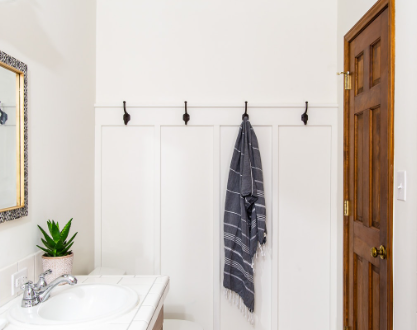
One of the most utilized spaces in the house is the bathroom. Not only should they be clean, but they should be airy and saturated. The easy DIY board and batten walls are a great option to renovate the space and make it look new.
Furthermore, these walls can be equipped with a horizontal panel for harboring all the soap and shampoo bottles. So you don’t need a specific storage or cabinet for it inside. Besides this, you can use a few hooks to keep extra towels and bathrobes.
The advantage of having a board and batten wall in a bathroom is that the paints used will be water-proof, and you’ll require less time to clean them. Go through these simplified steps to give your bathroom an aesthetic look.
Conclusion
The DIY board and batten walls are not only easy but also very cost-effective home projects that anyone can try. All you need is the layout of how the panels should be placed, as the siding will be stationary. You can install the board and batten walls in any given space and coat them with bright pops of color to give your space a whole new feel.
It is preferable to select a wall that is entirely devoid of switchboards, so you don’t need to cut the boards while placing them. Accent walls like the board and batten is a great DIY to create new designs in your living space. This home project has numerous combinations in which the battens can be placed and still give a decorative touch.
Try the above easy DIY board and batten wall method at home, and see how it turns out to be the perfect home improvement project that adds style and flair to your room.